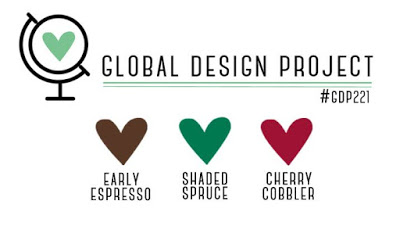
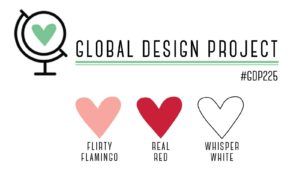
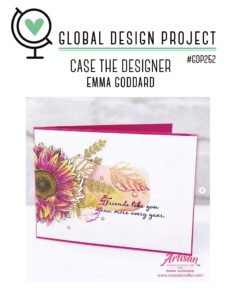
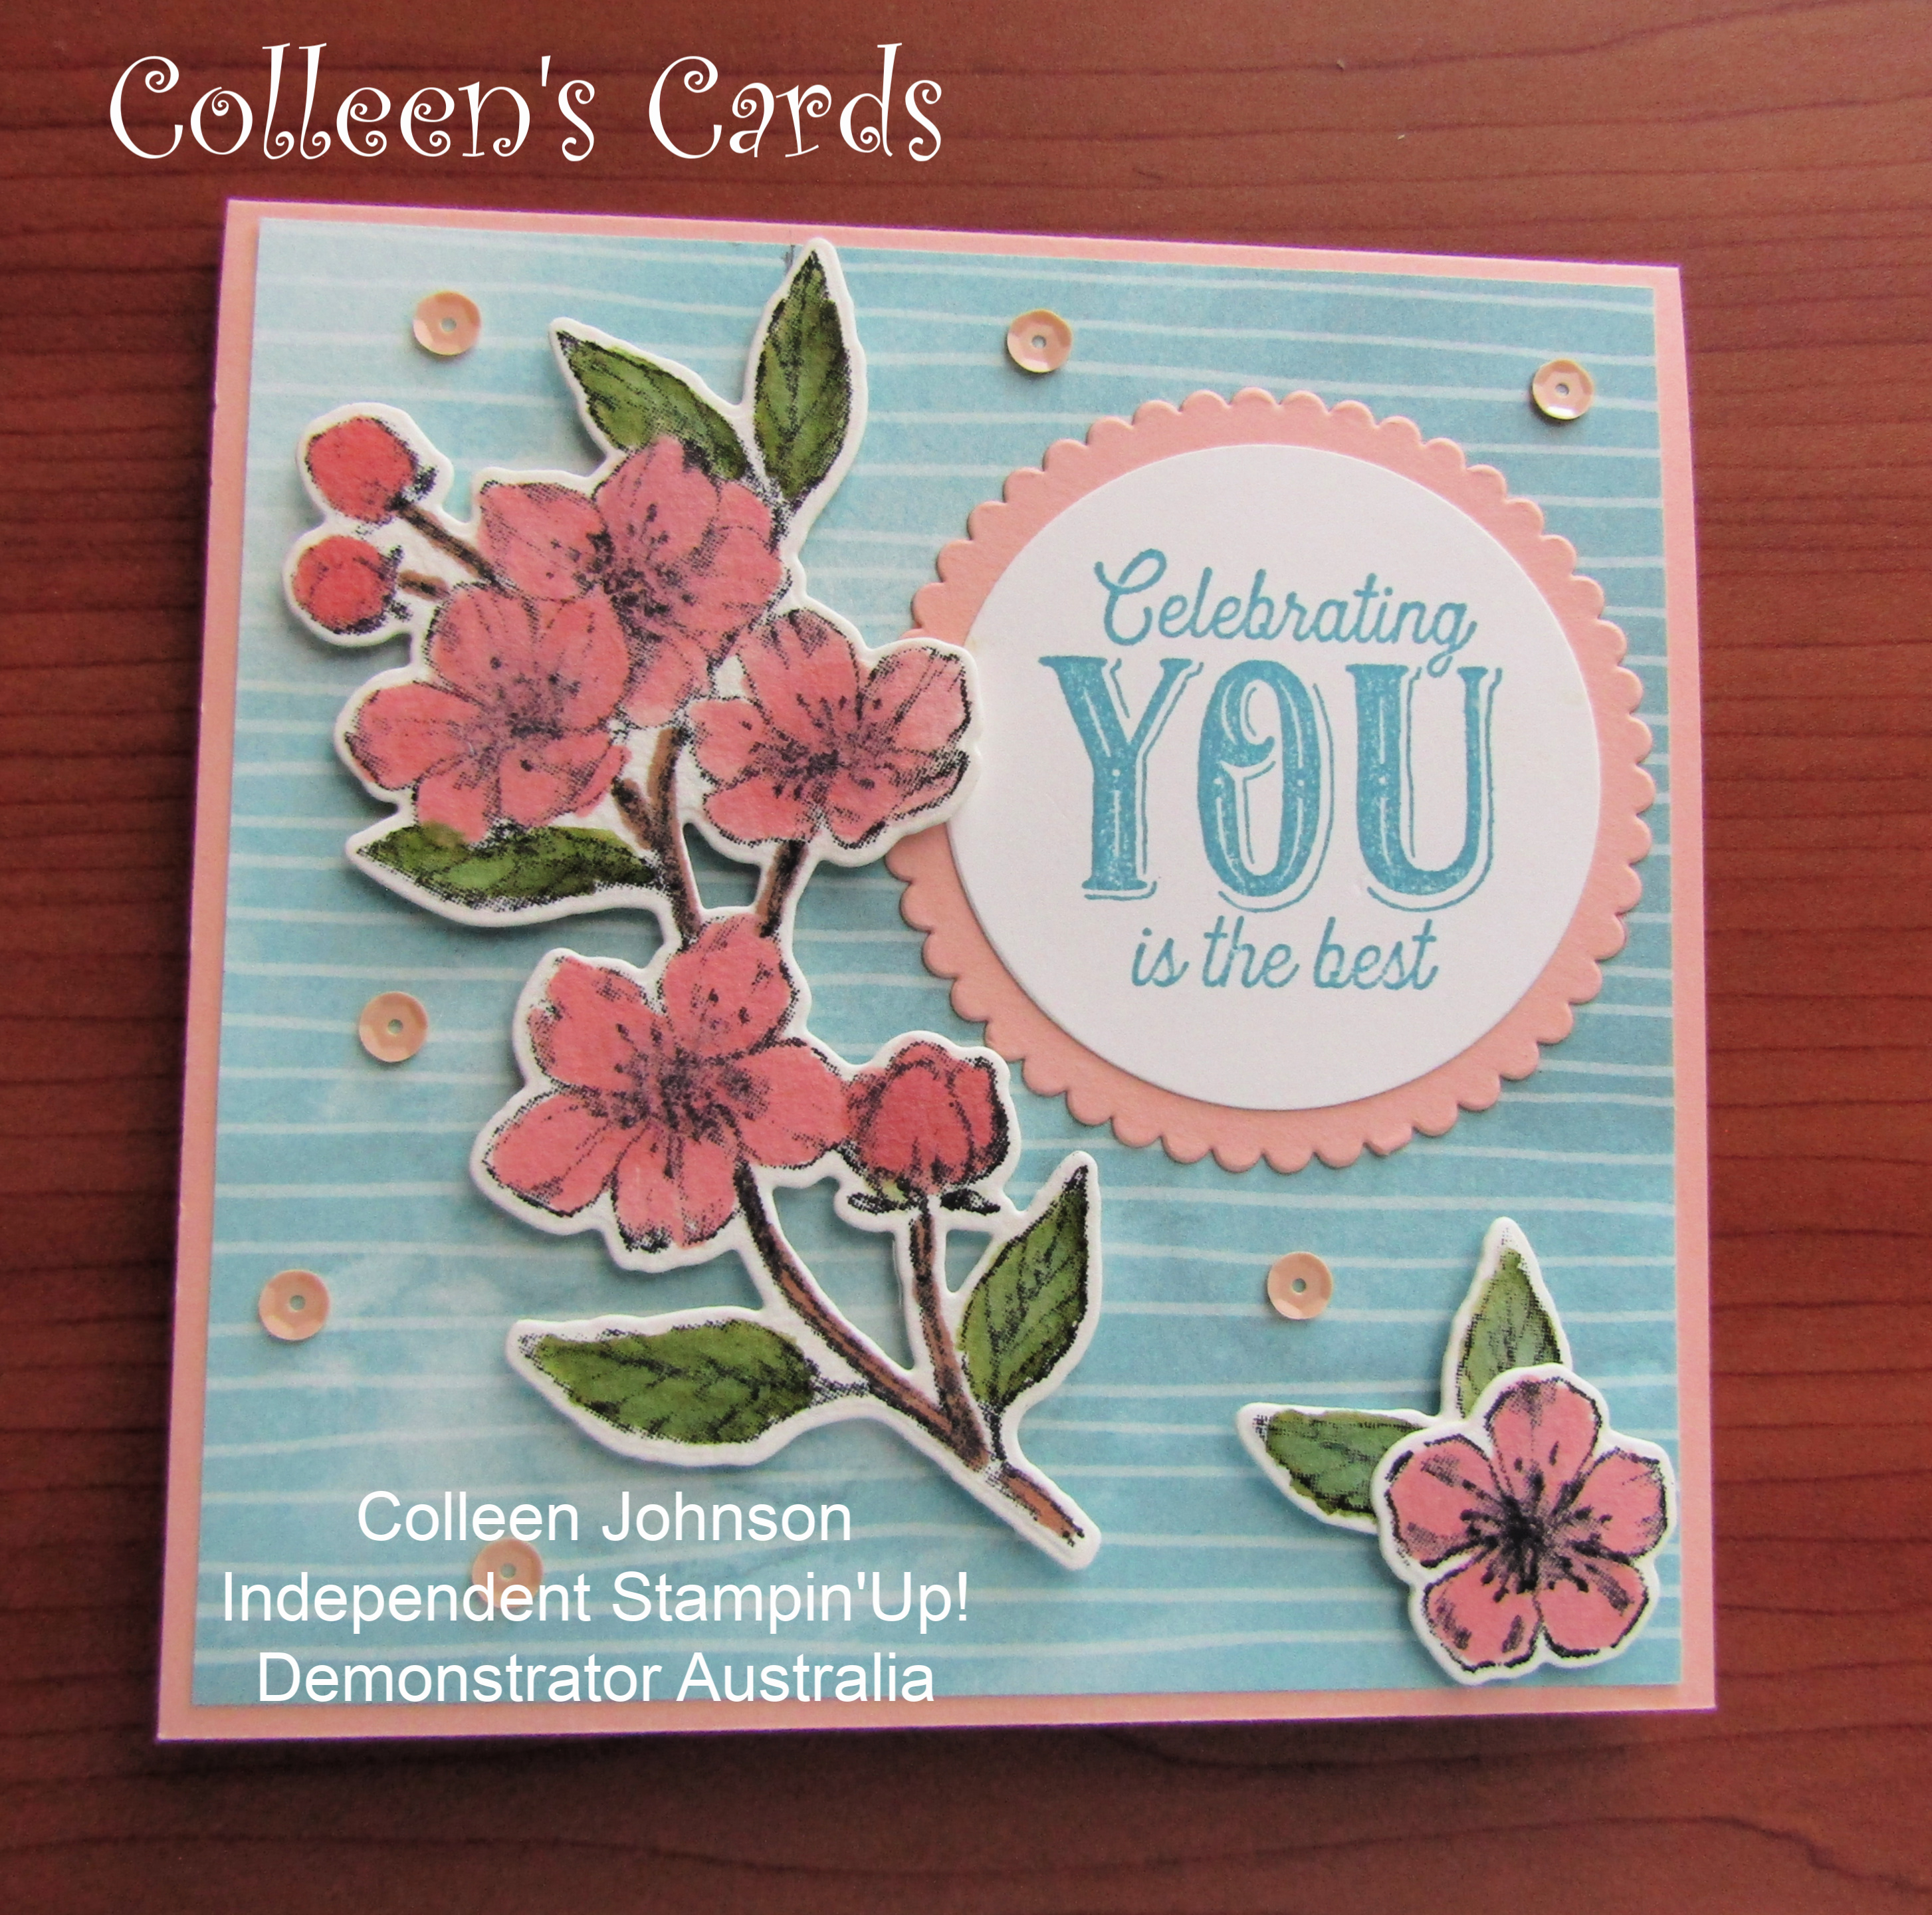
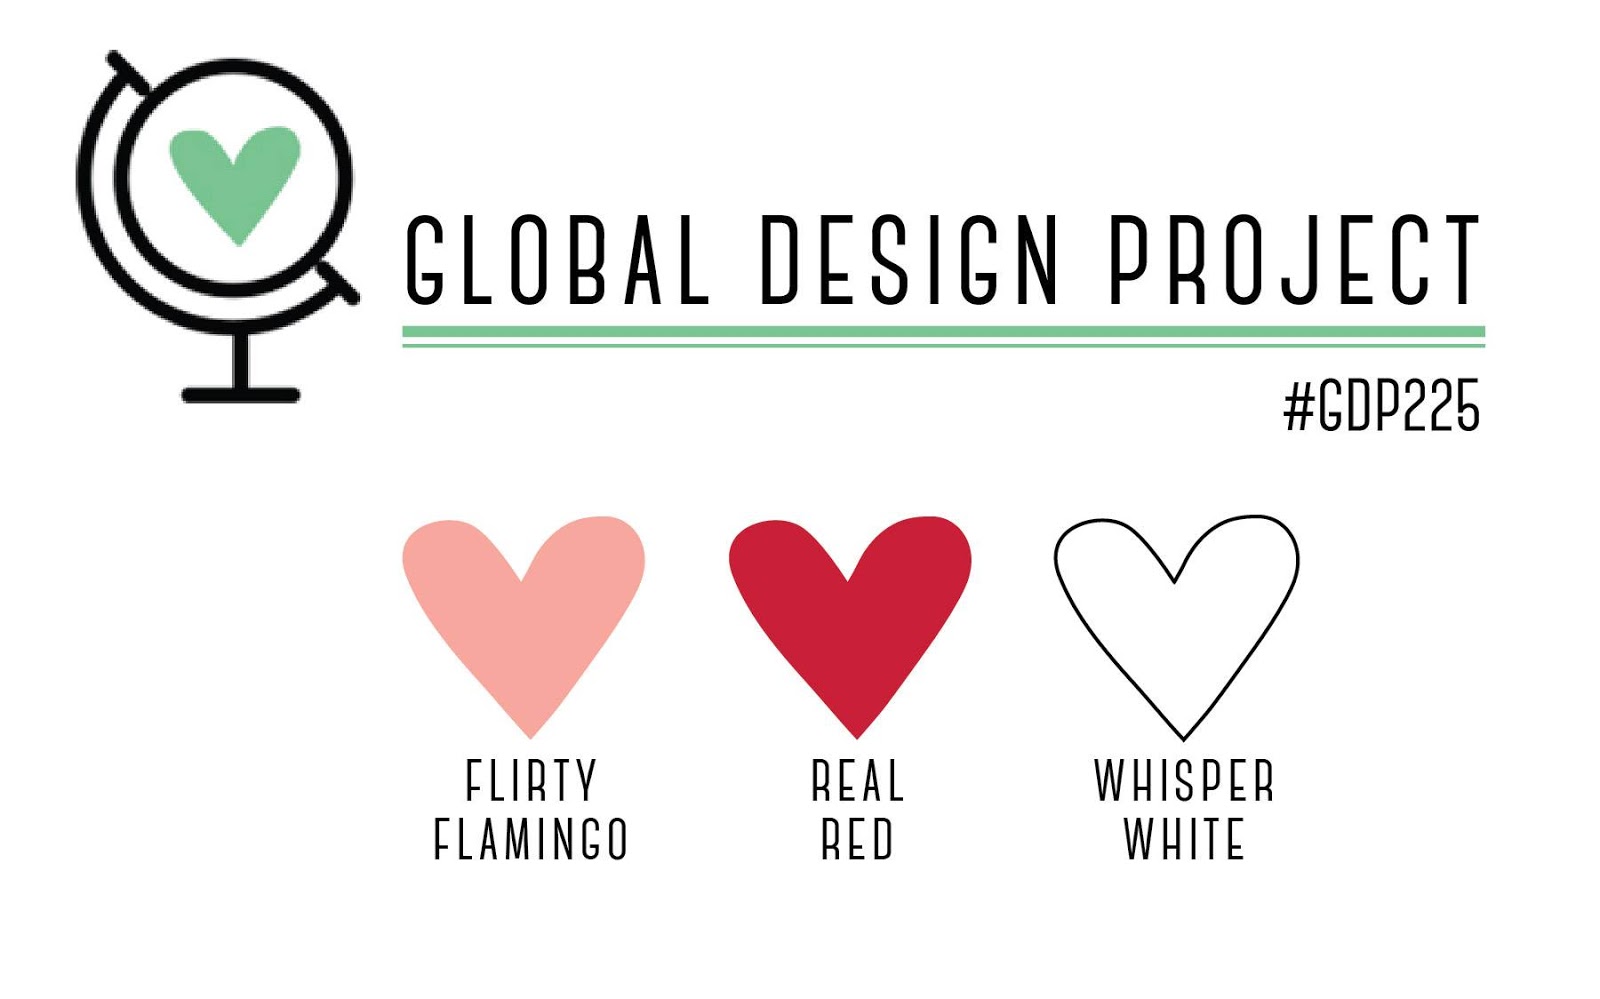
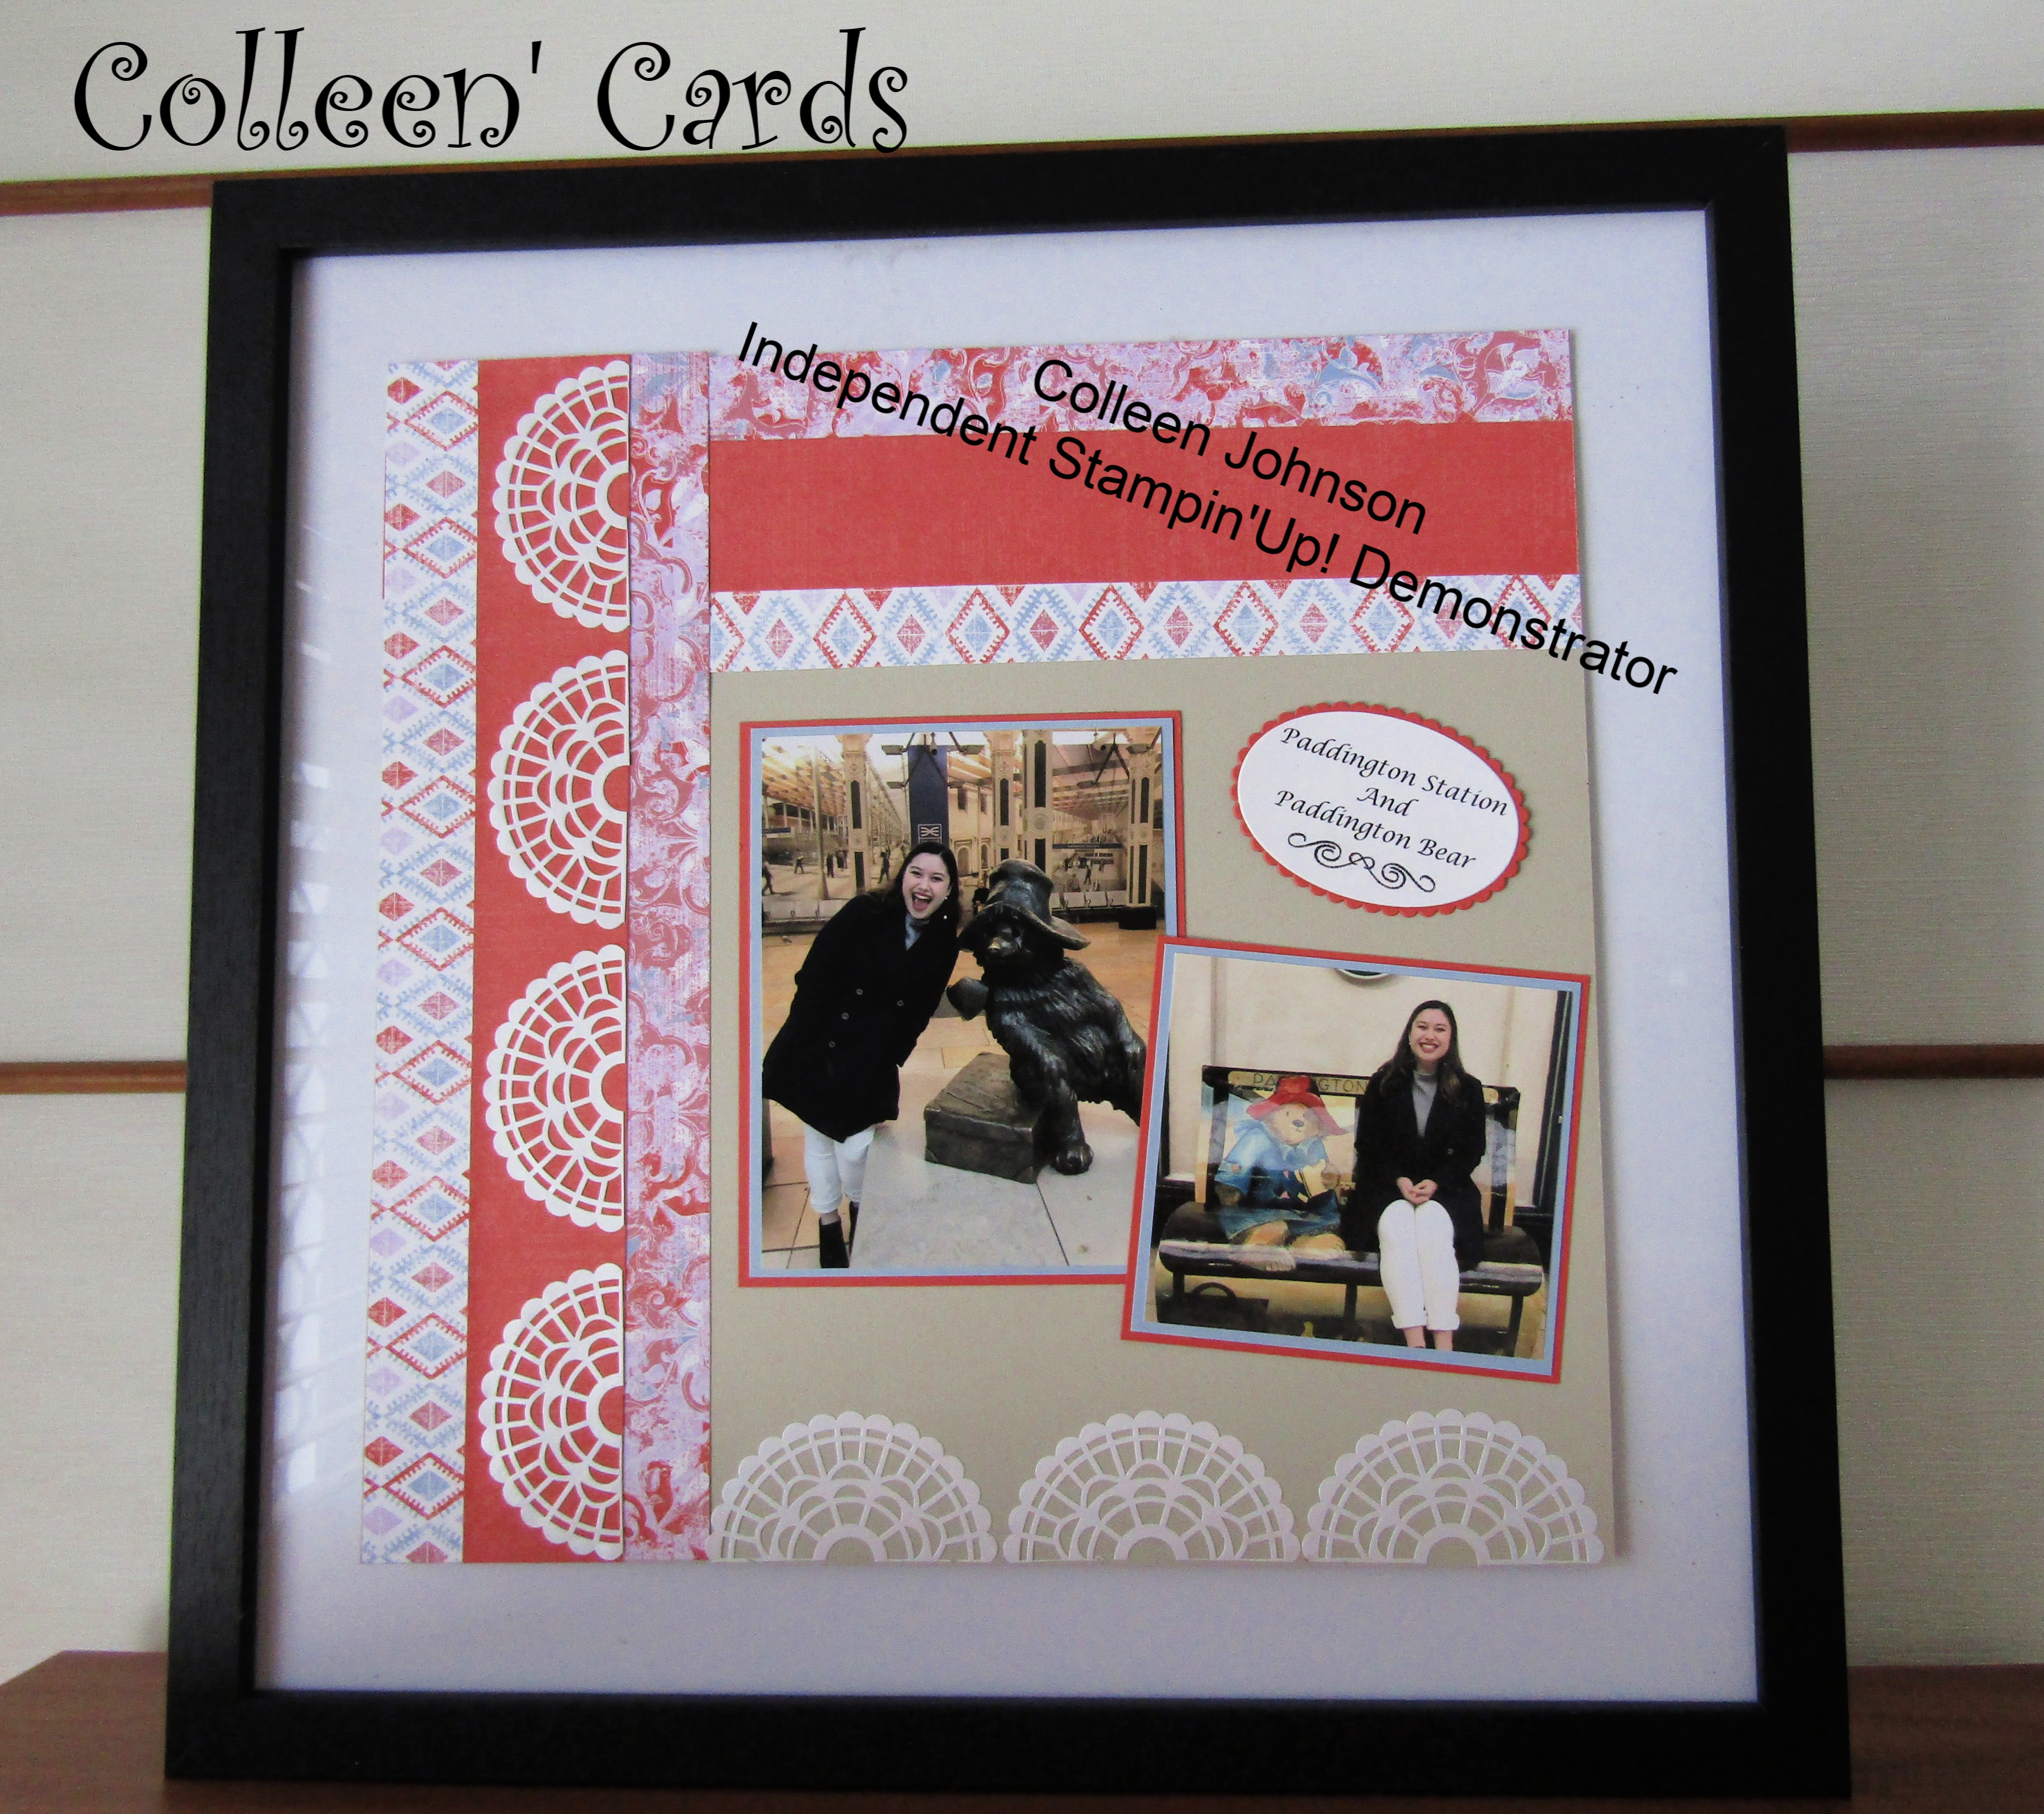
The Global Designer Project has a colour Challenge for this week.
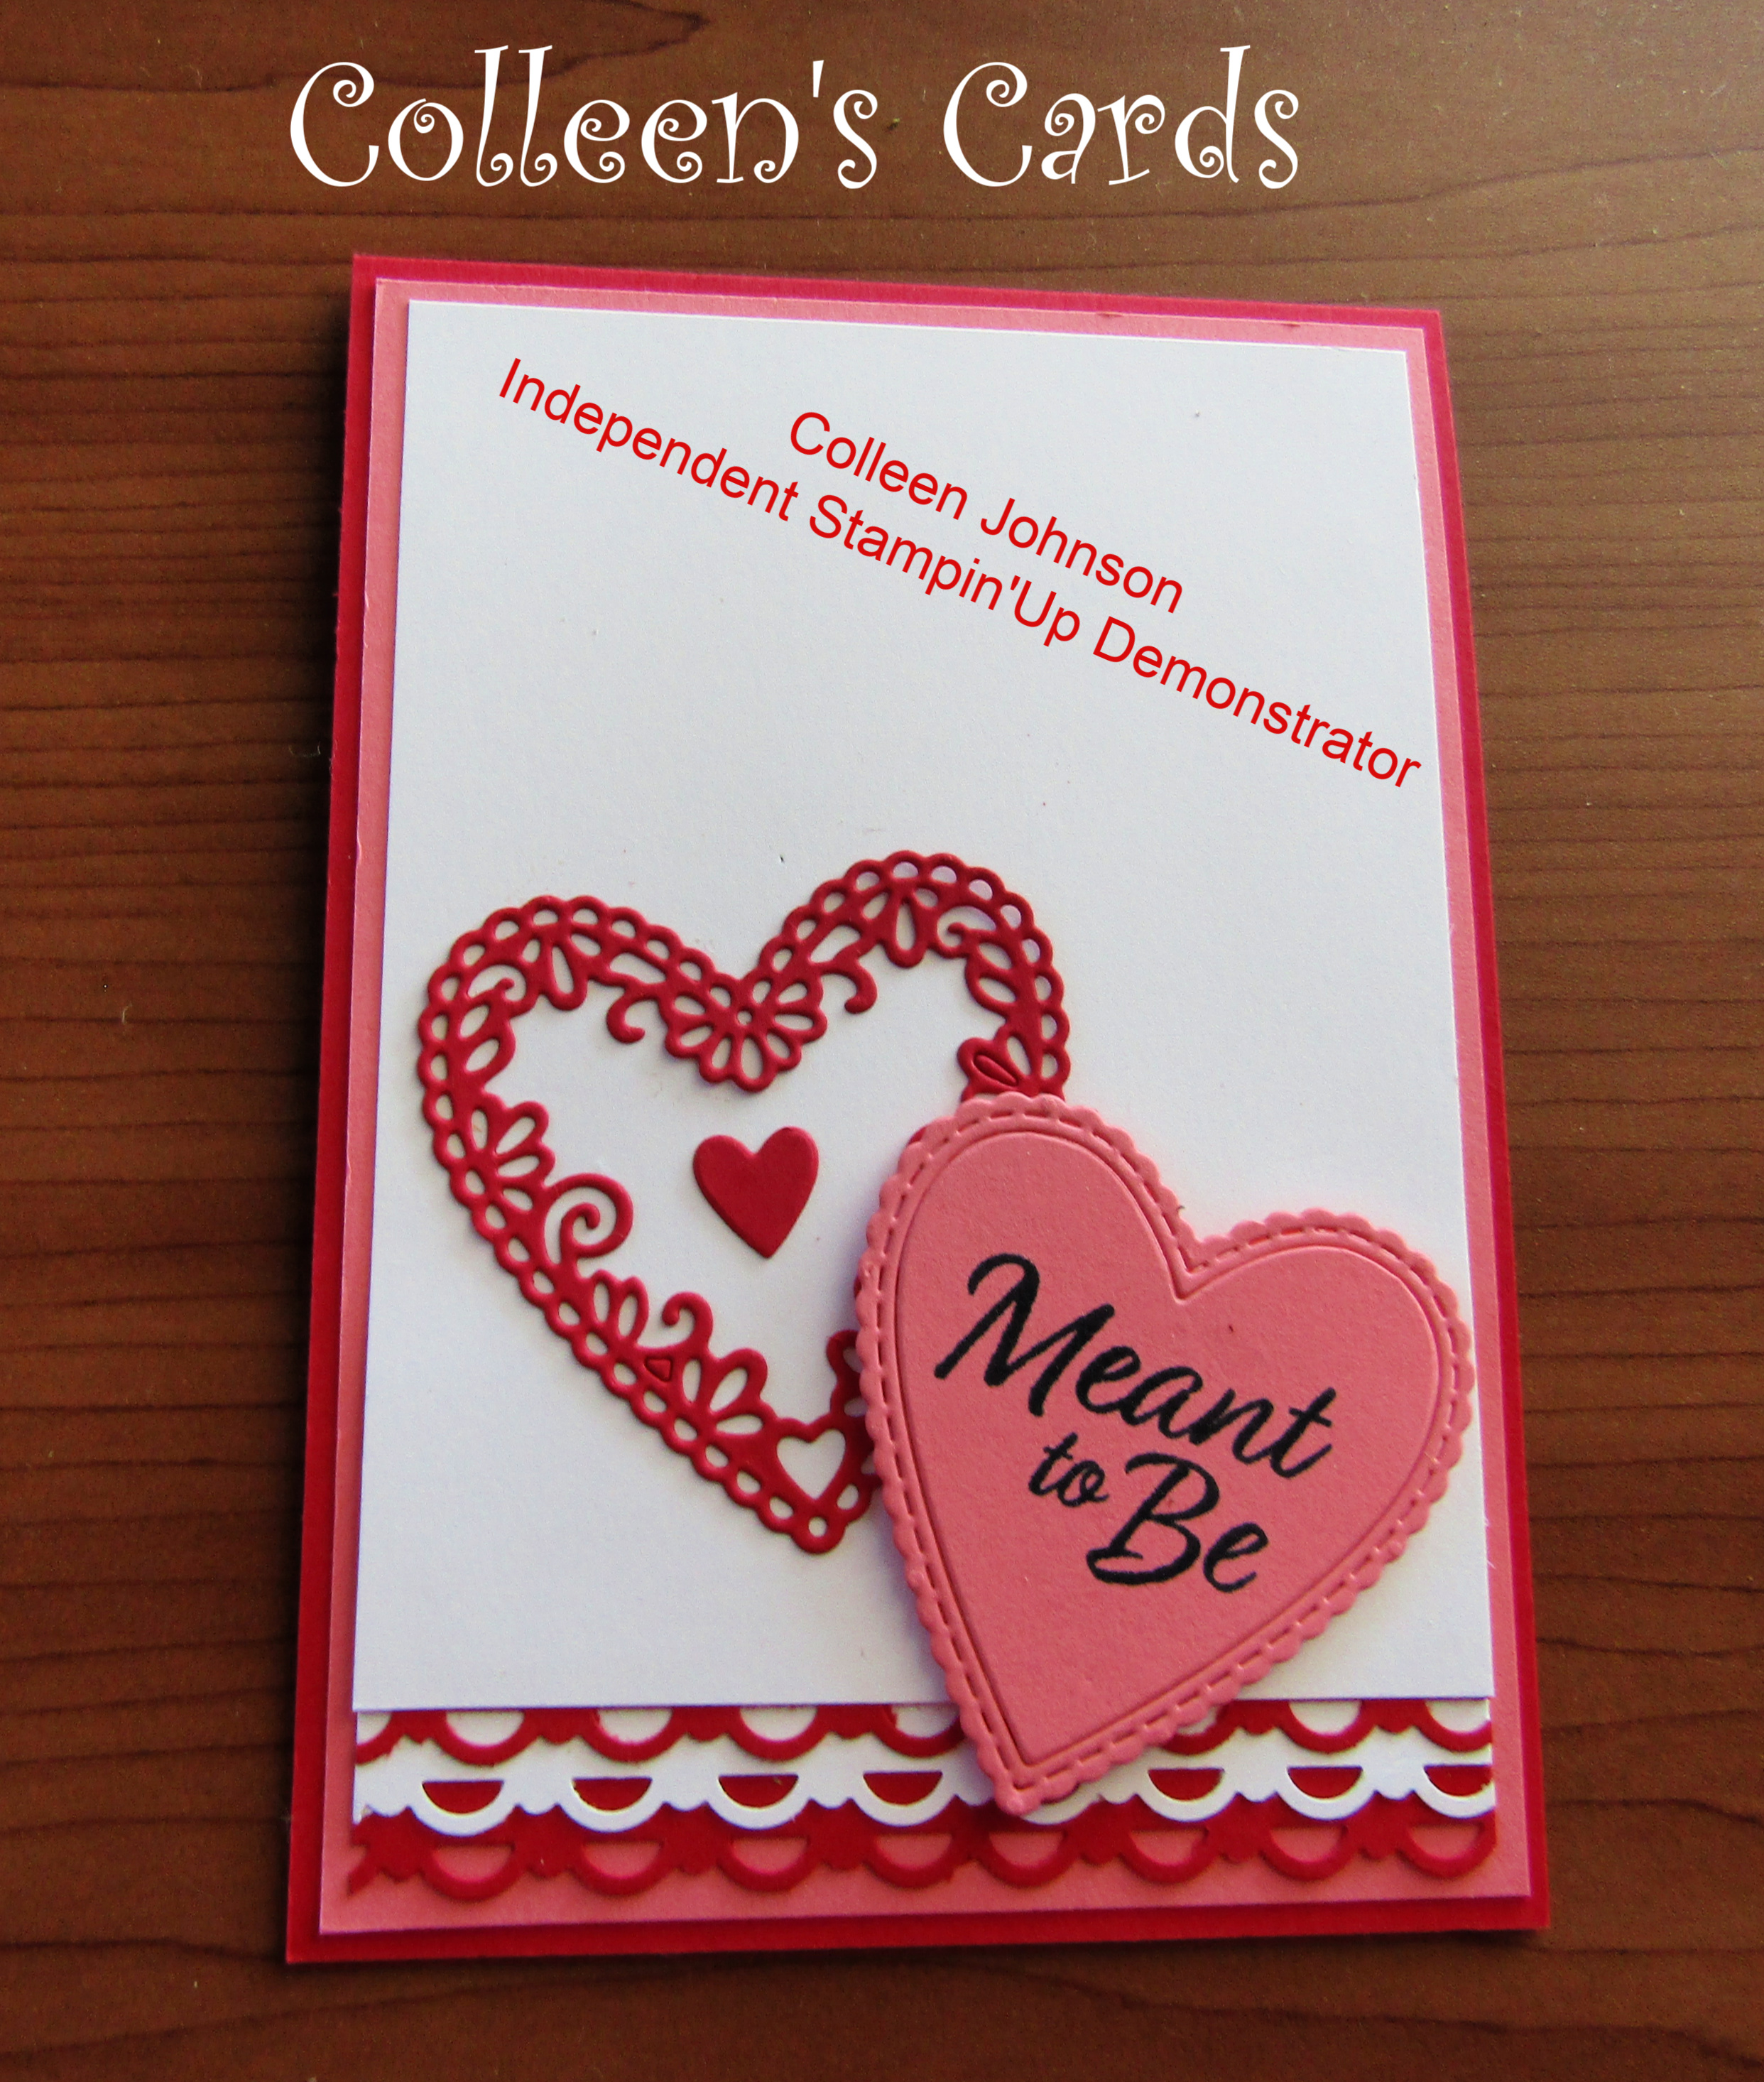
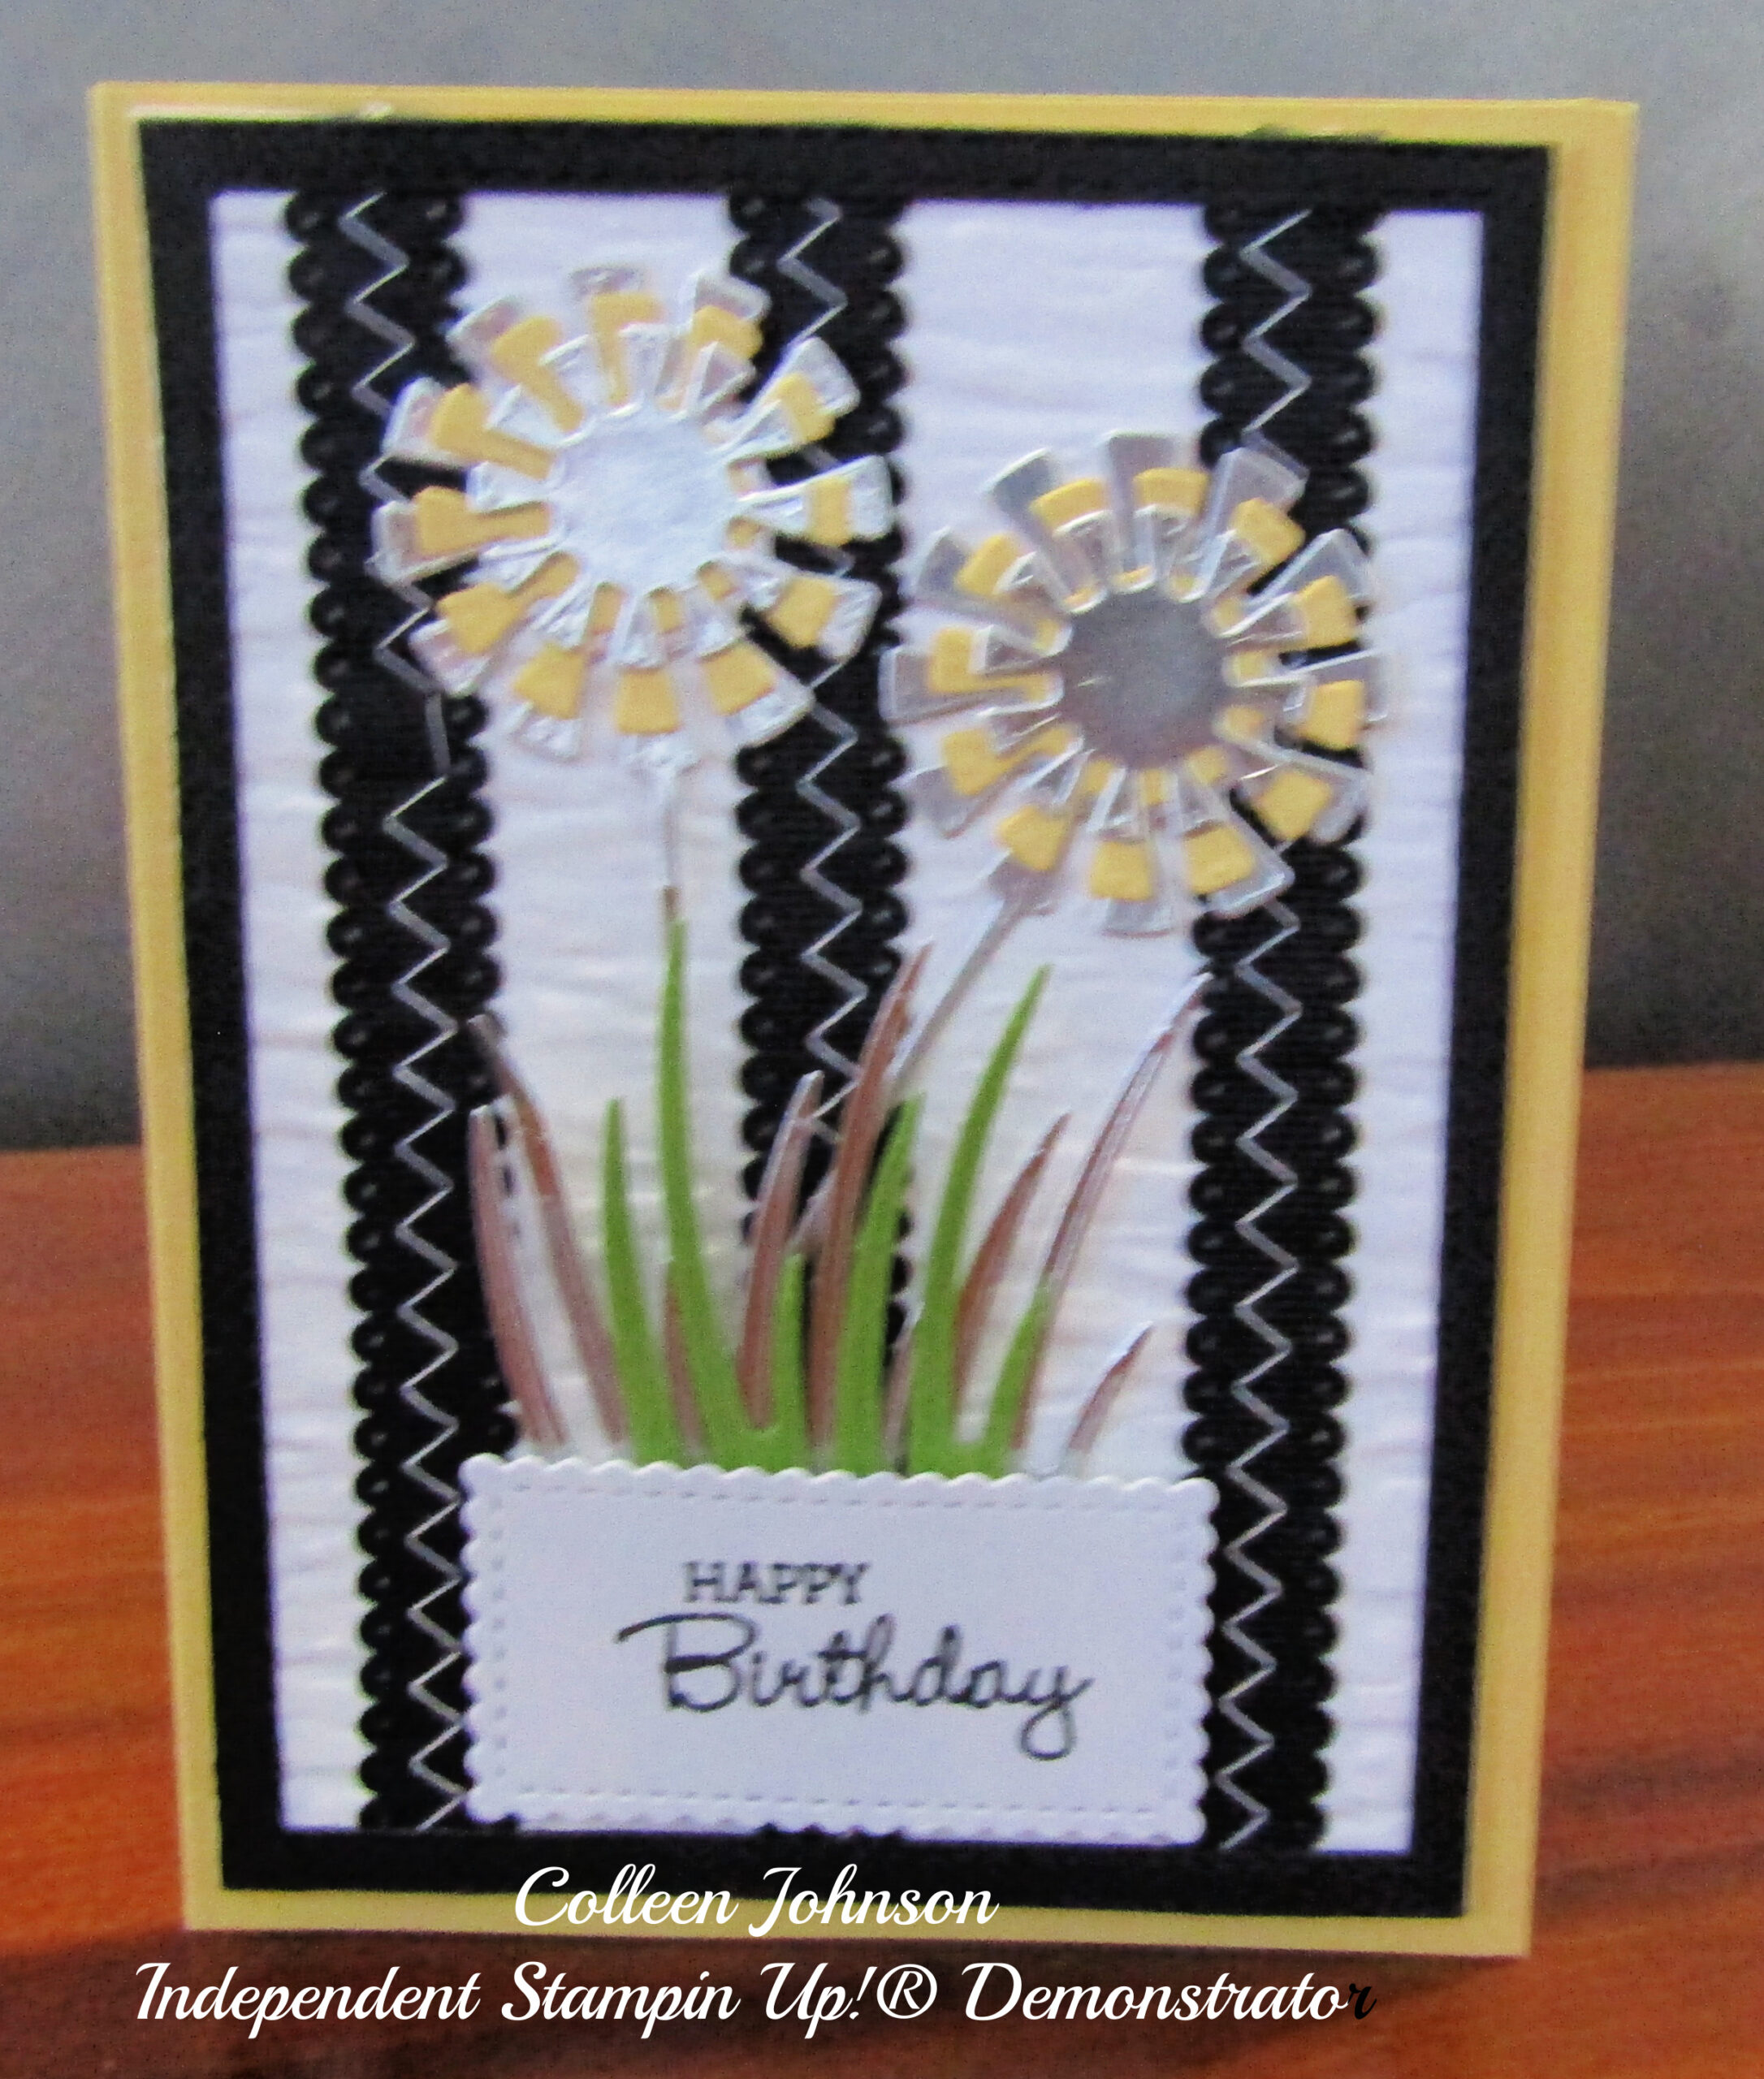
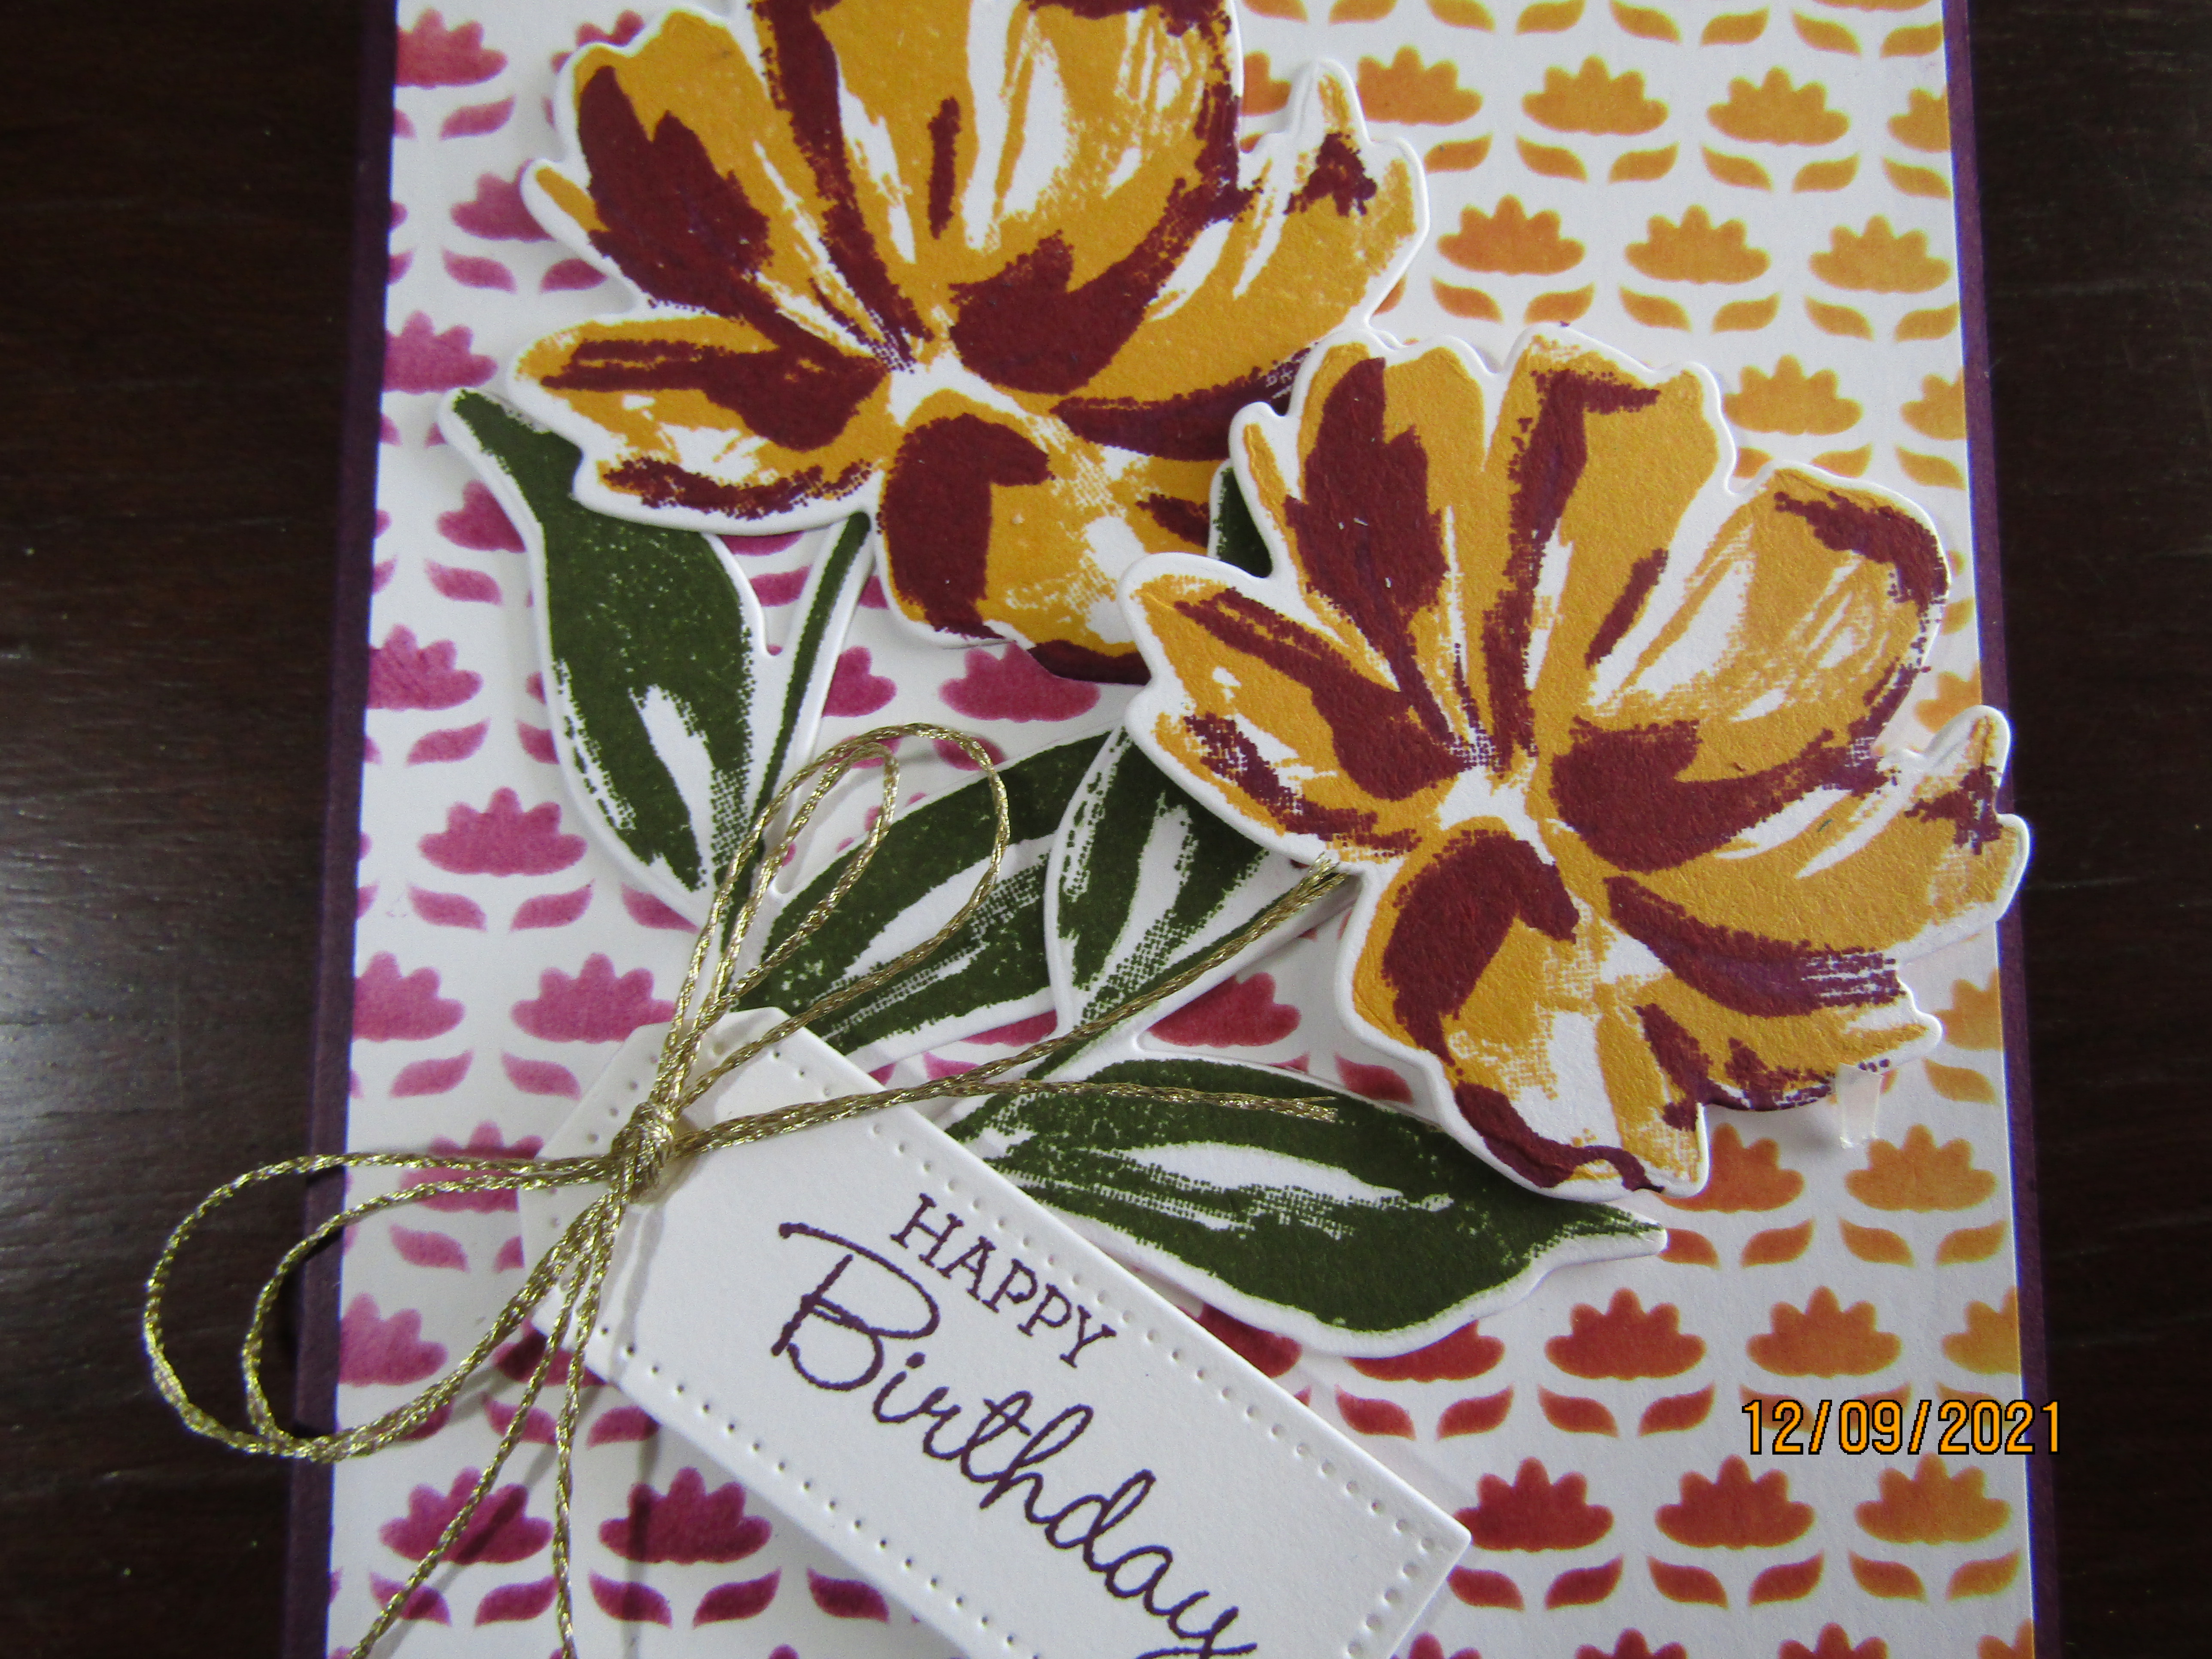
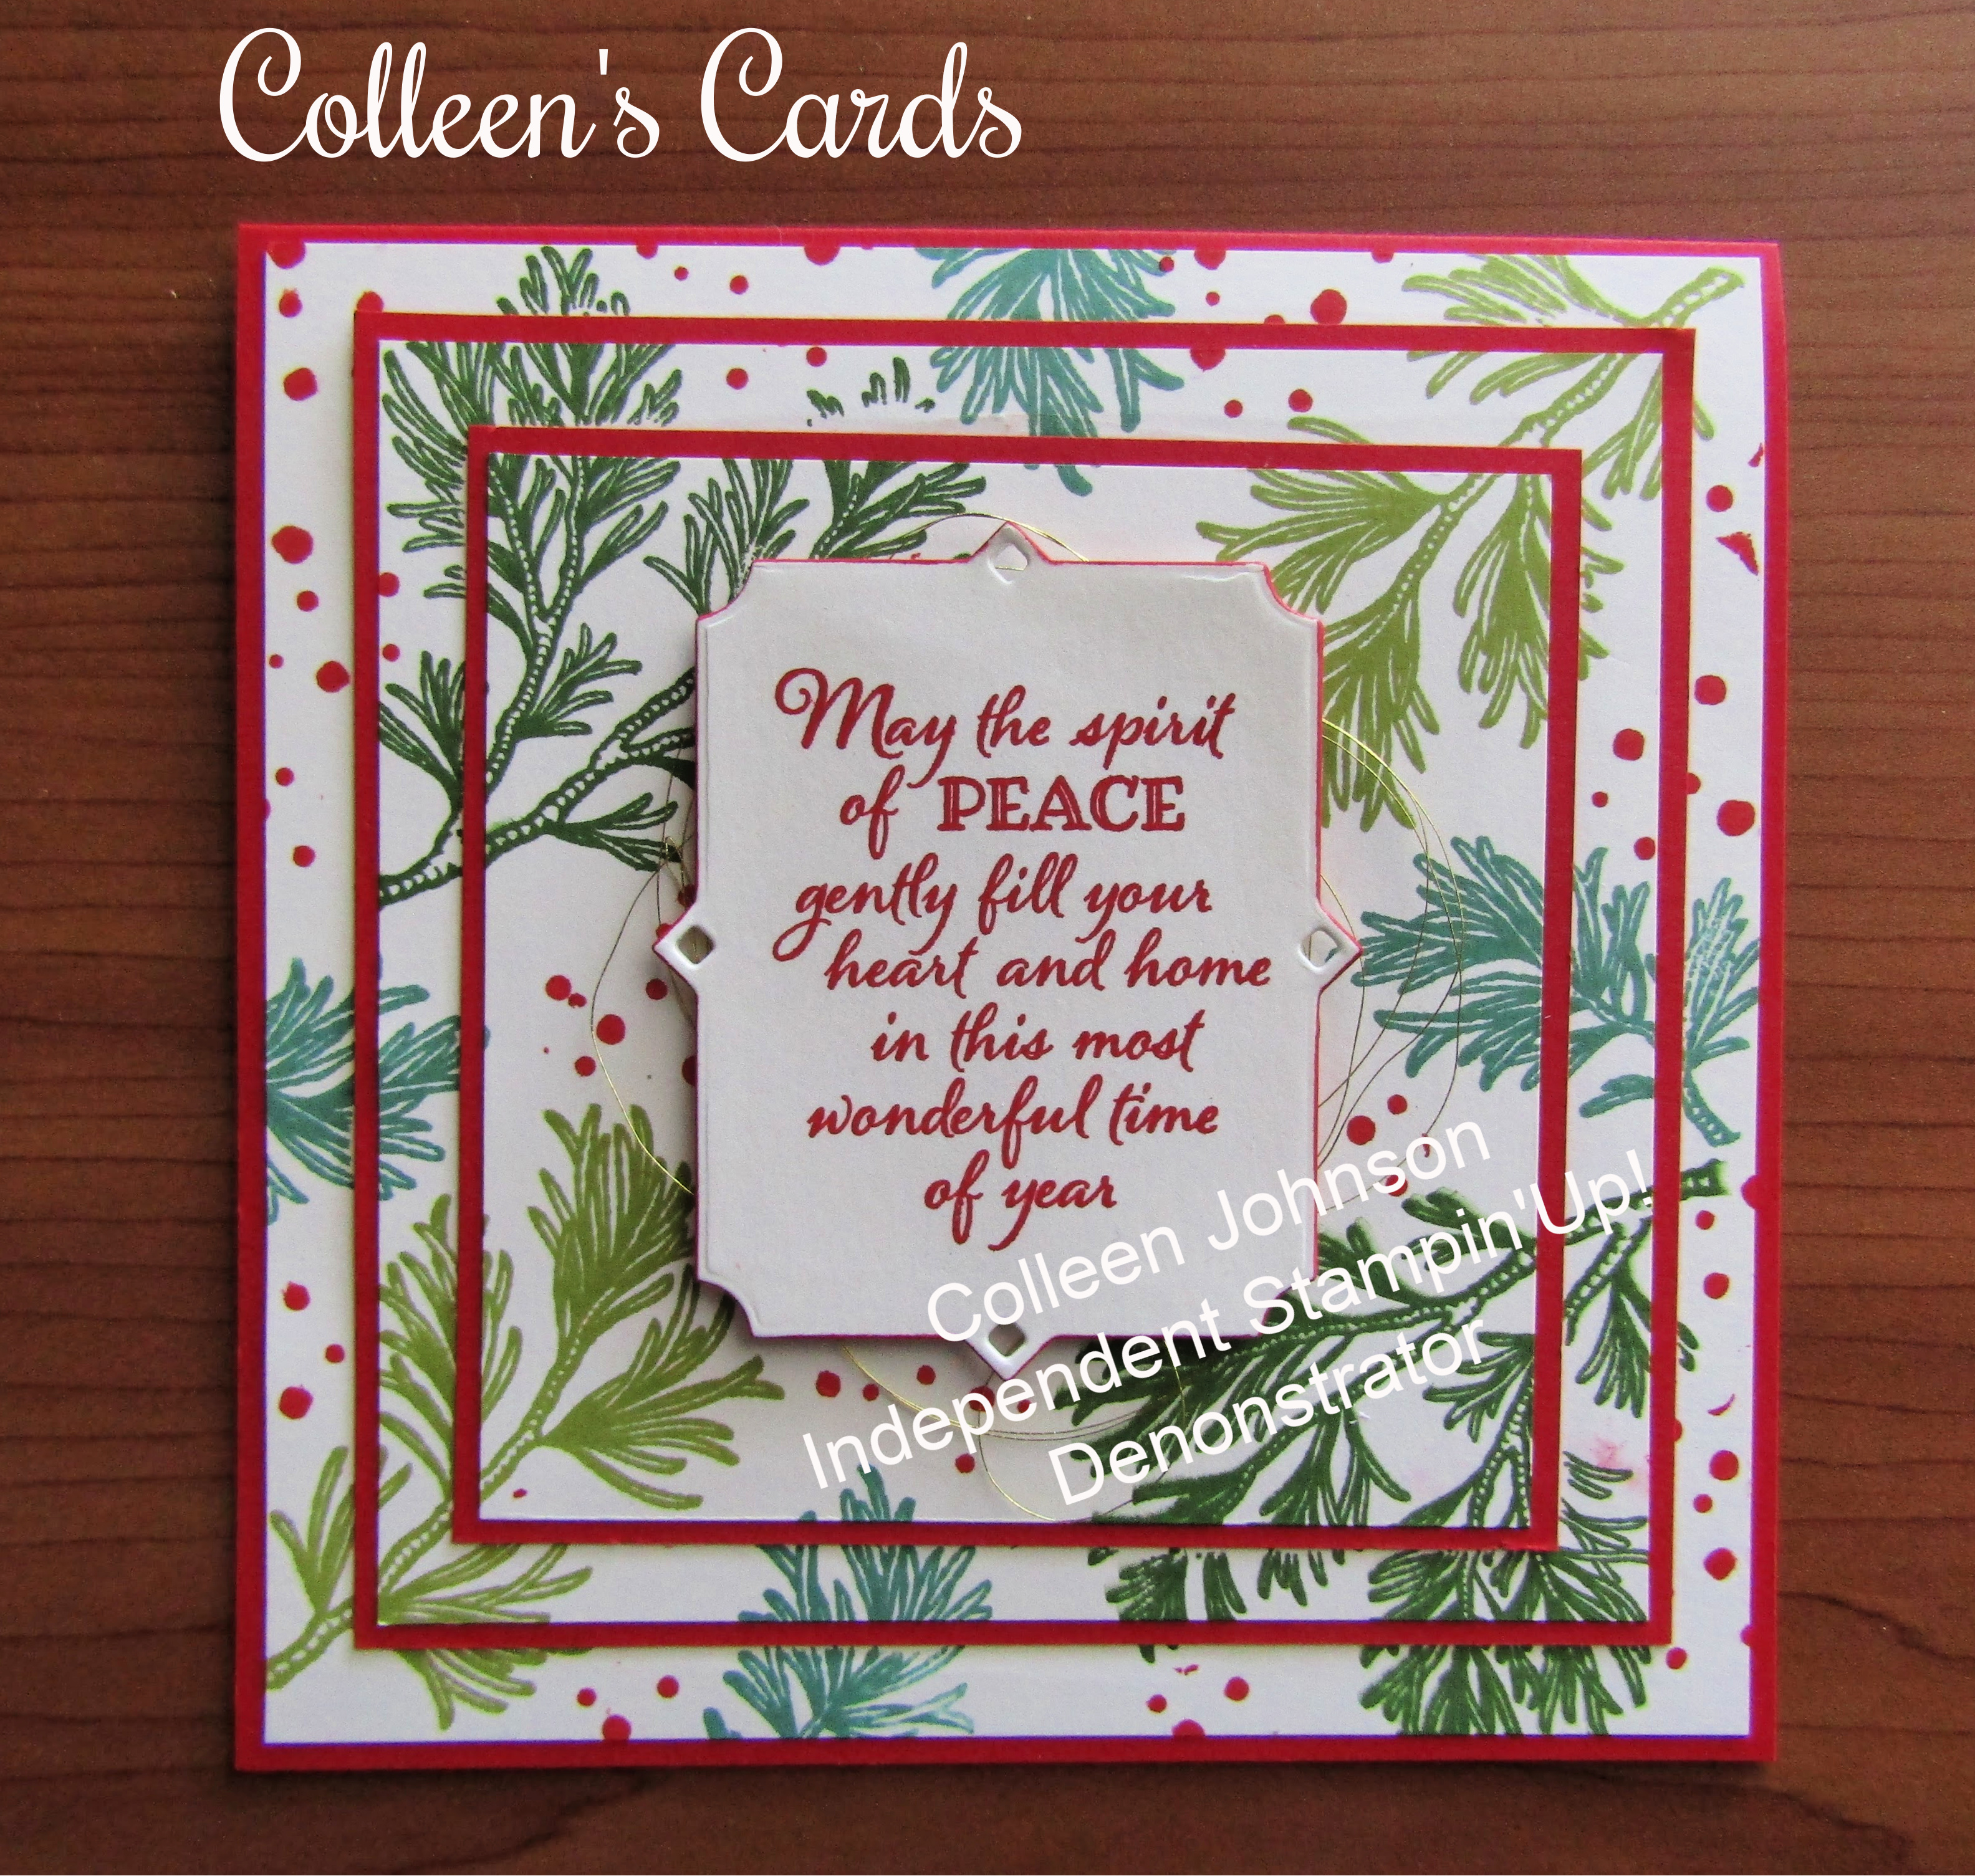
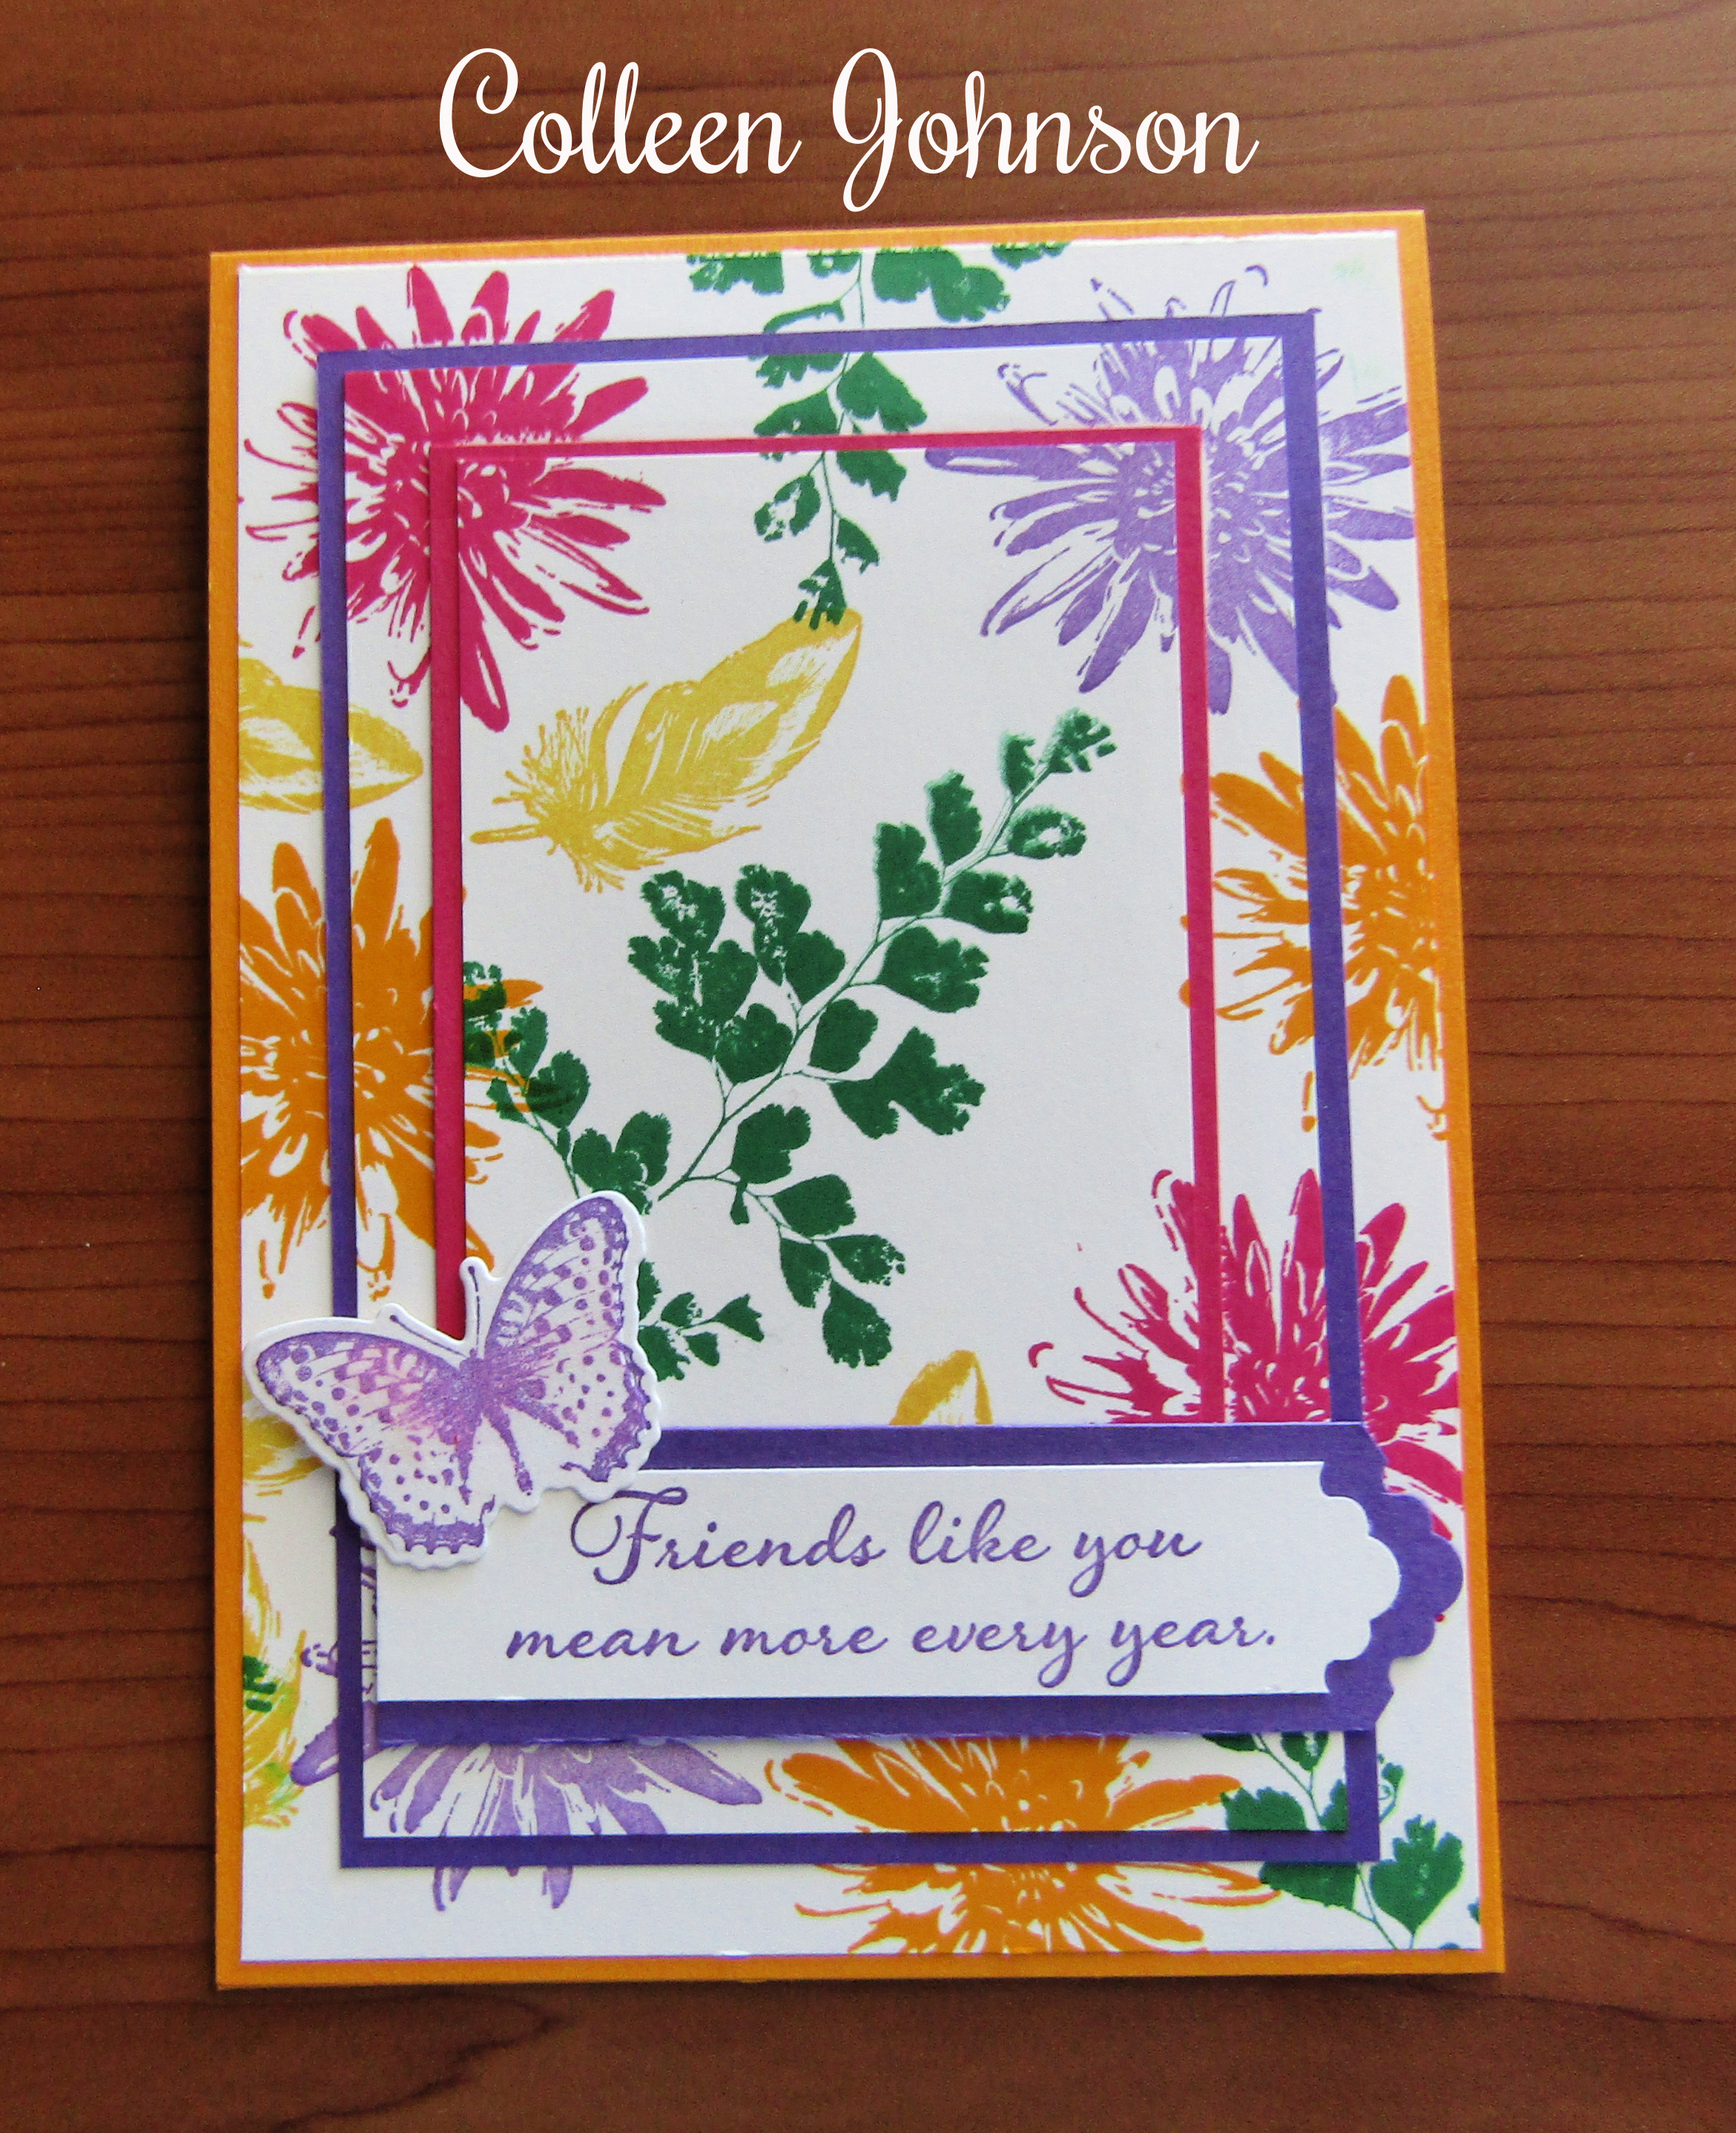
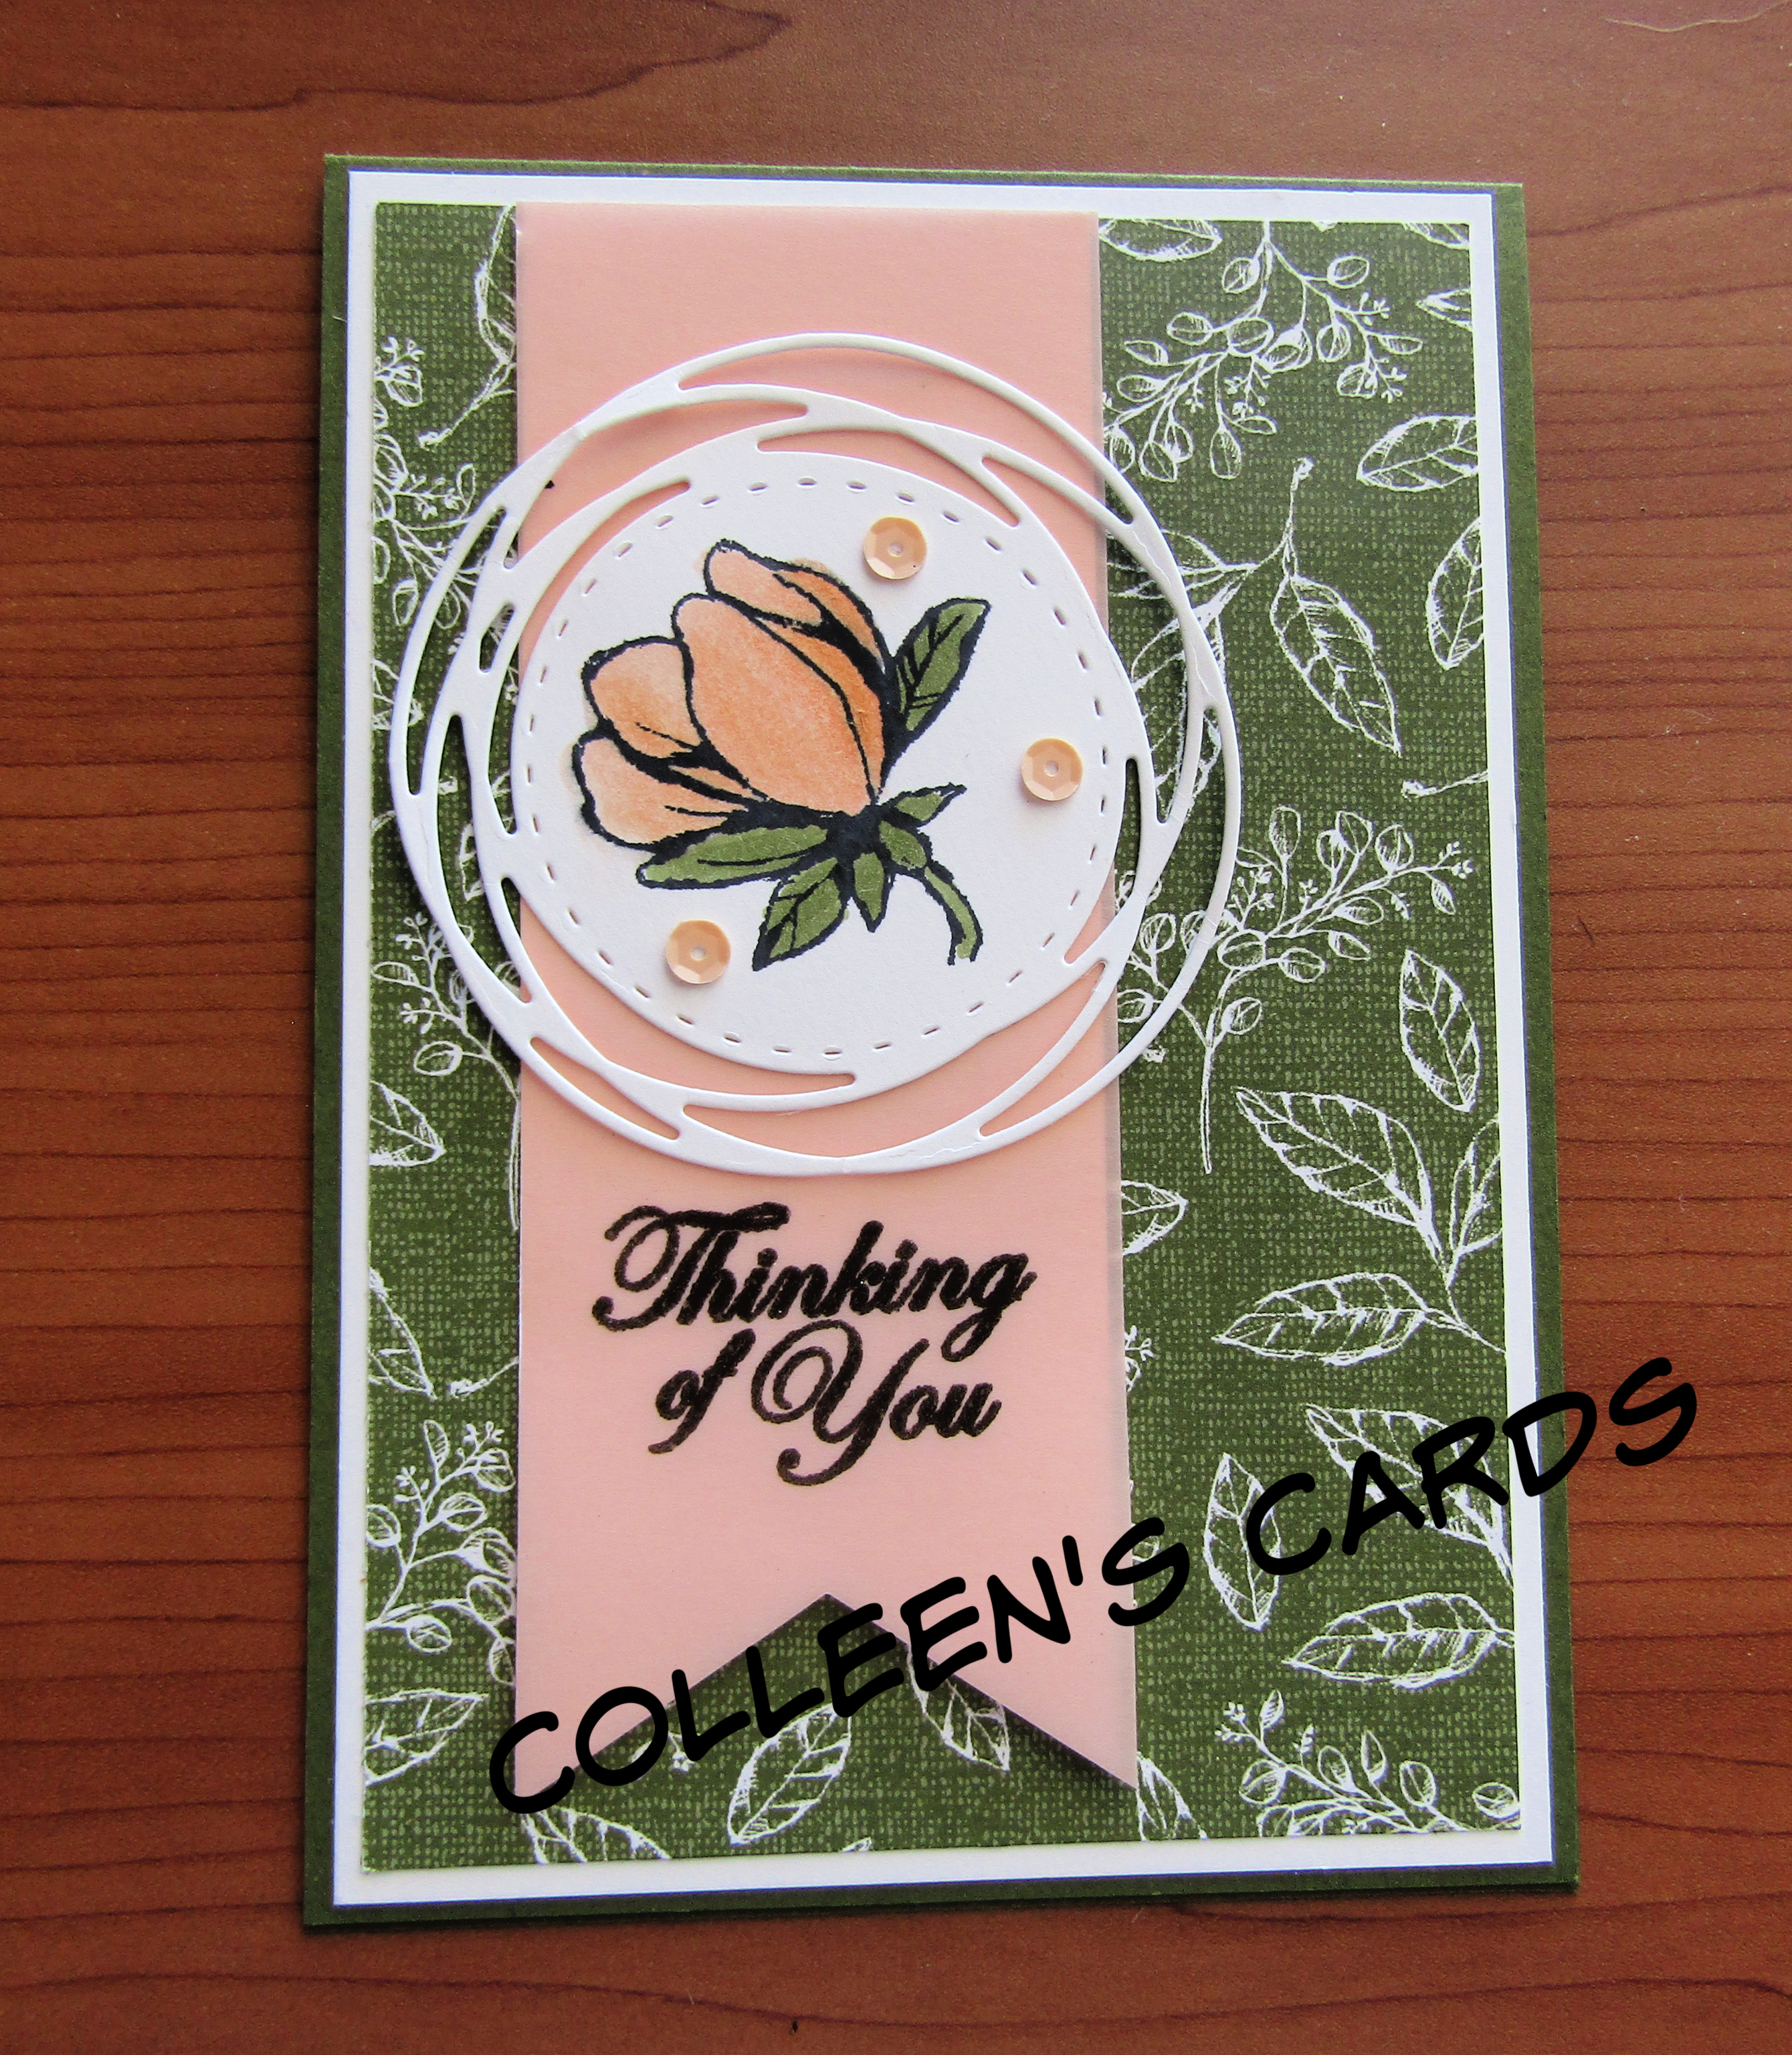
For this Challenge I used the Meant to be Stamp set, The Stitched Be Mine dies and the Tufted 3D embossing Folder
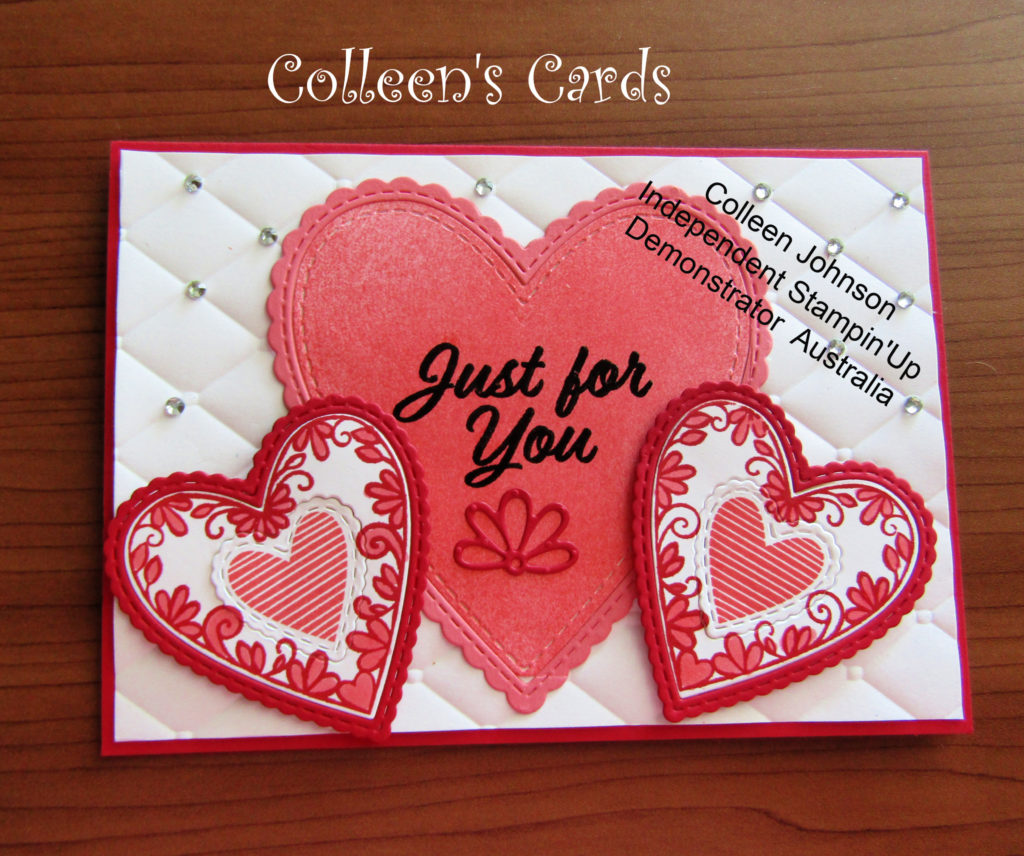
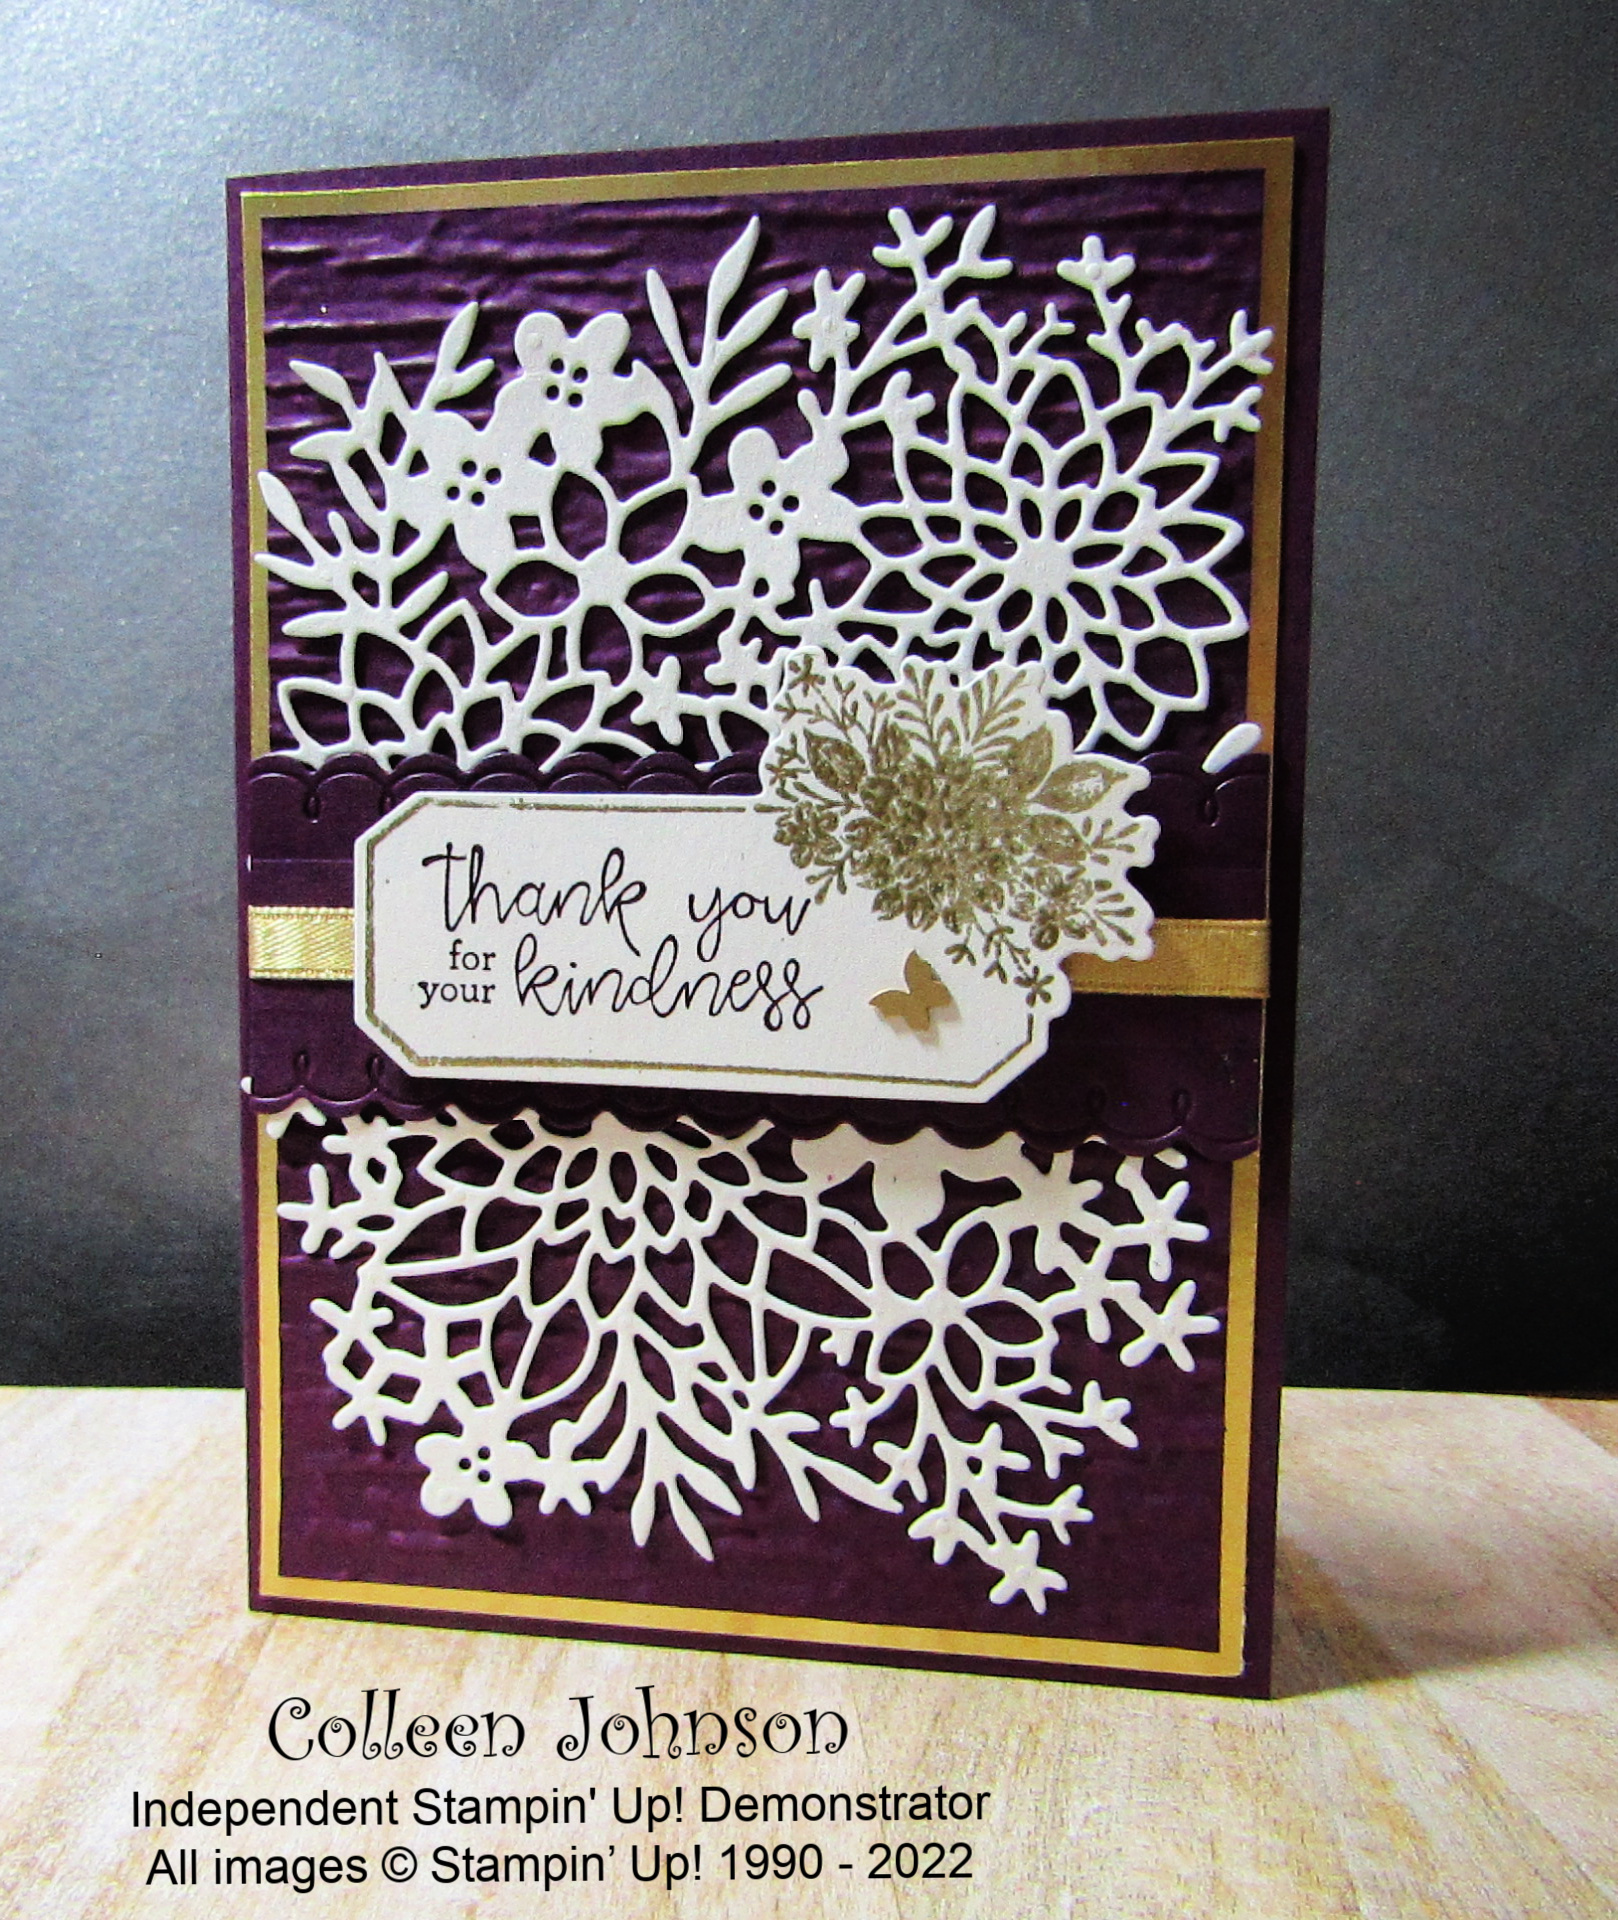
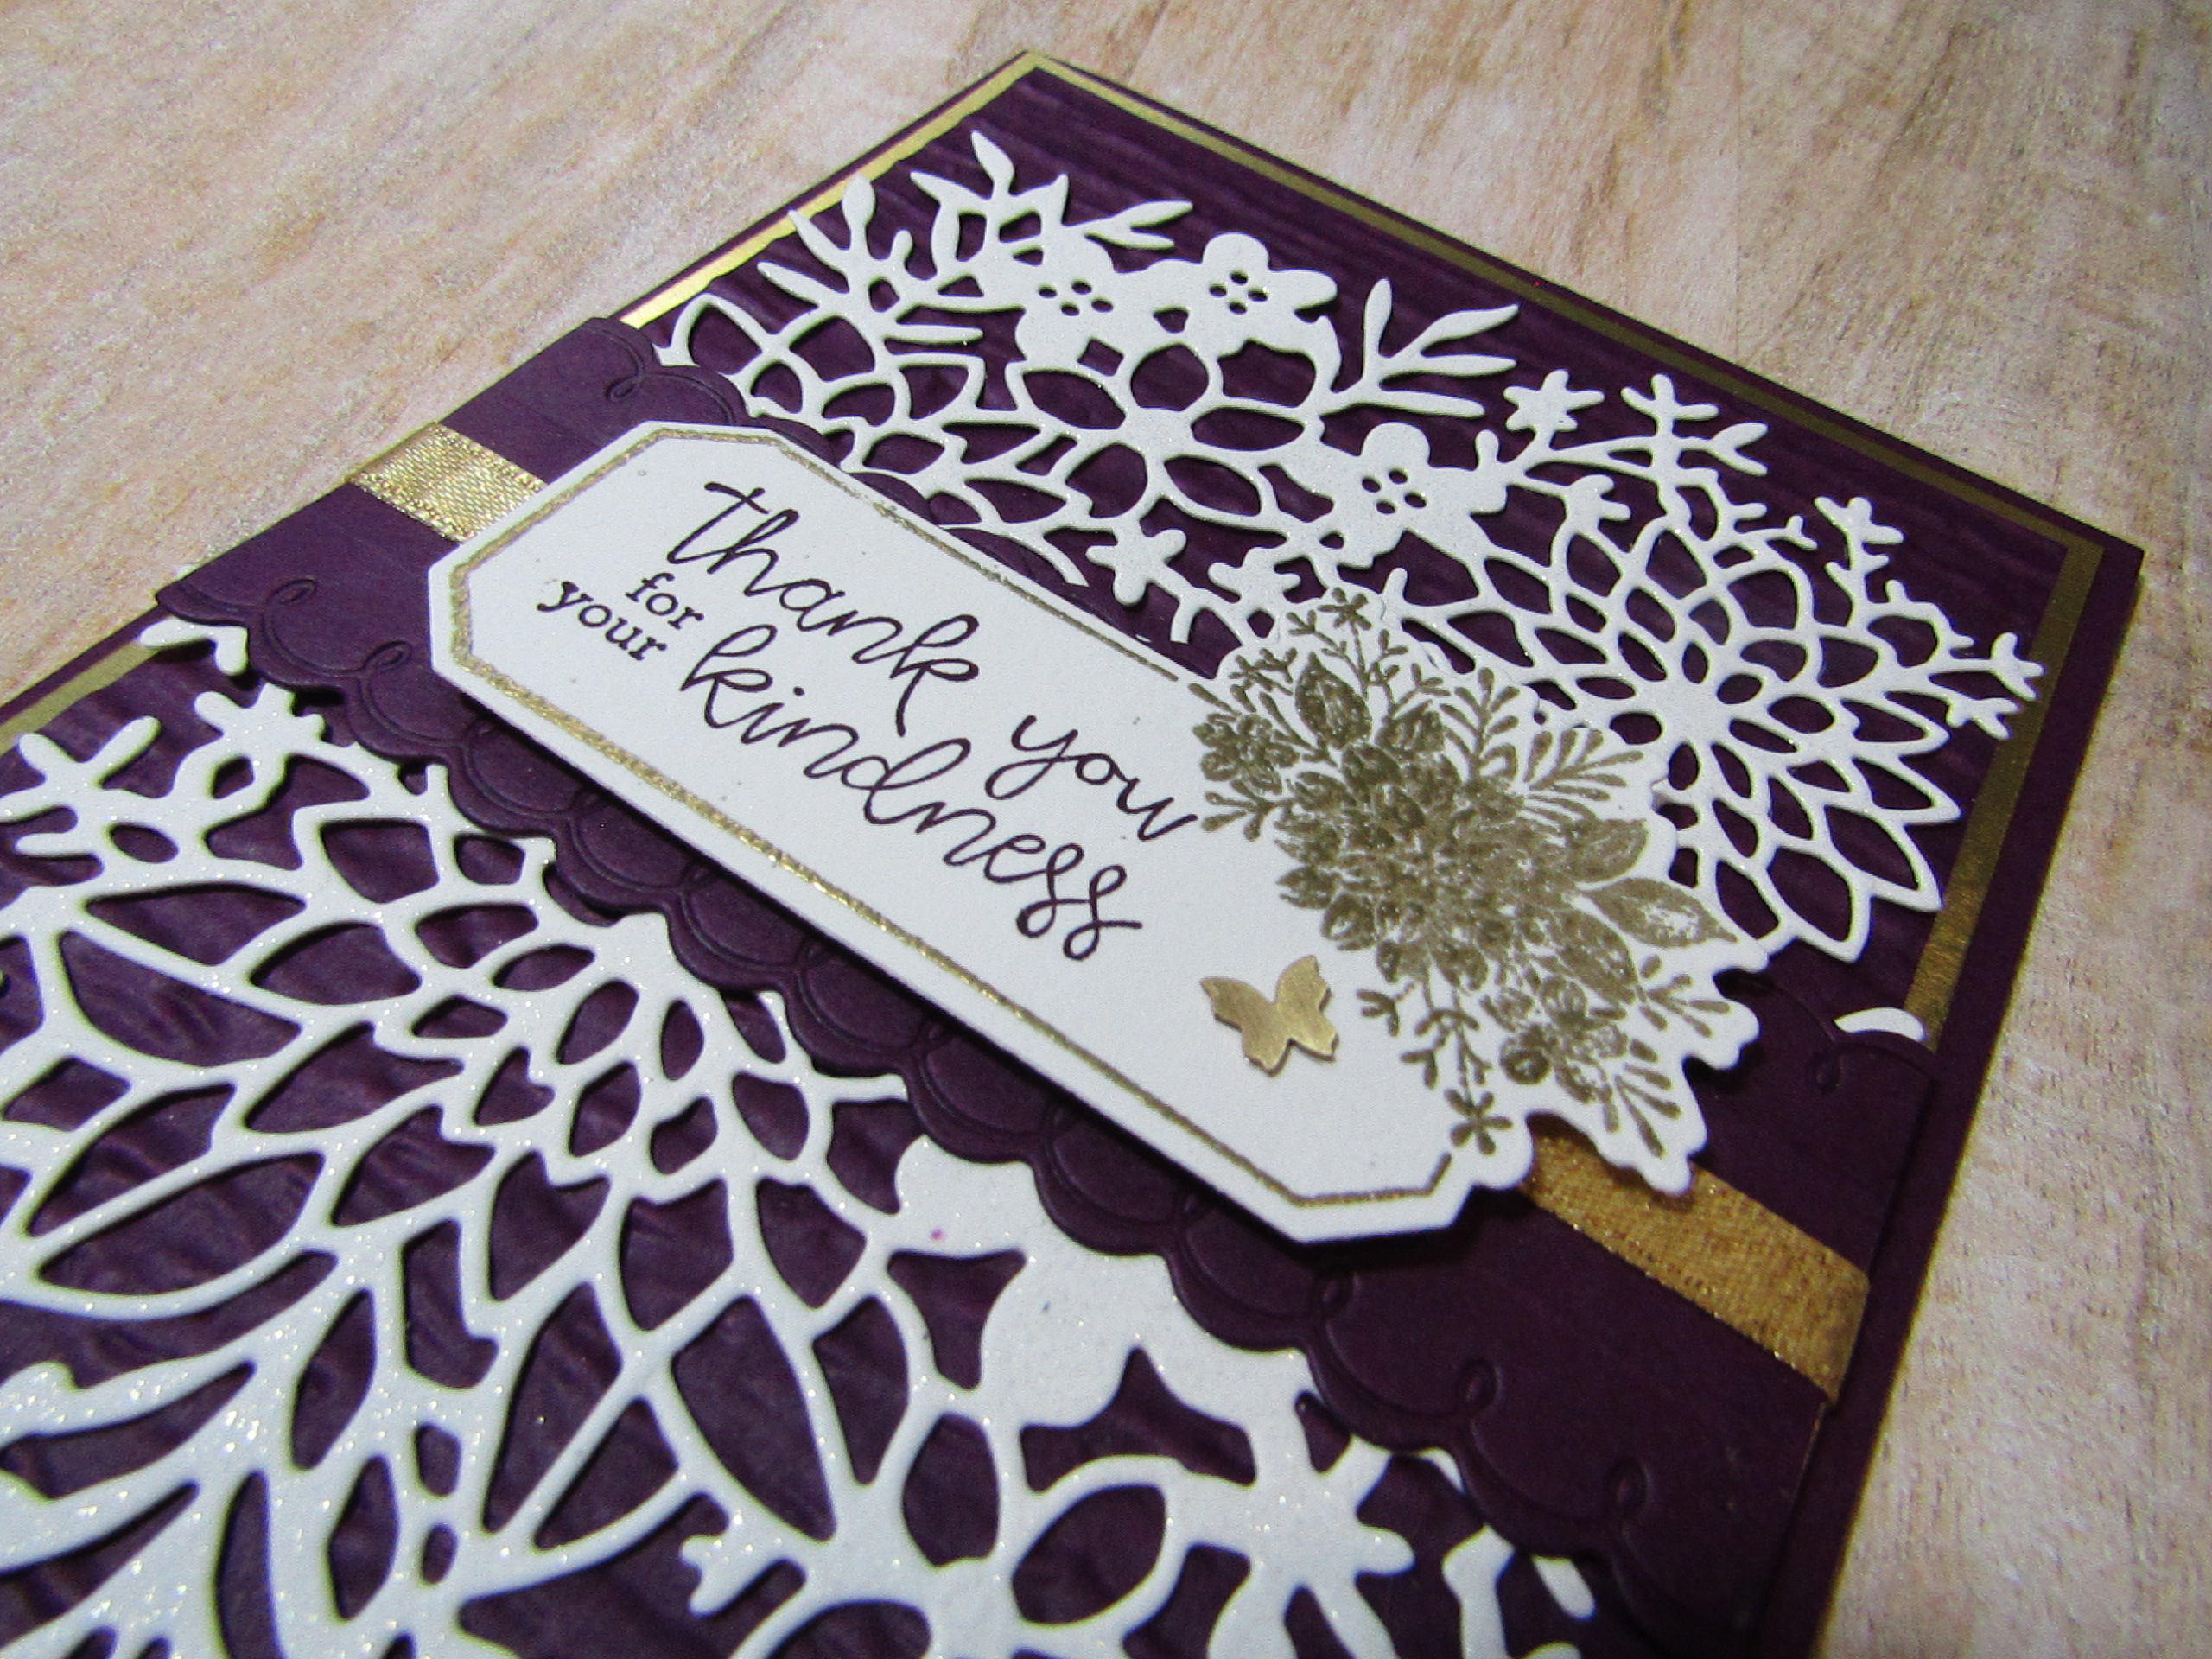
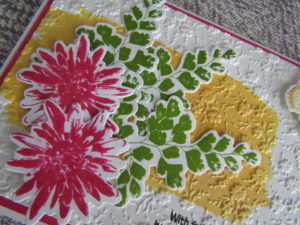
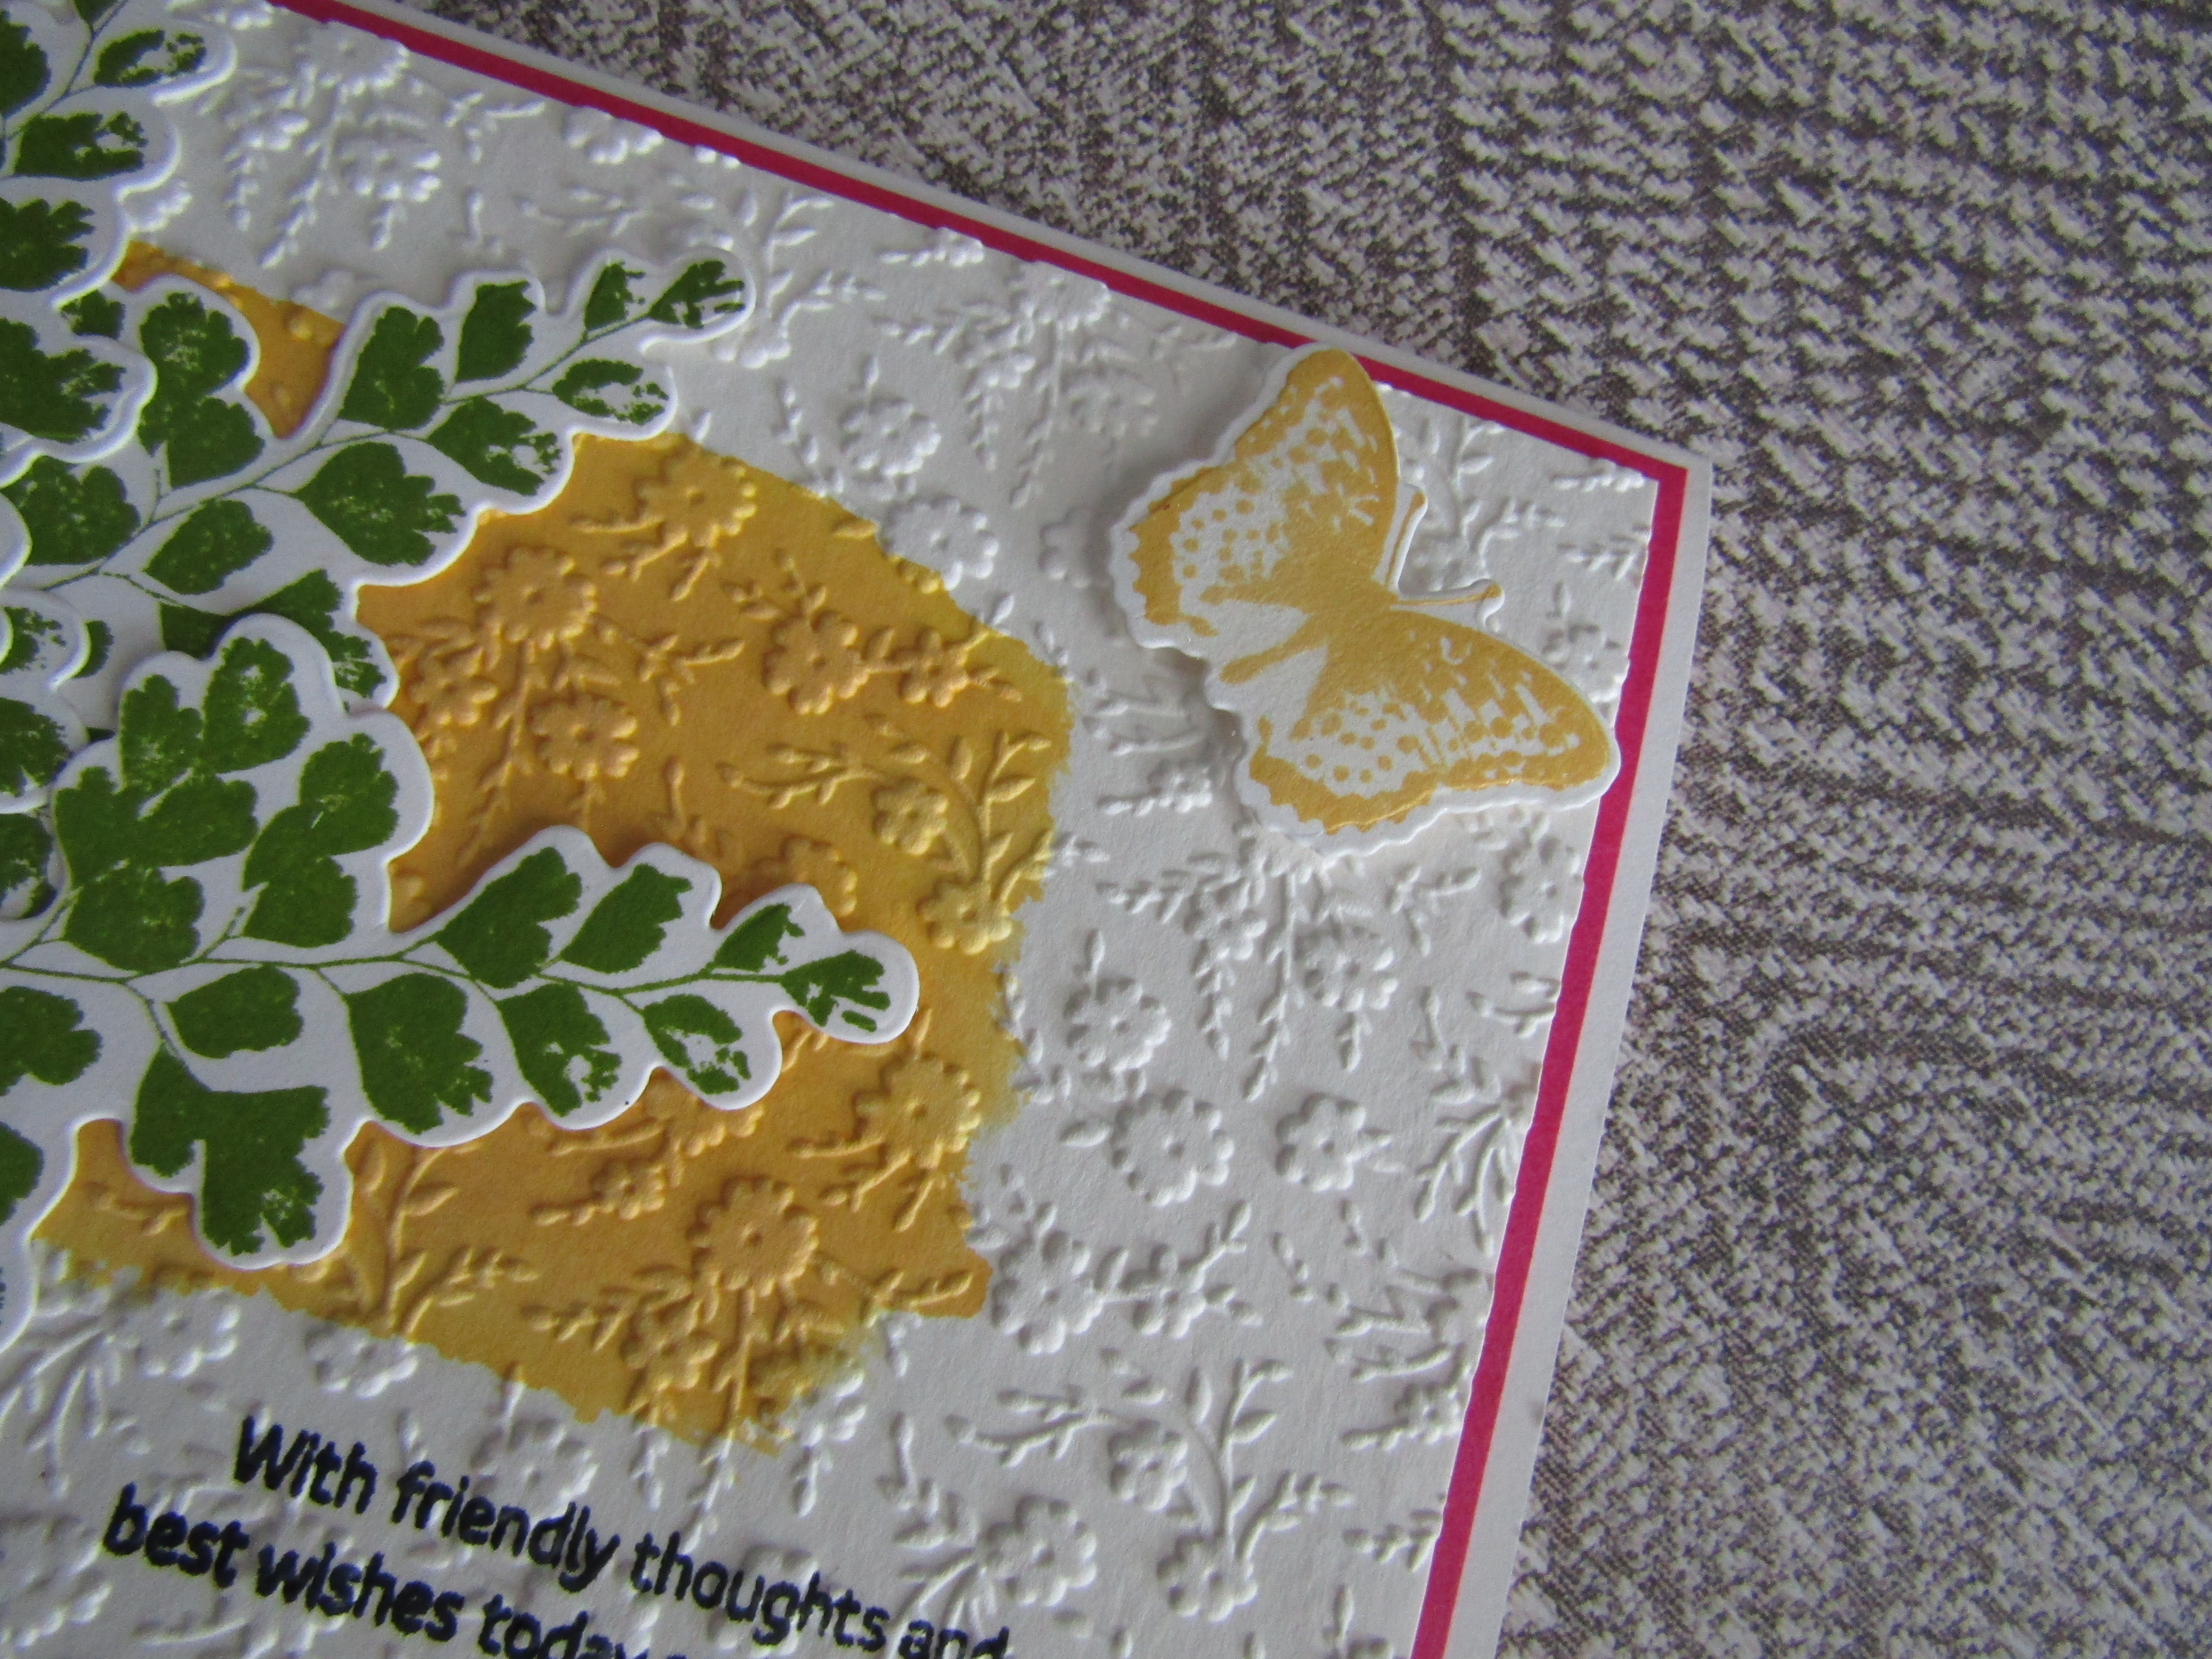
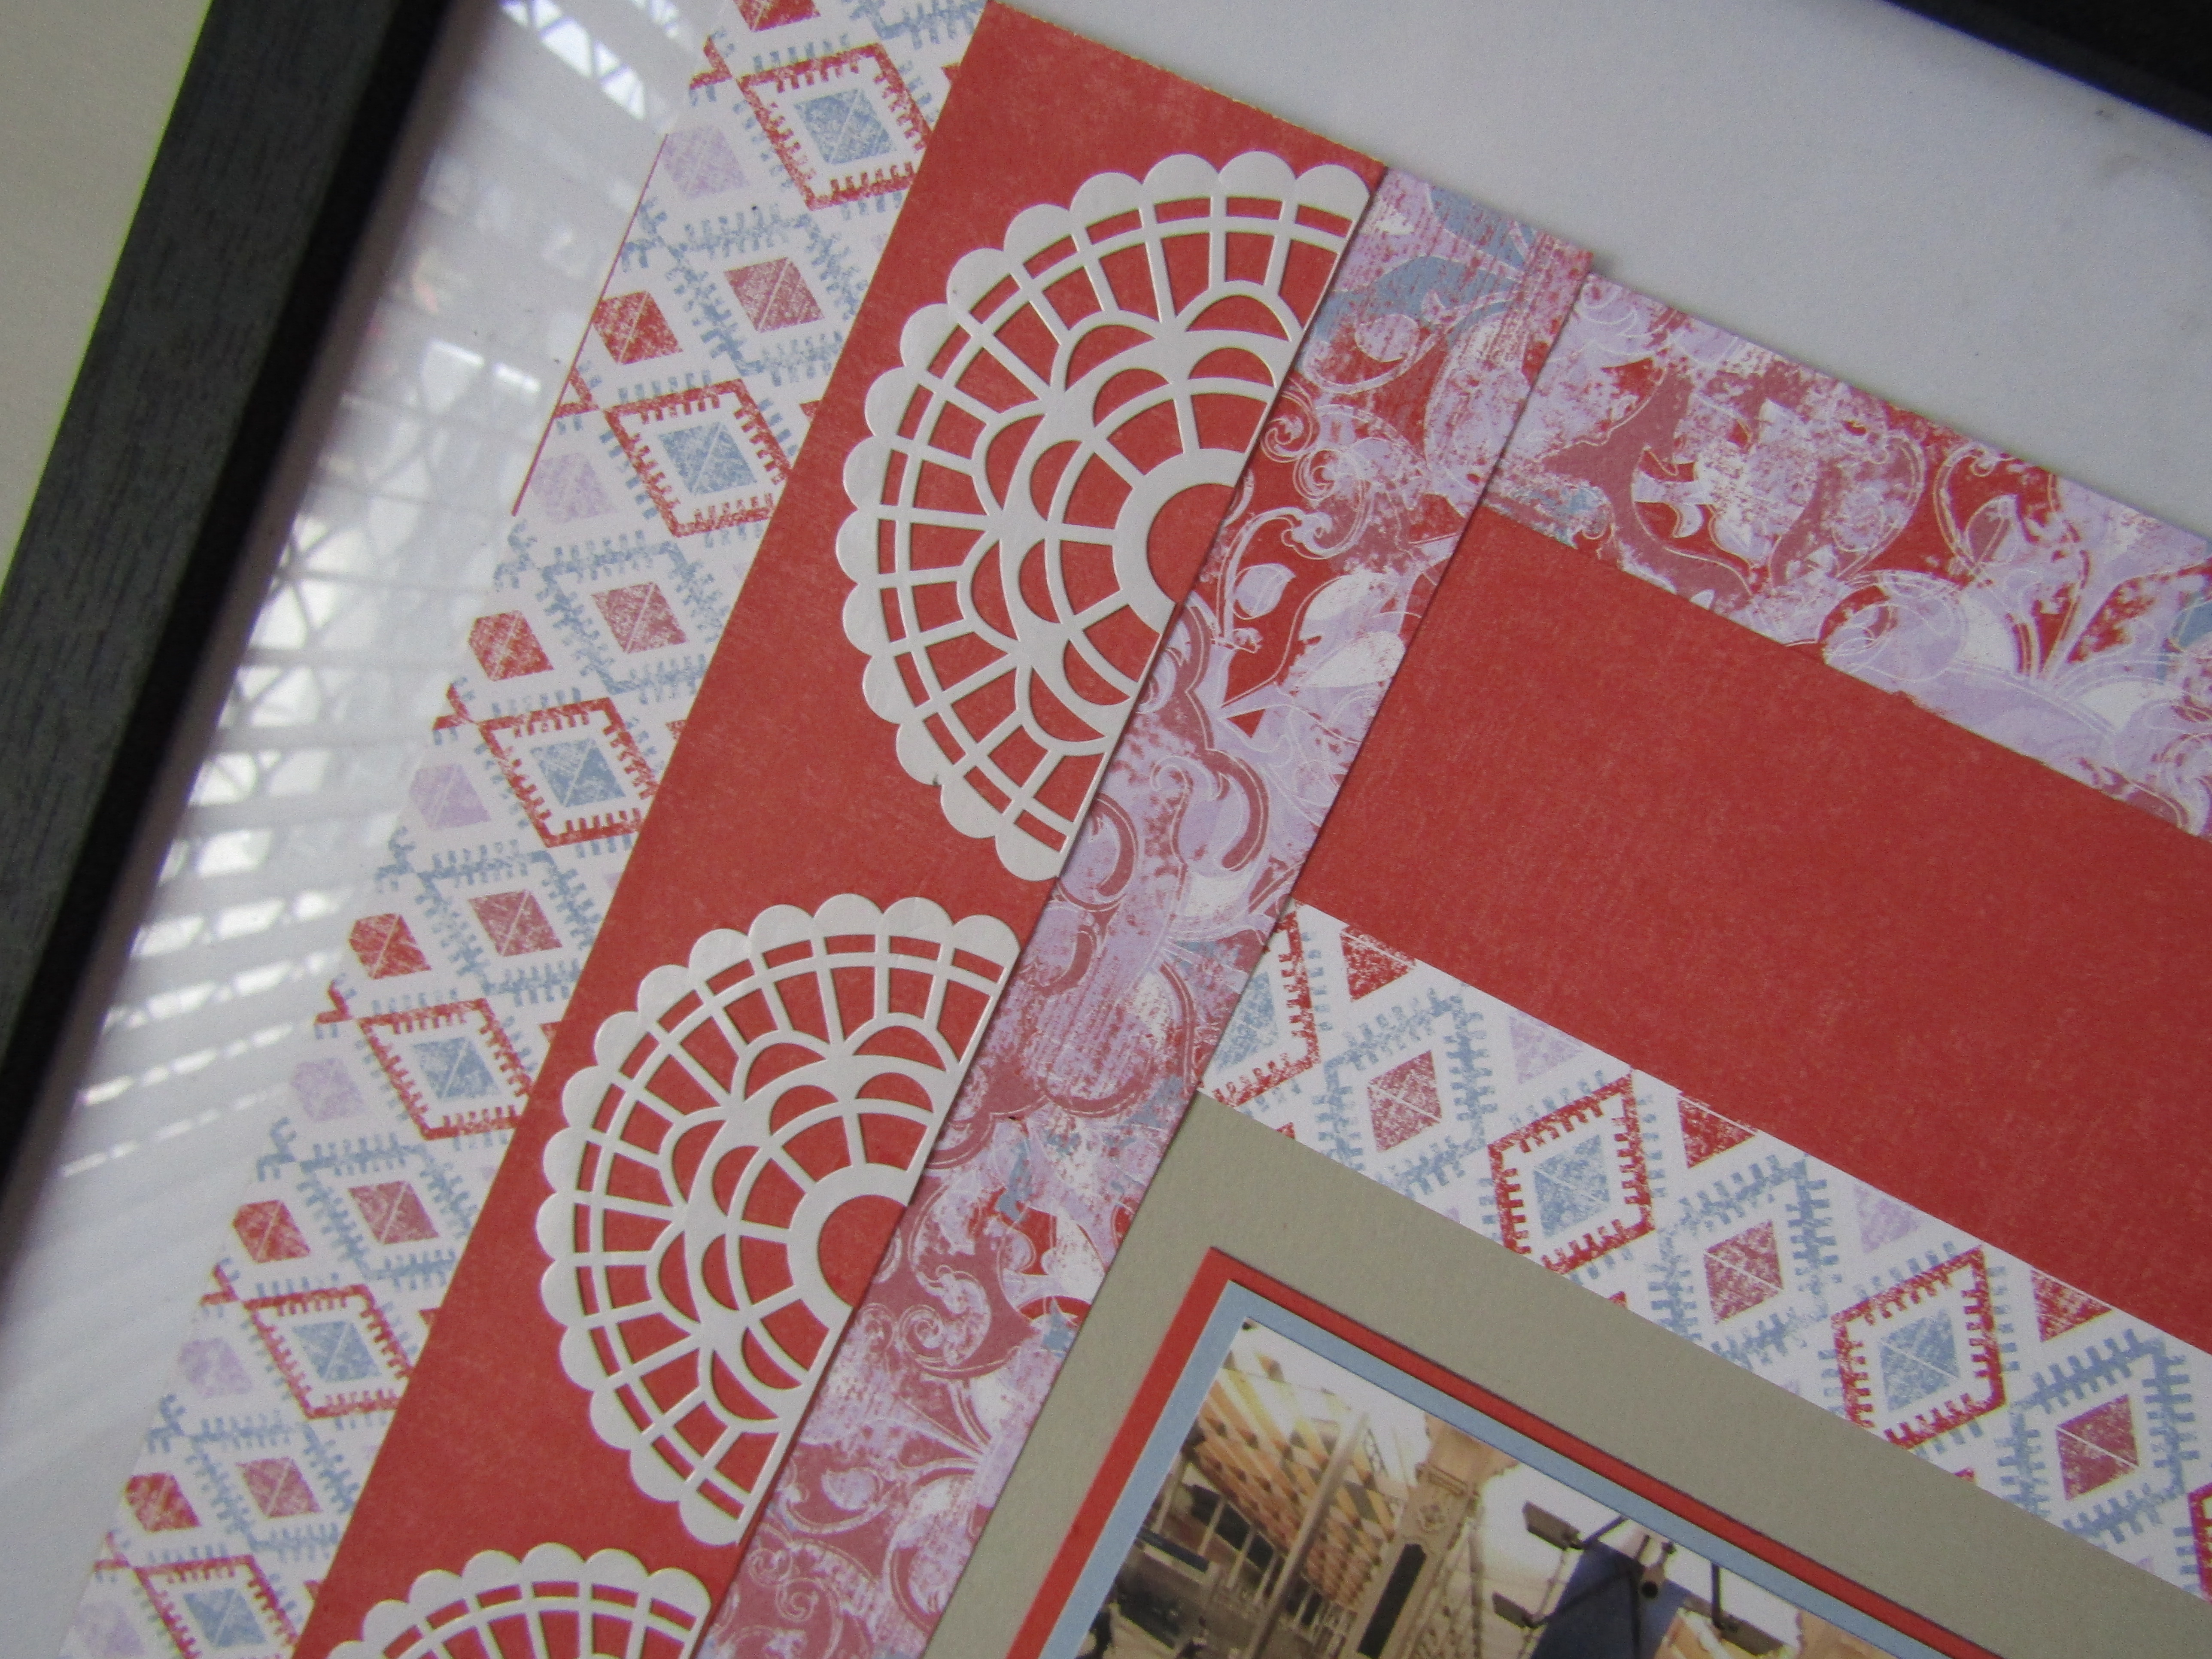
I used Real Red cardstock for the card base, I embossed the Whisper White cardstock with the Tufted Embossing Folder.
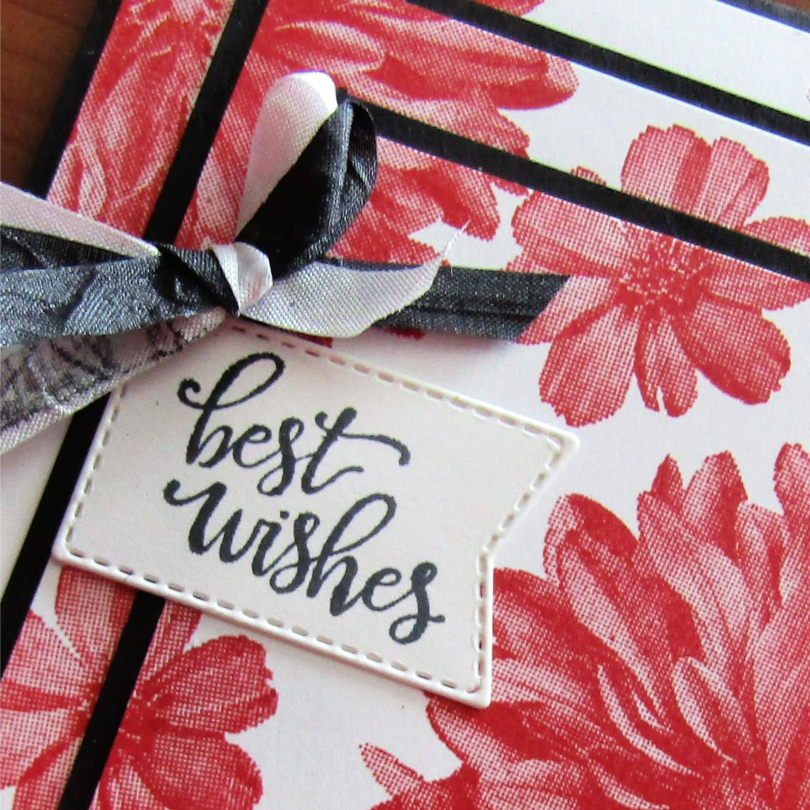
I sponged a piece of Whisper White cardstock using Flirty Flamingo ink and a Sponge Brayer. I die cur the piece using the large and second large hearts from the Stitched Be Mine Dies. I emboss the “Just for You” greeting using VersaMark ink and black embossing powder
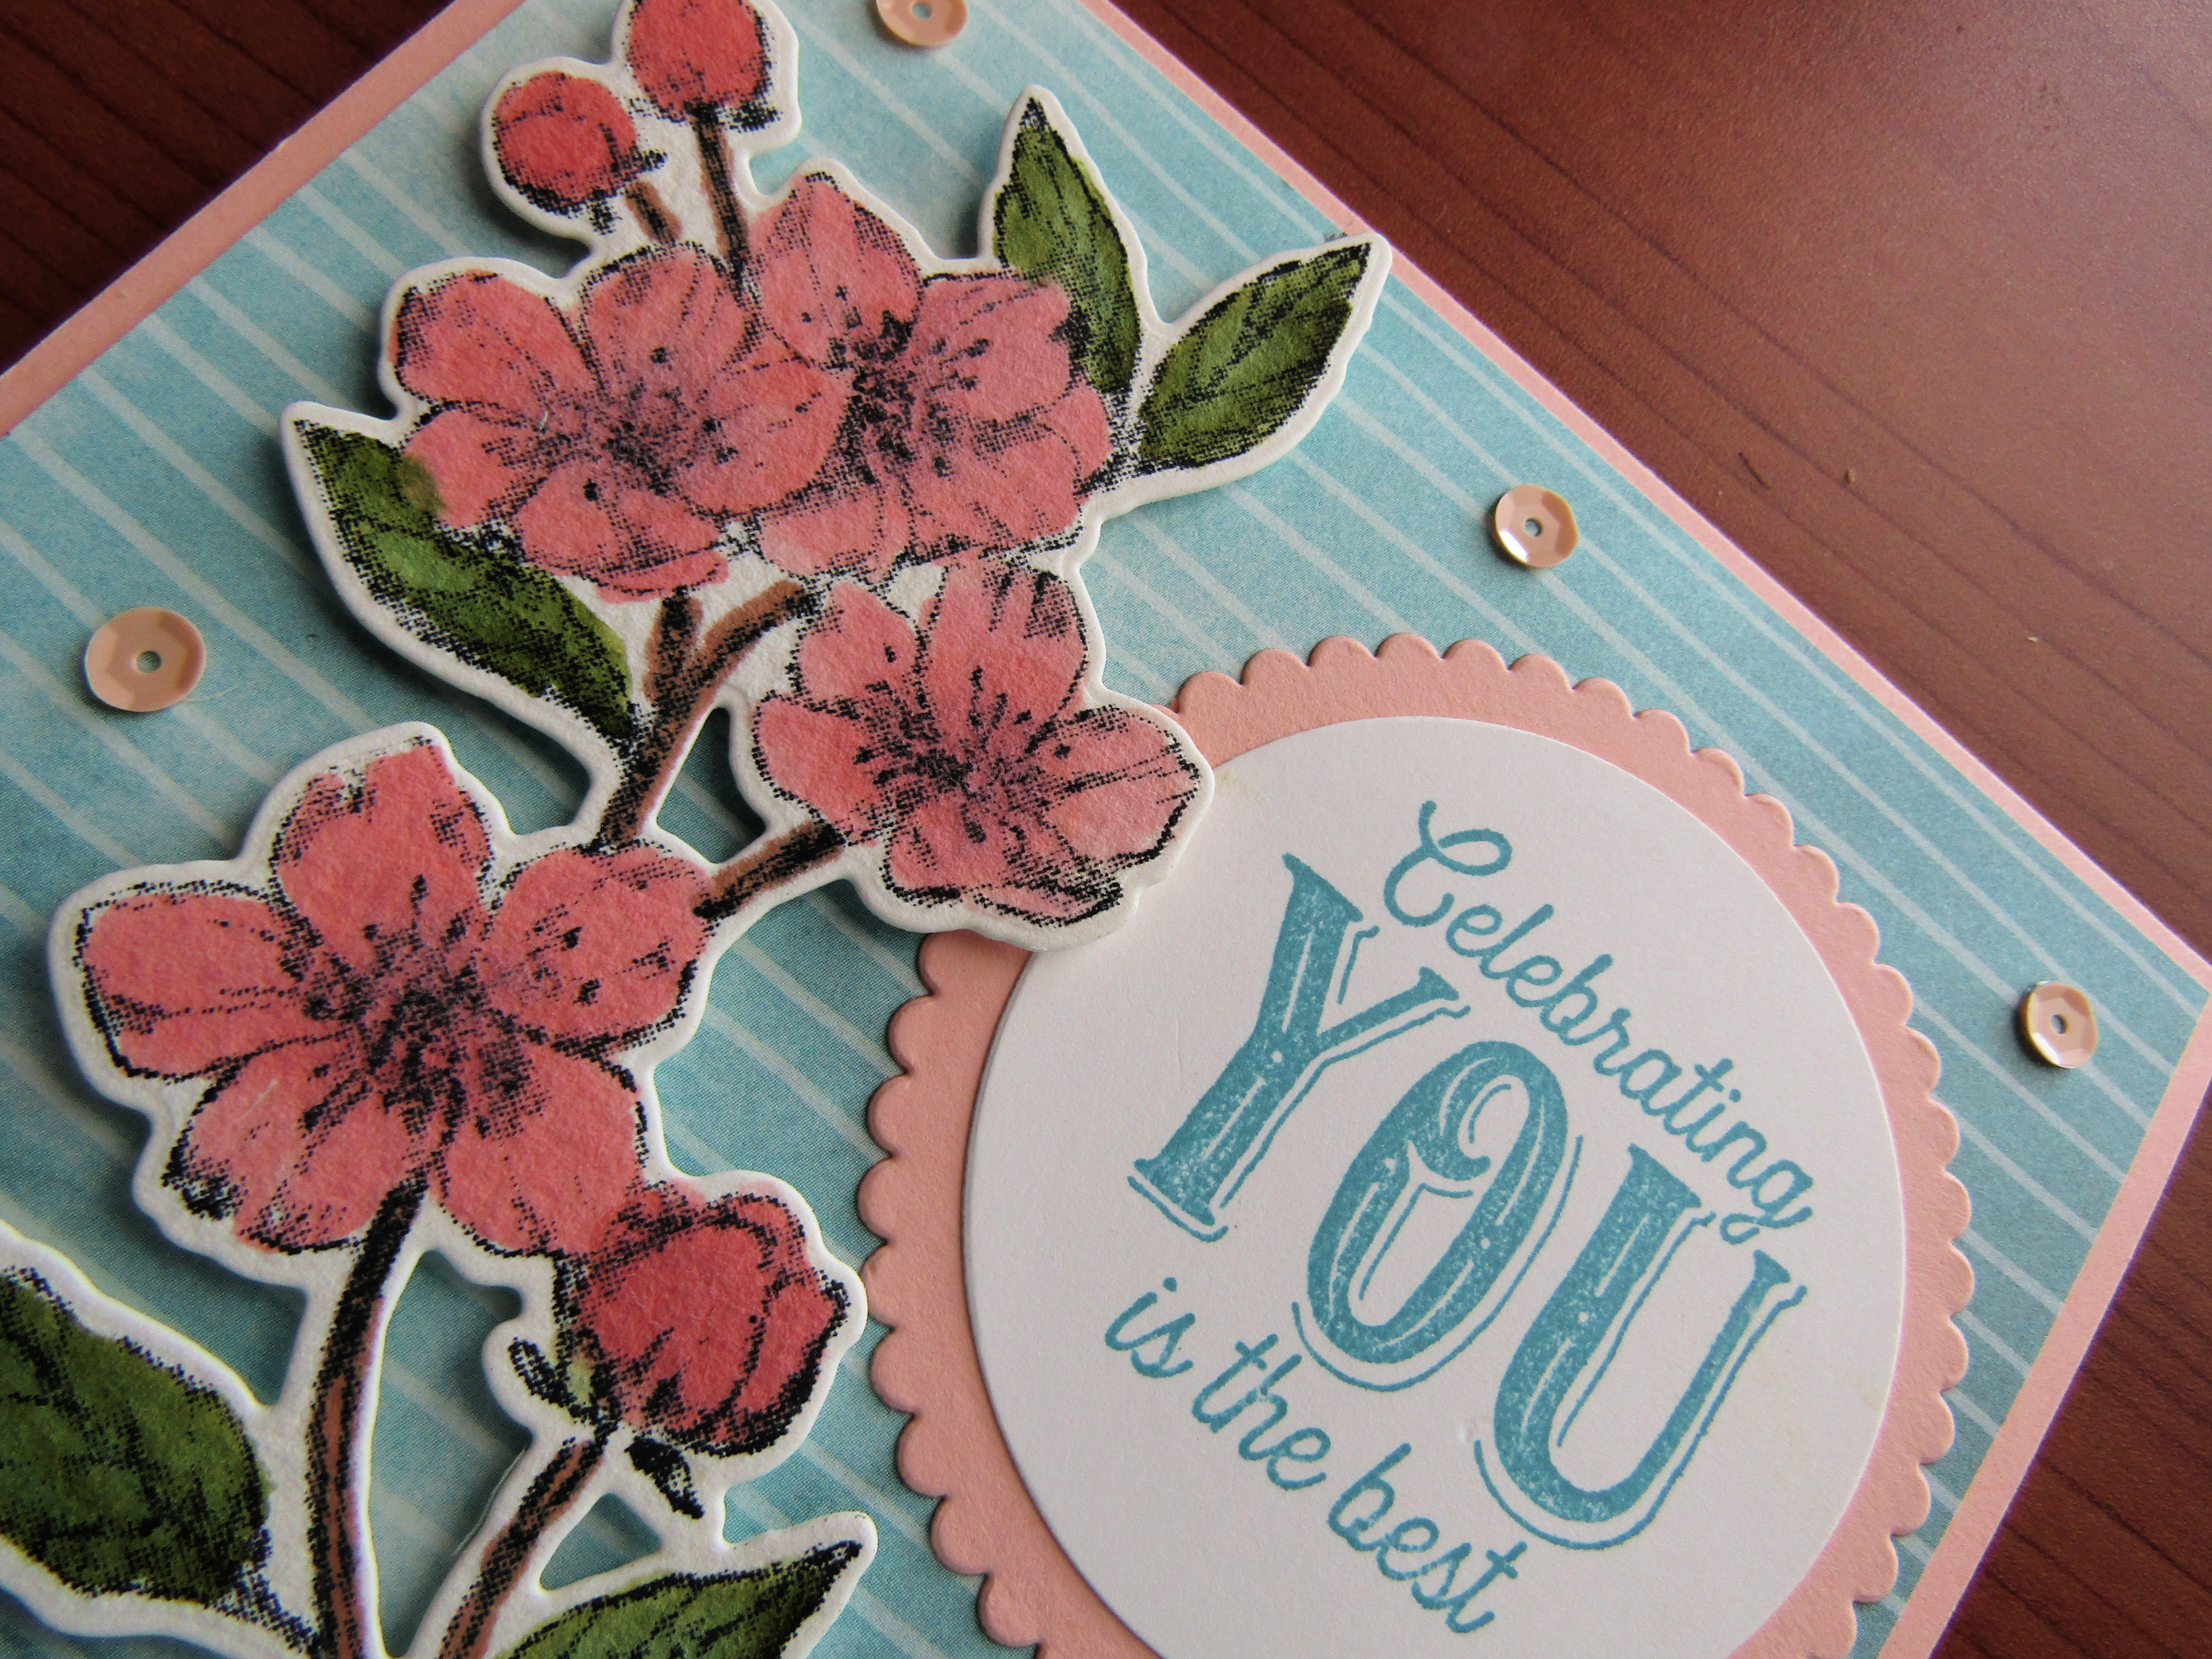
*I stamped the heart with the filigree edge on to a piece of Whisper White cardstock using Real Red ink, then I coloured the Filigree using Flirty Flamingo dark Stampin’ Blend.*
In the centre of the heart I stamped the small striped heart using Flirty Flamingo ink. I then die cut the heart using the third largest heart die, I then die cut the small stamped heart using the small heart die. Using Real Red cardstock I cut out the third largest heart die, I only used the stitched edge of the heart*
* I repeated the the above once more


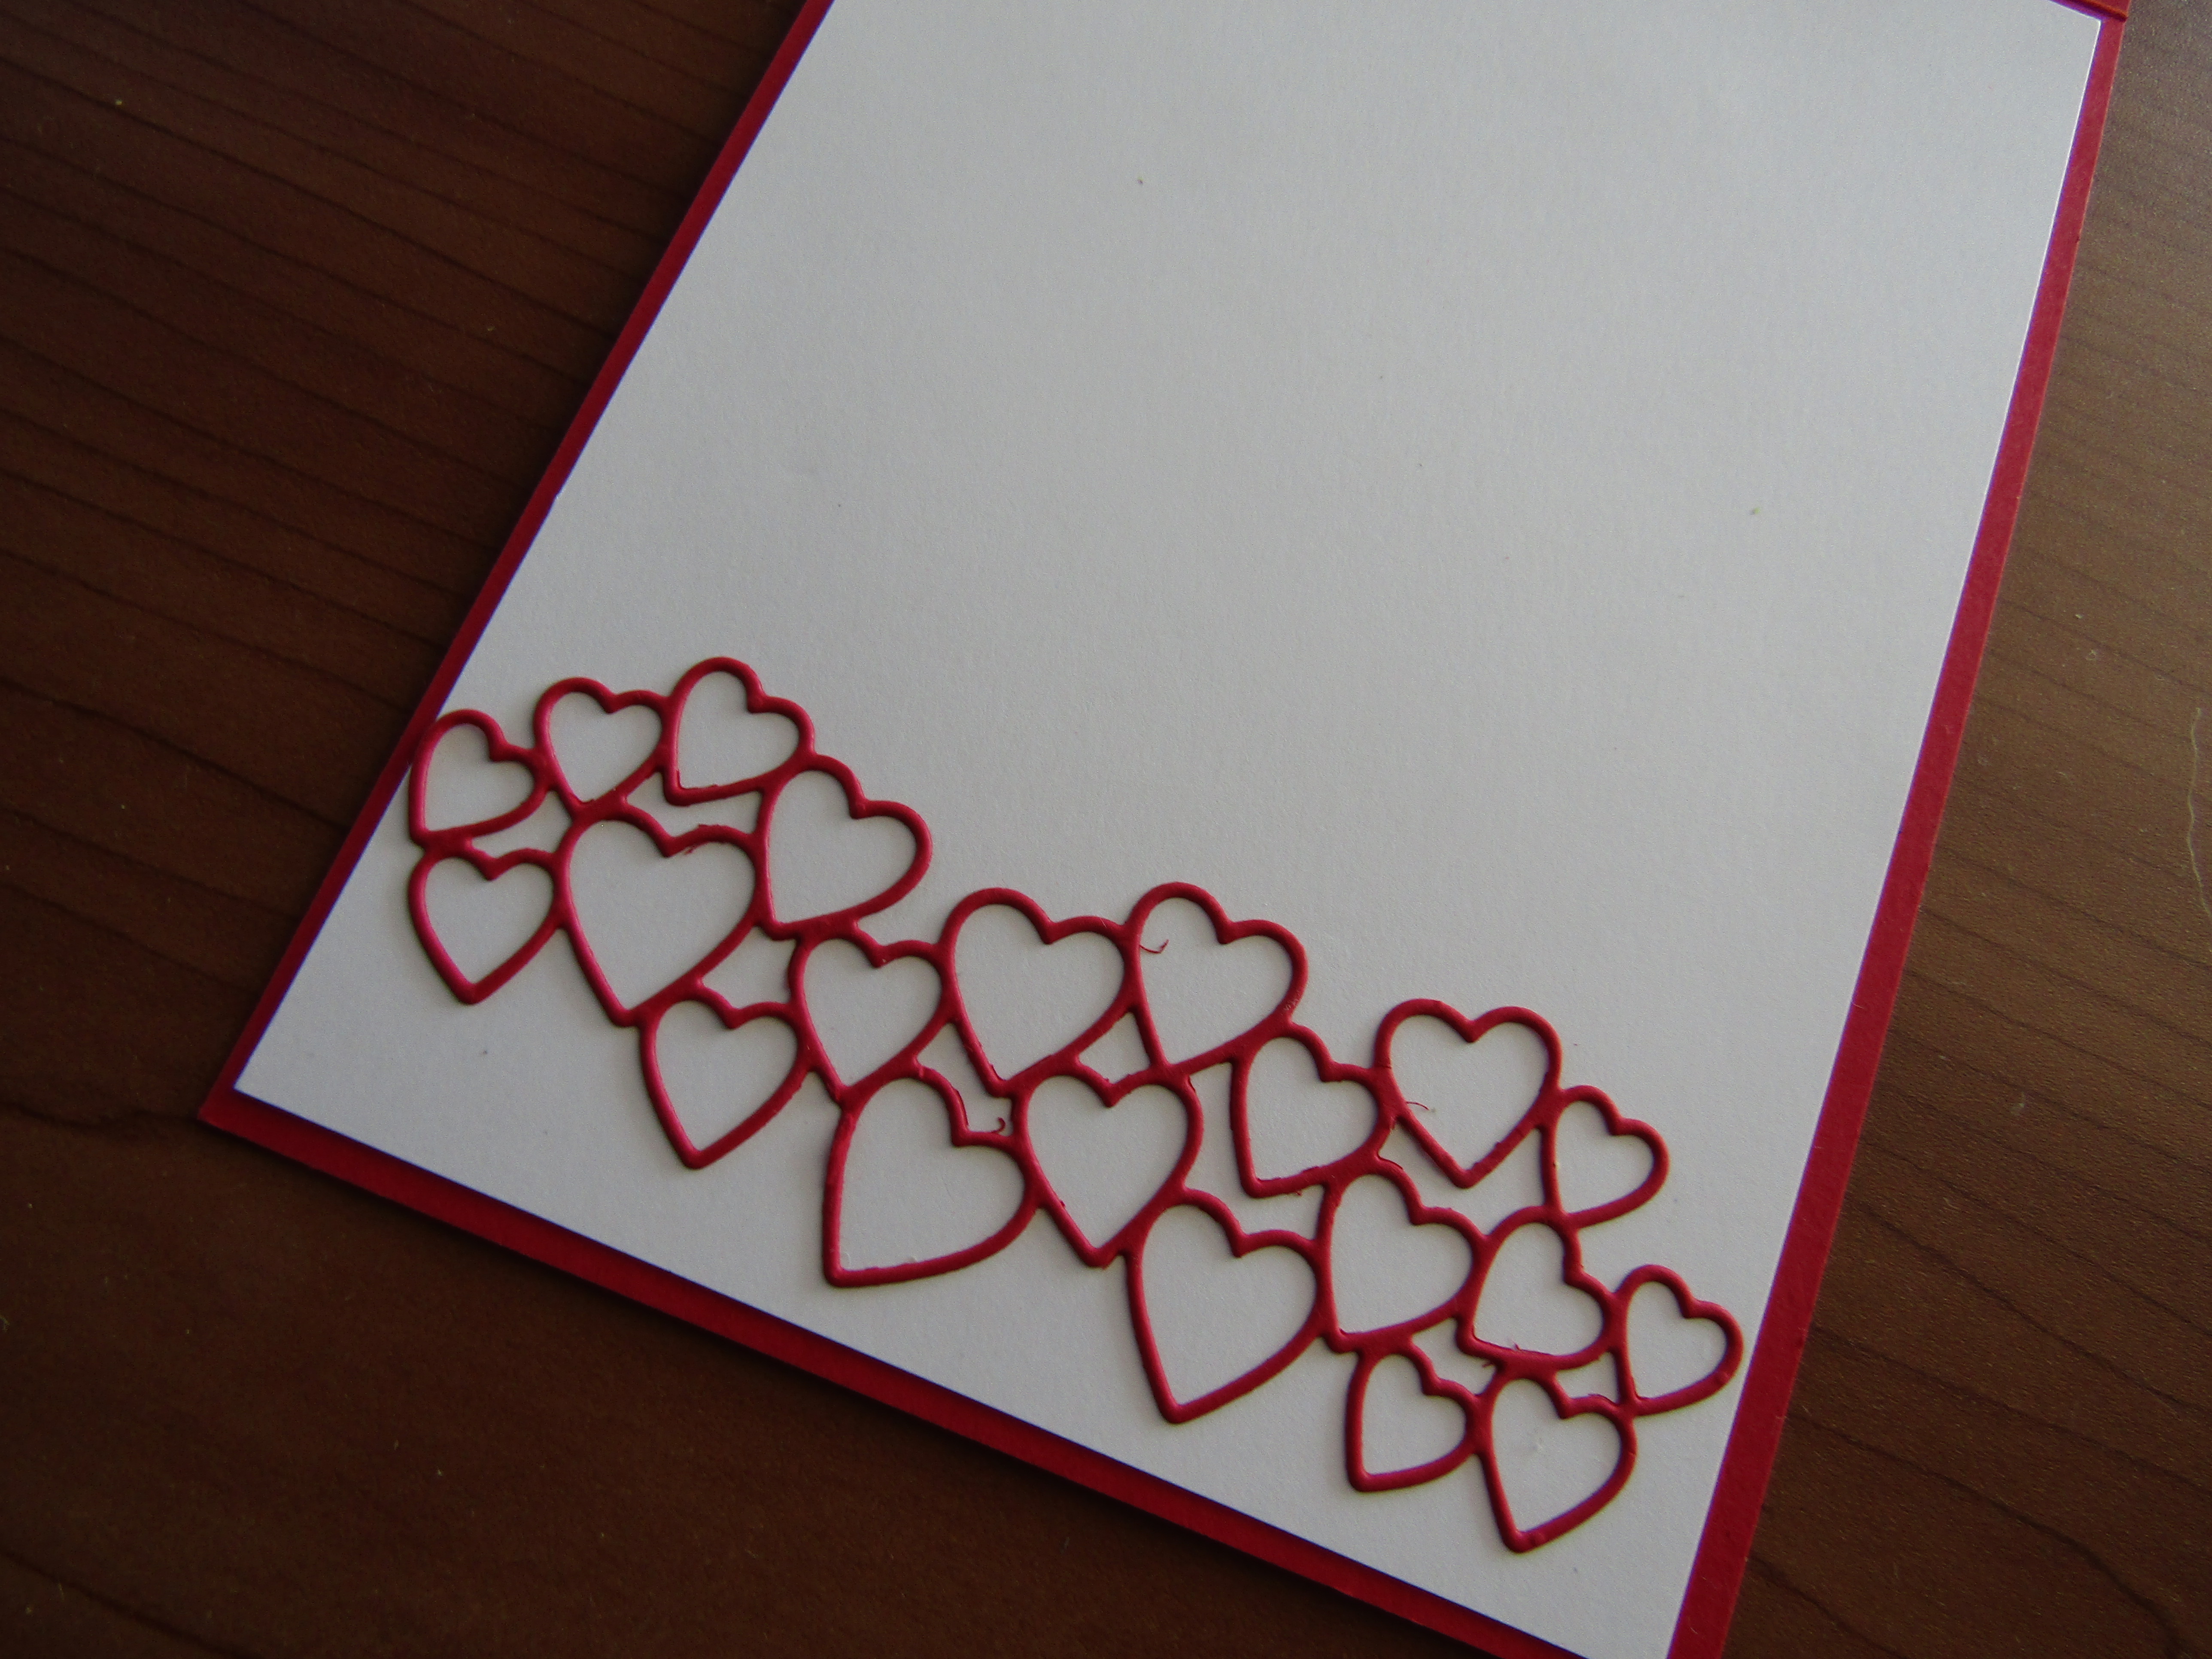
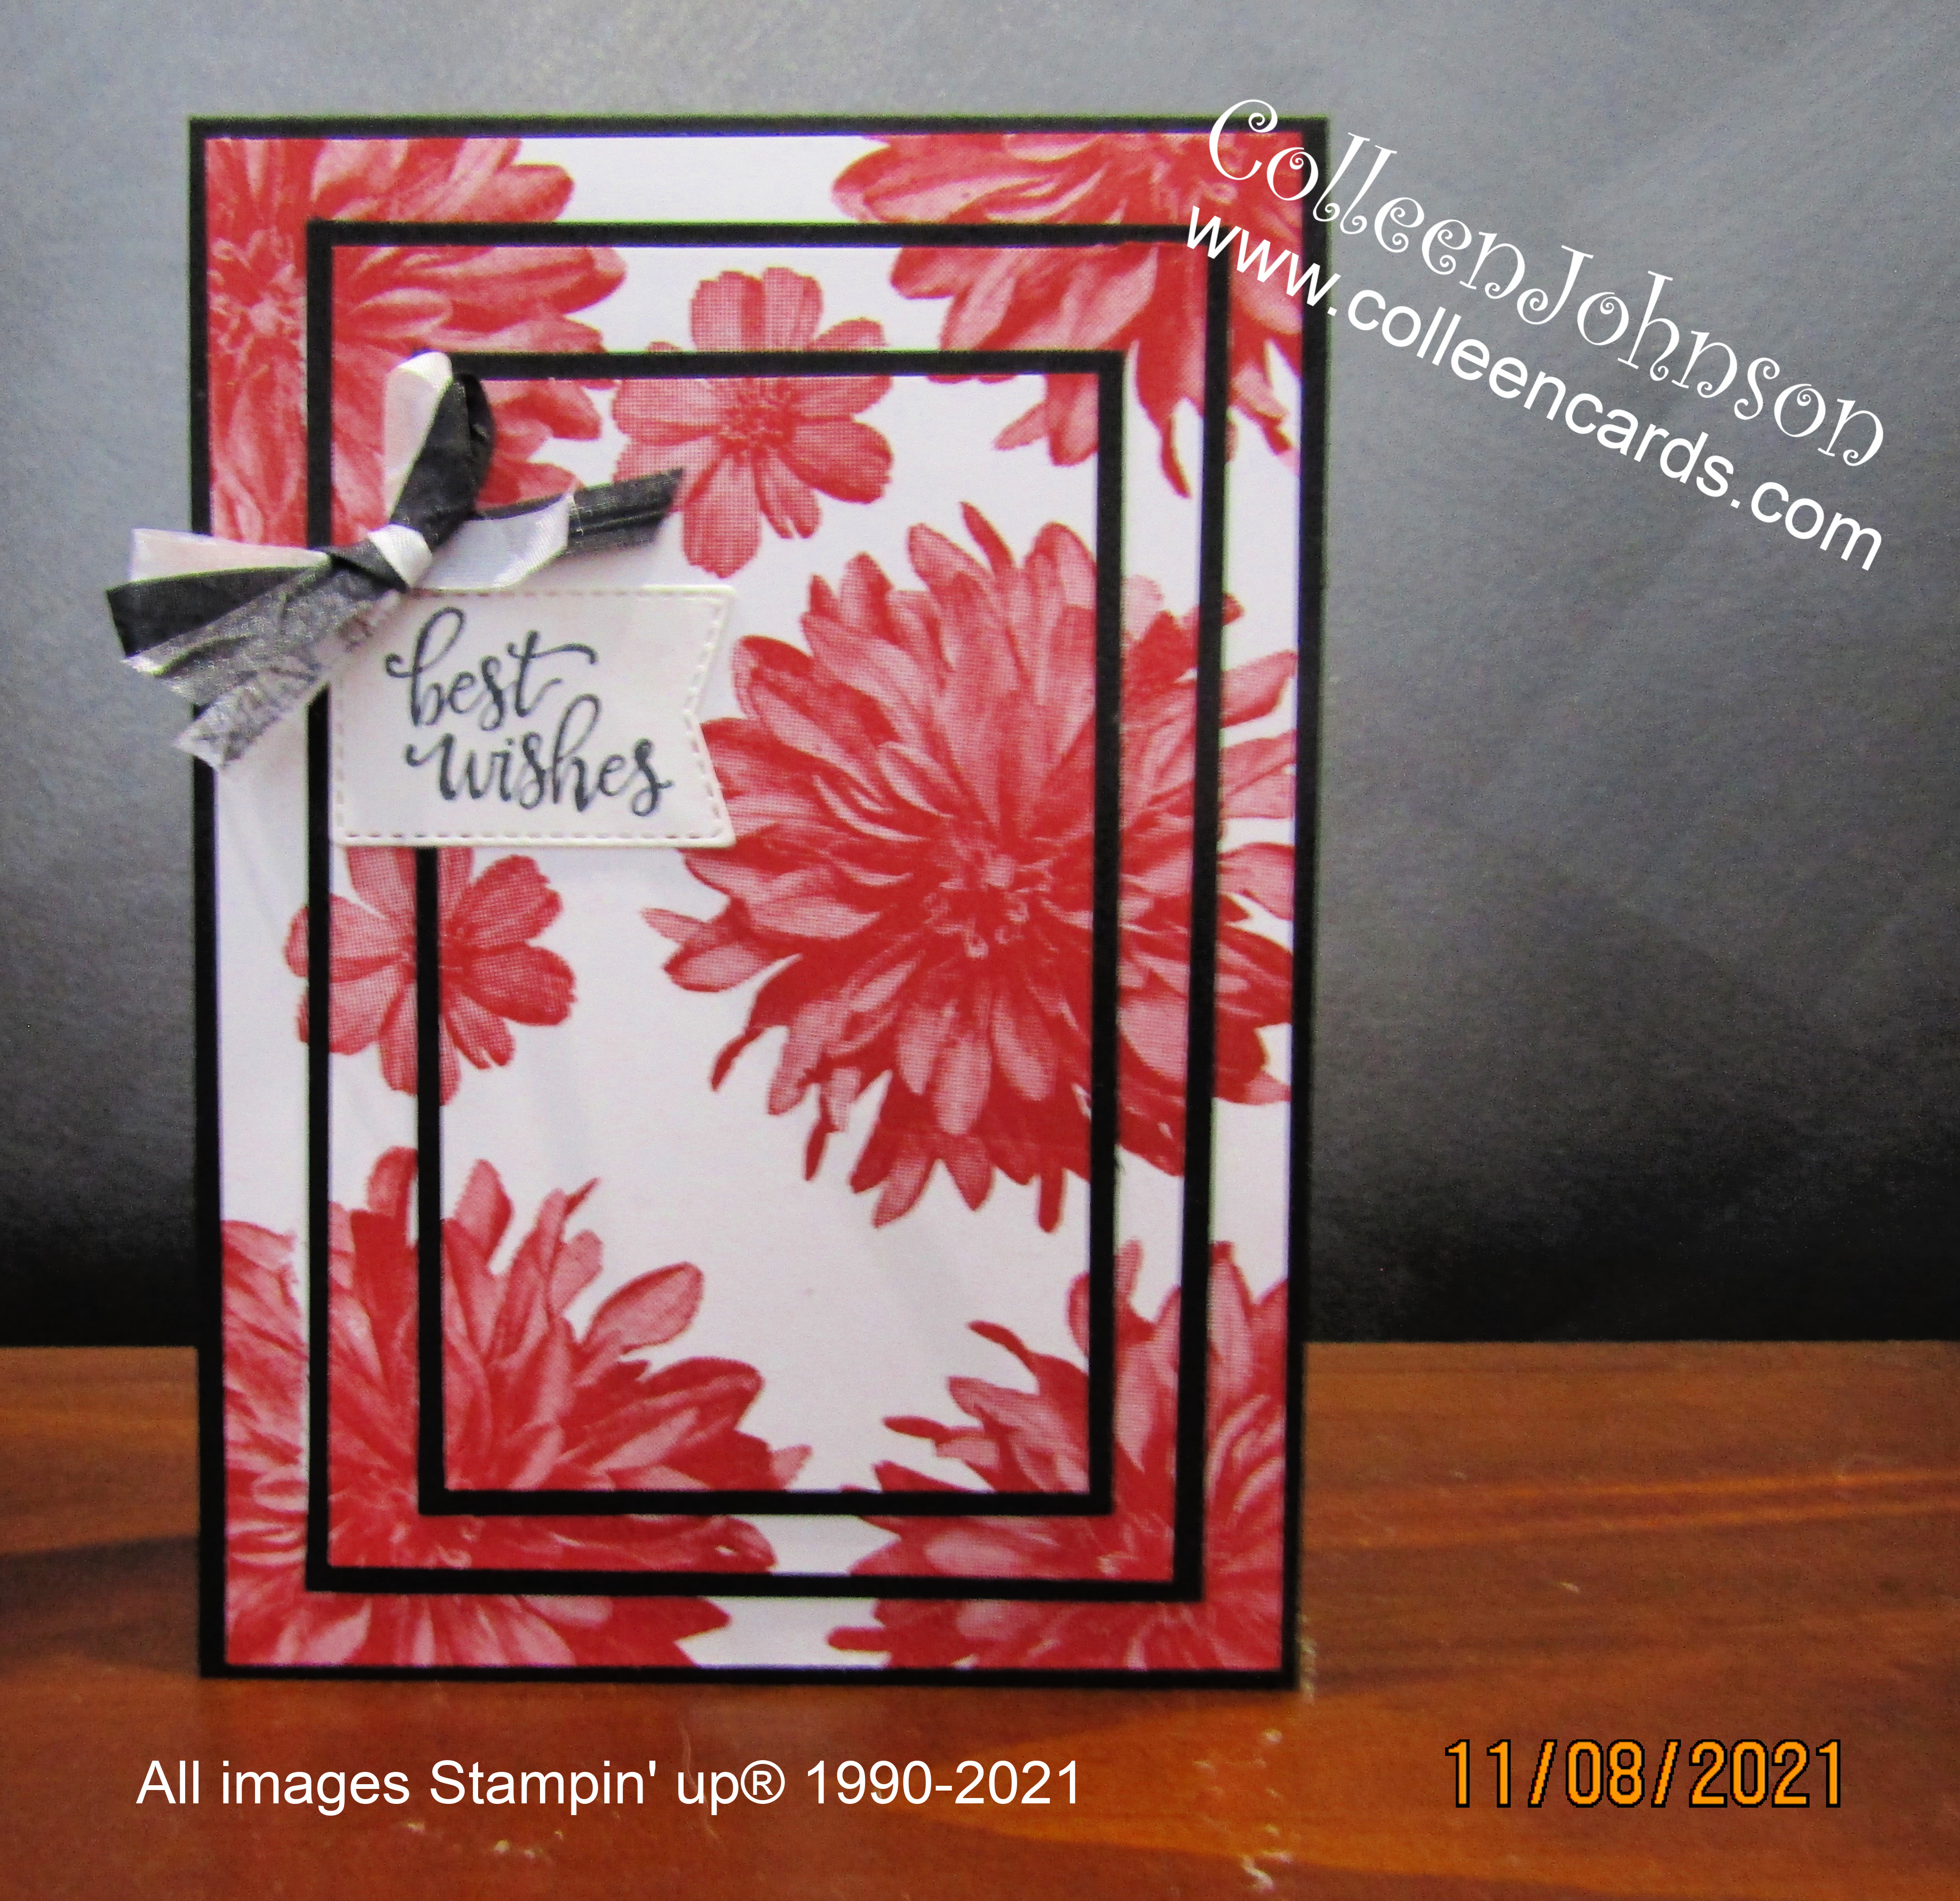
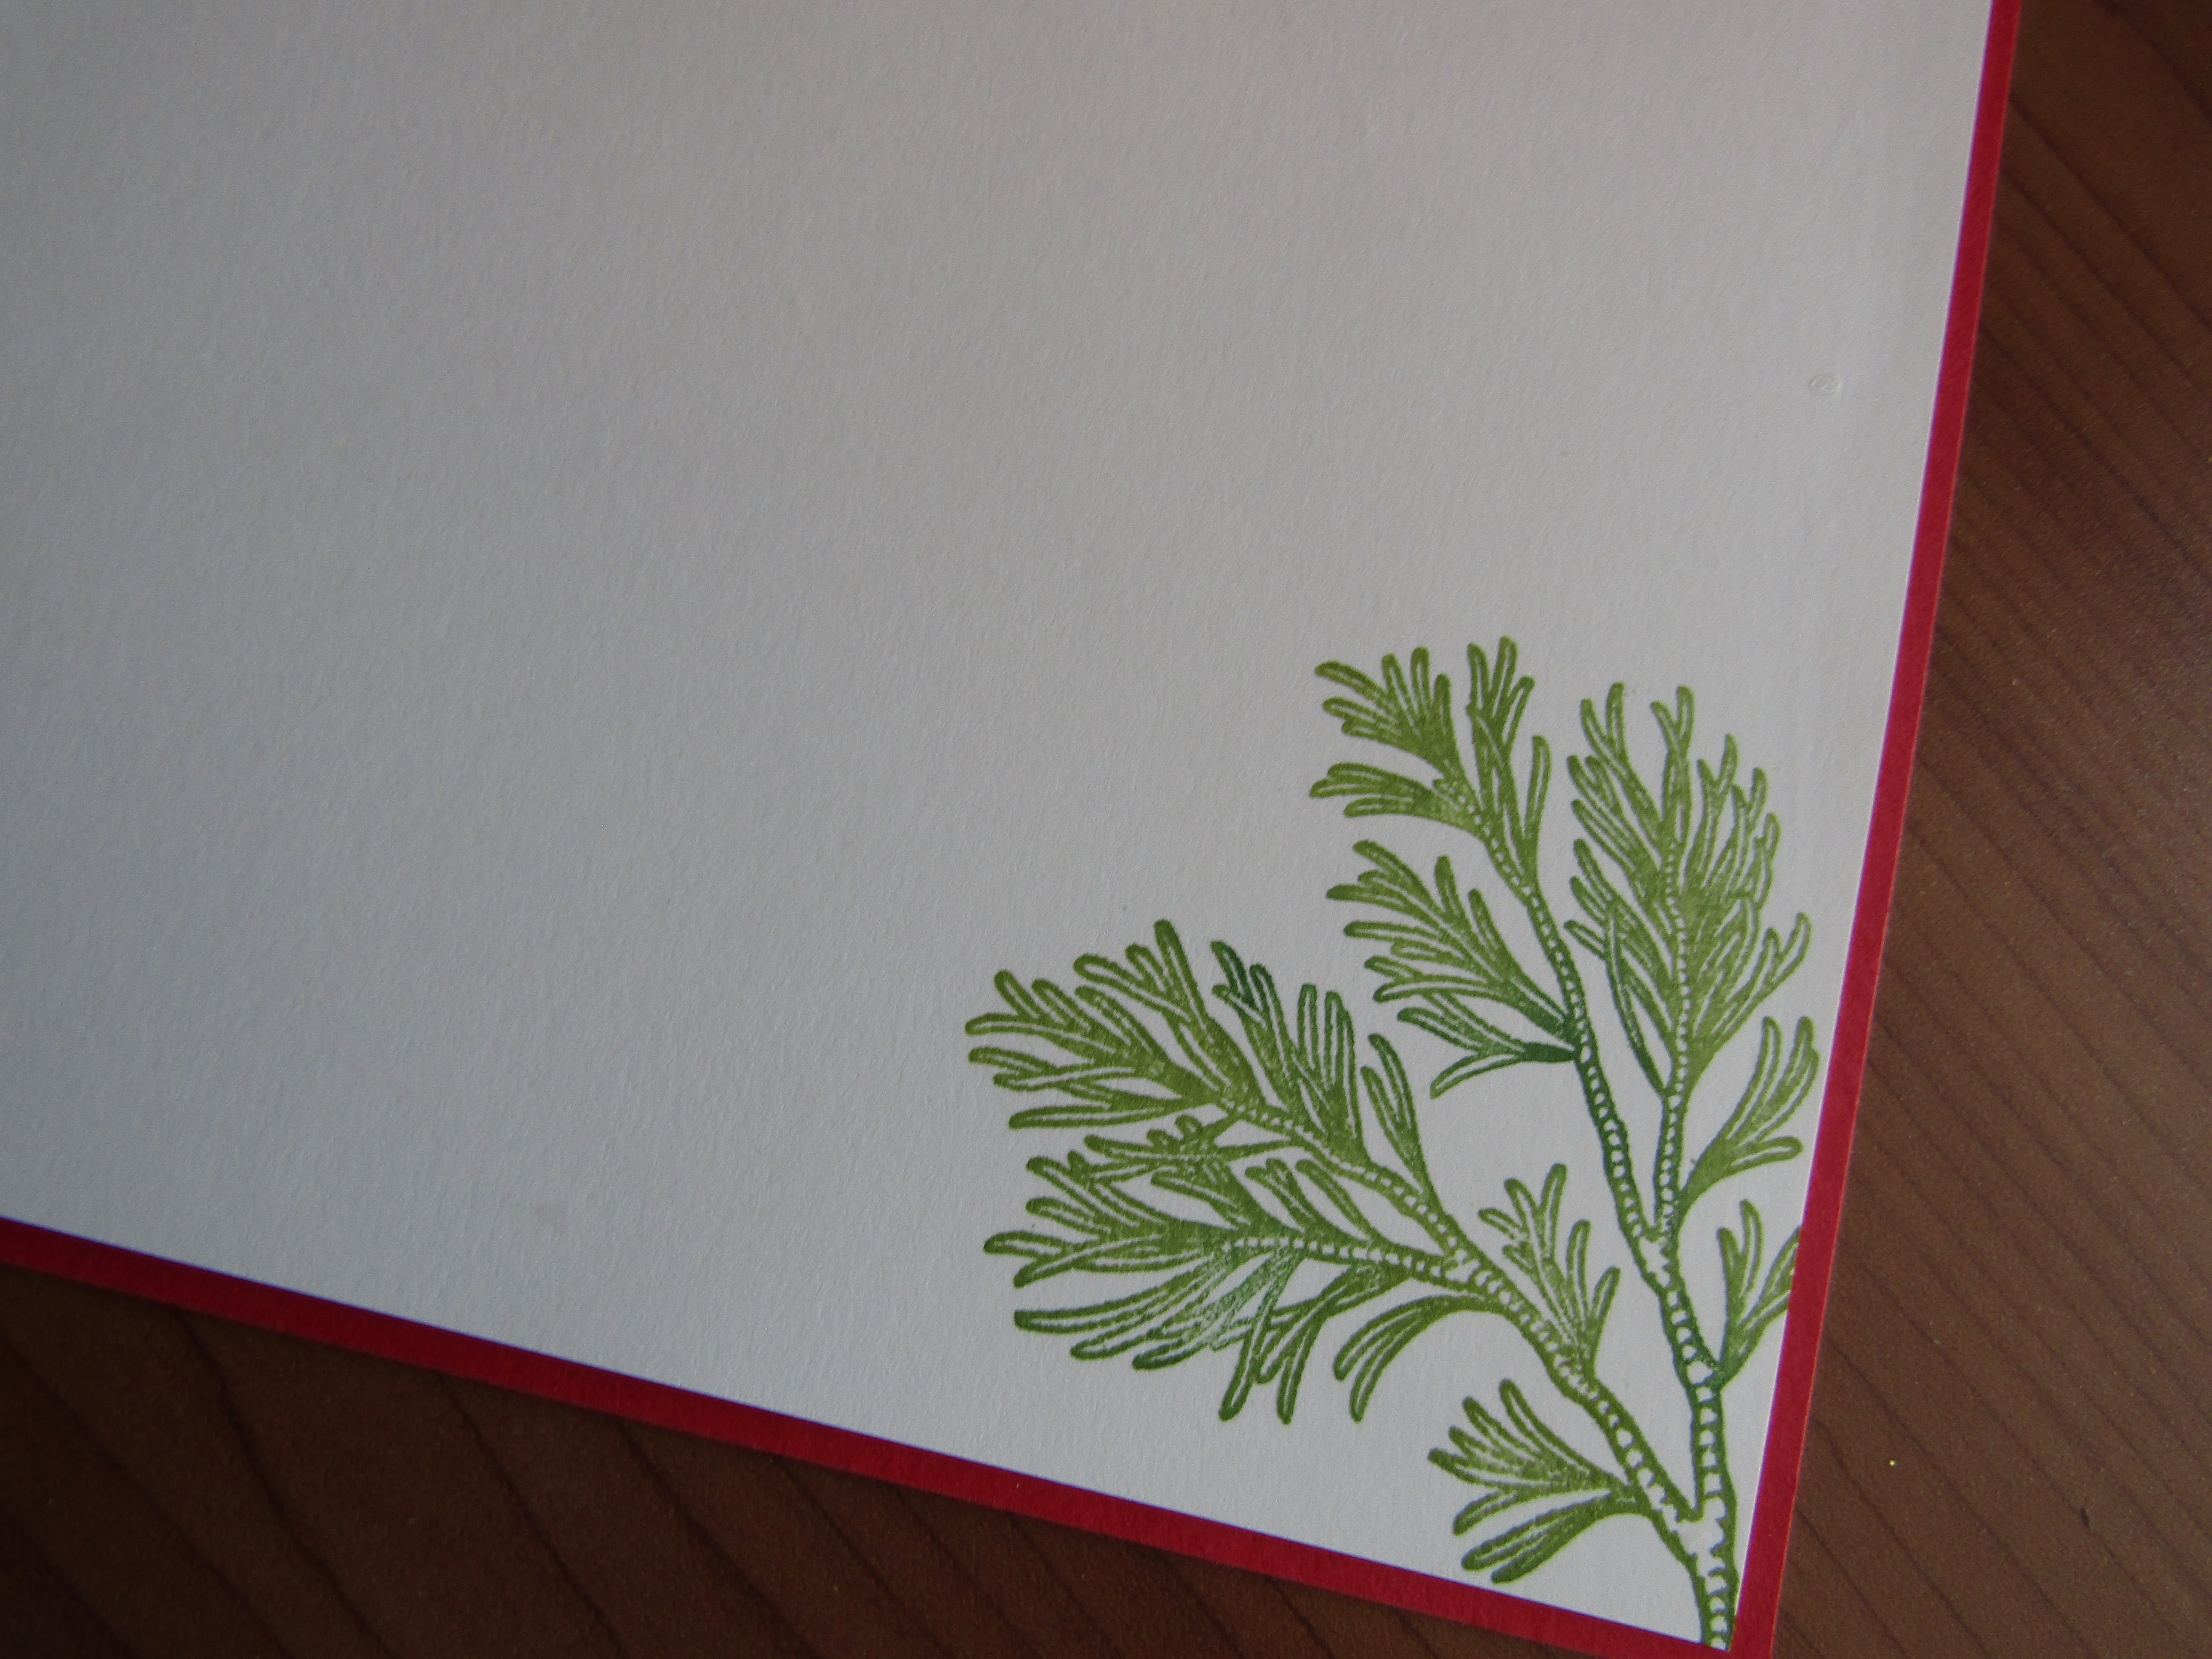
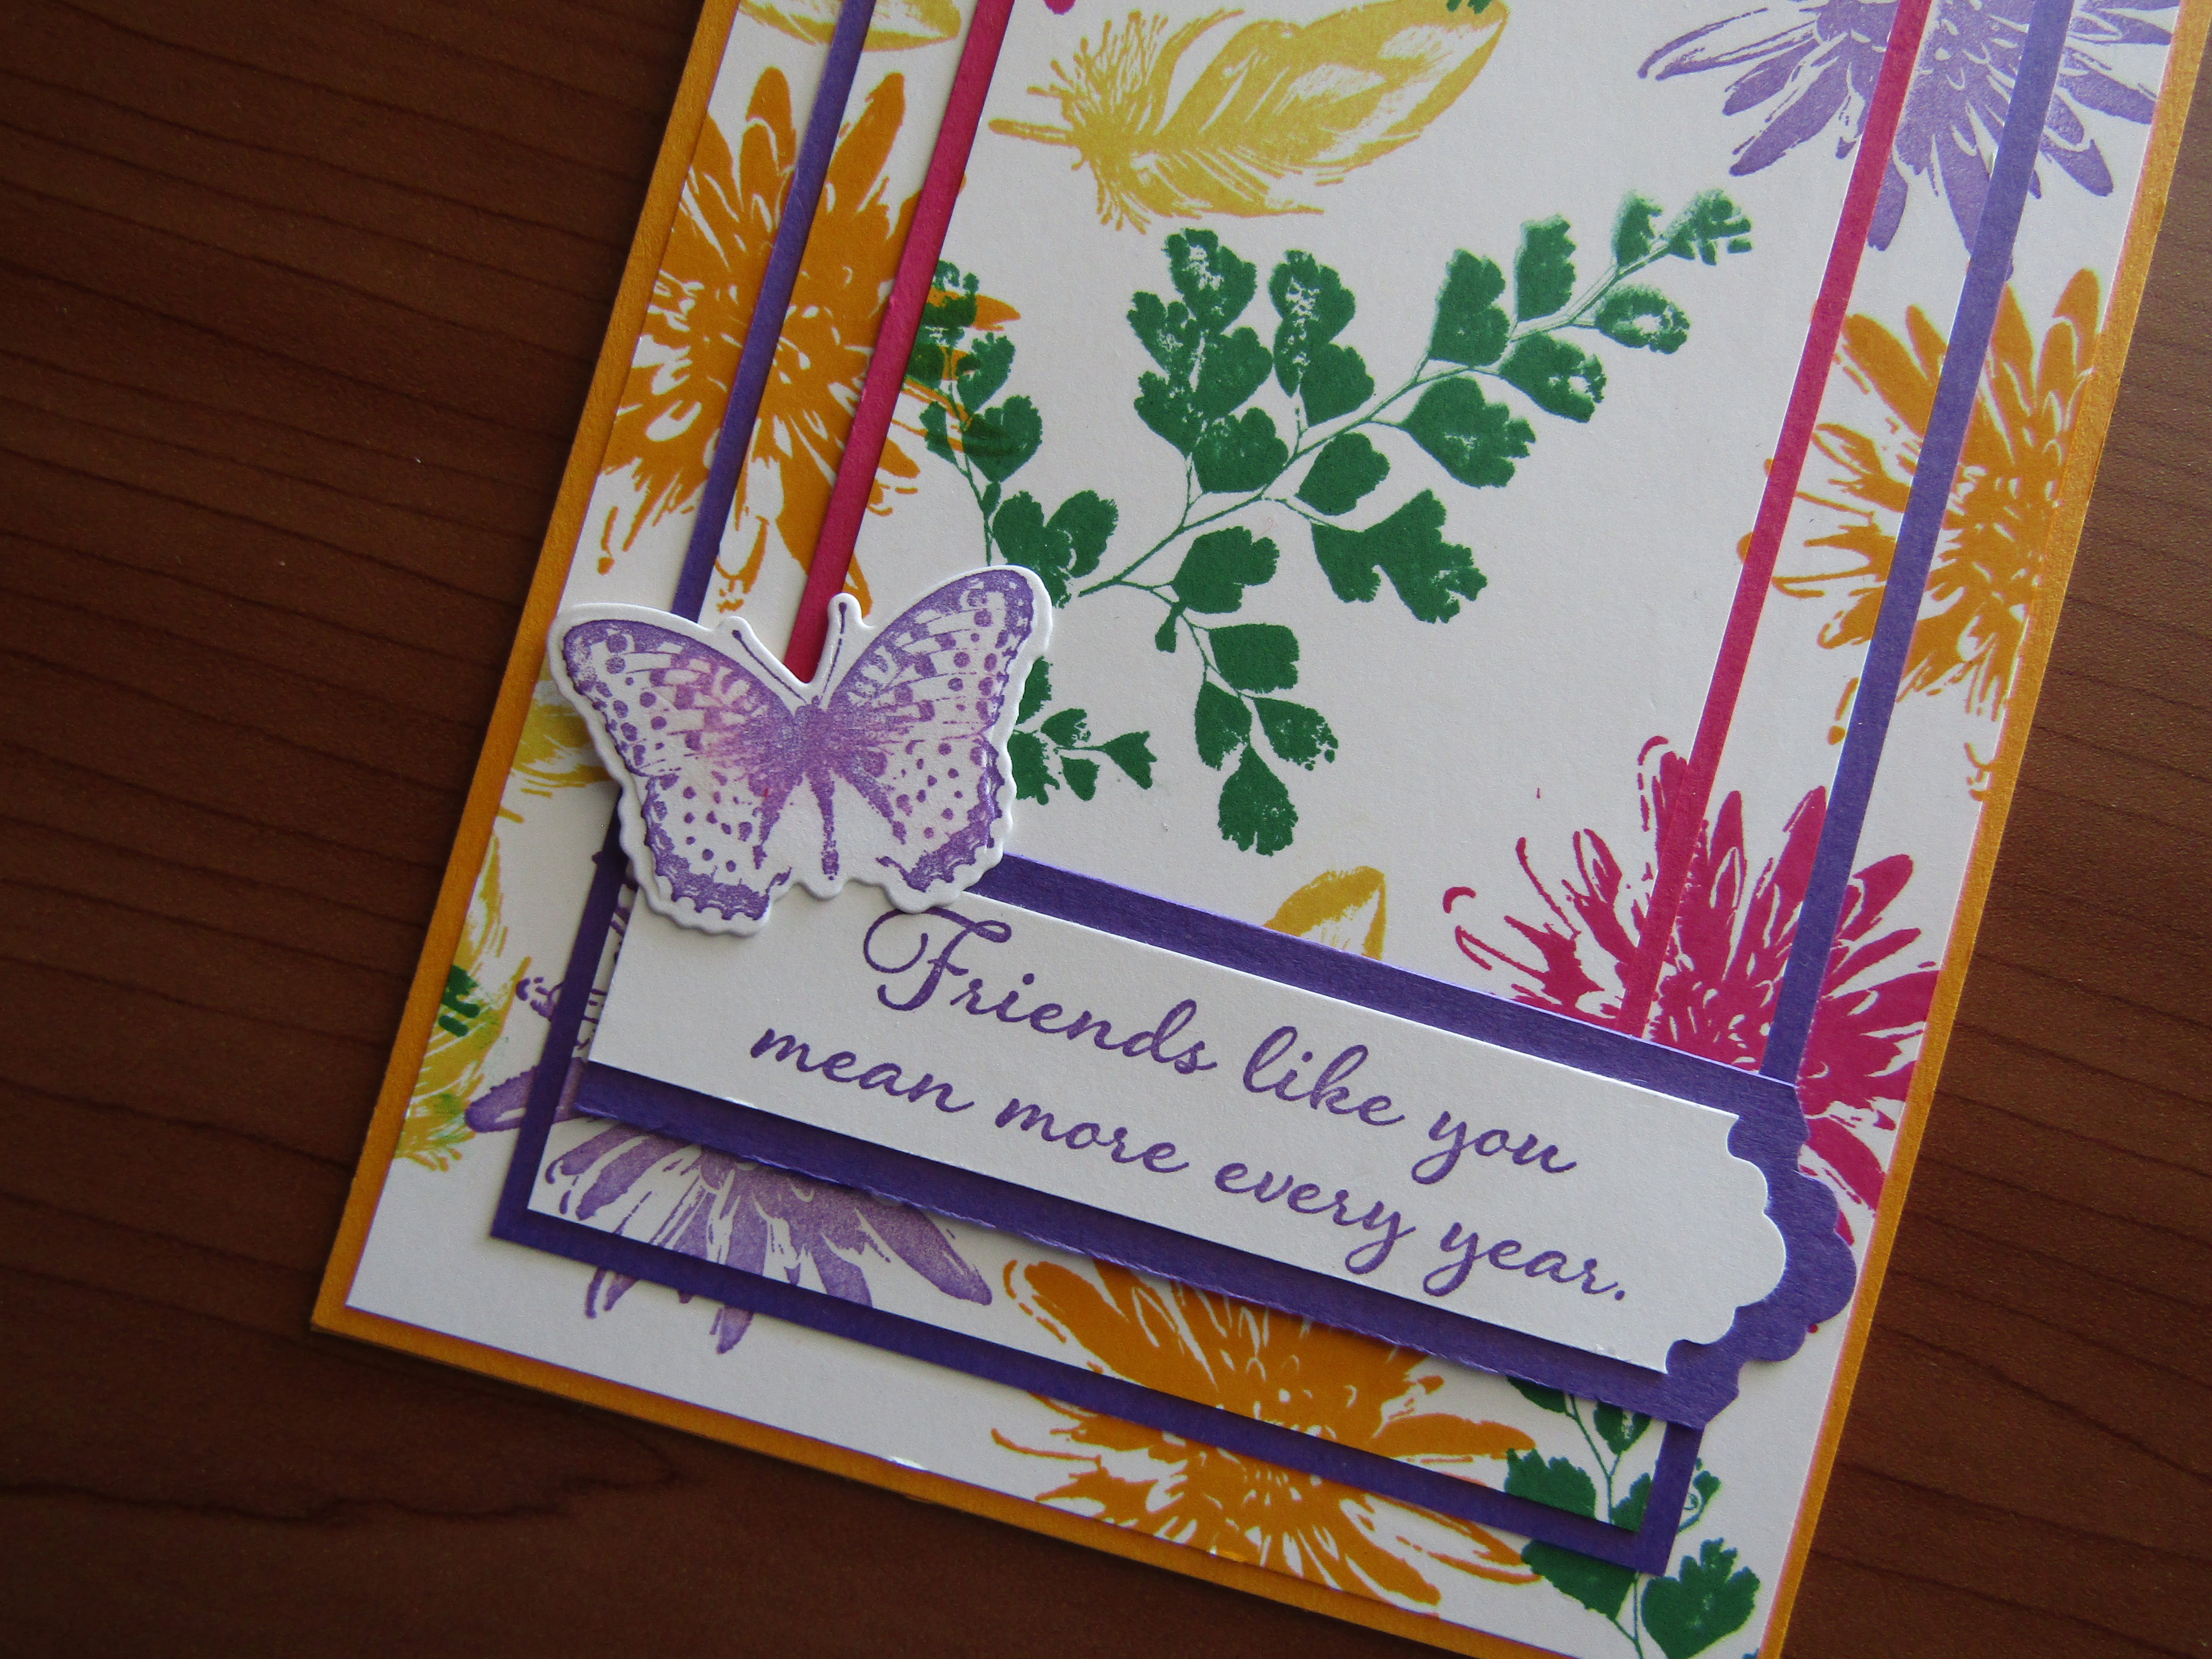
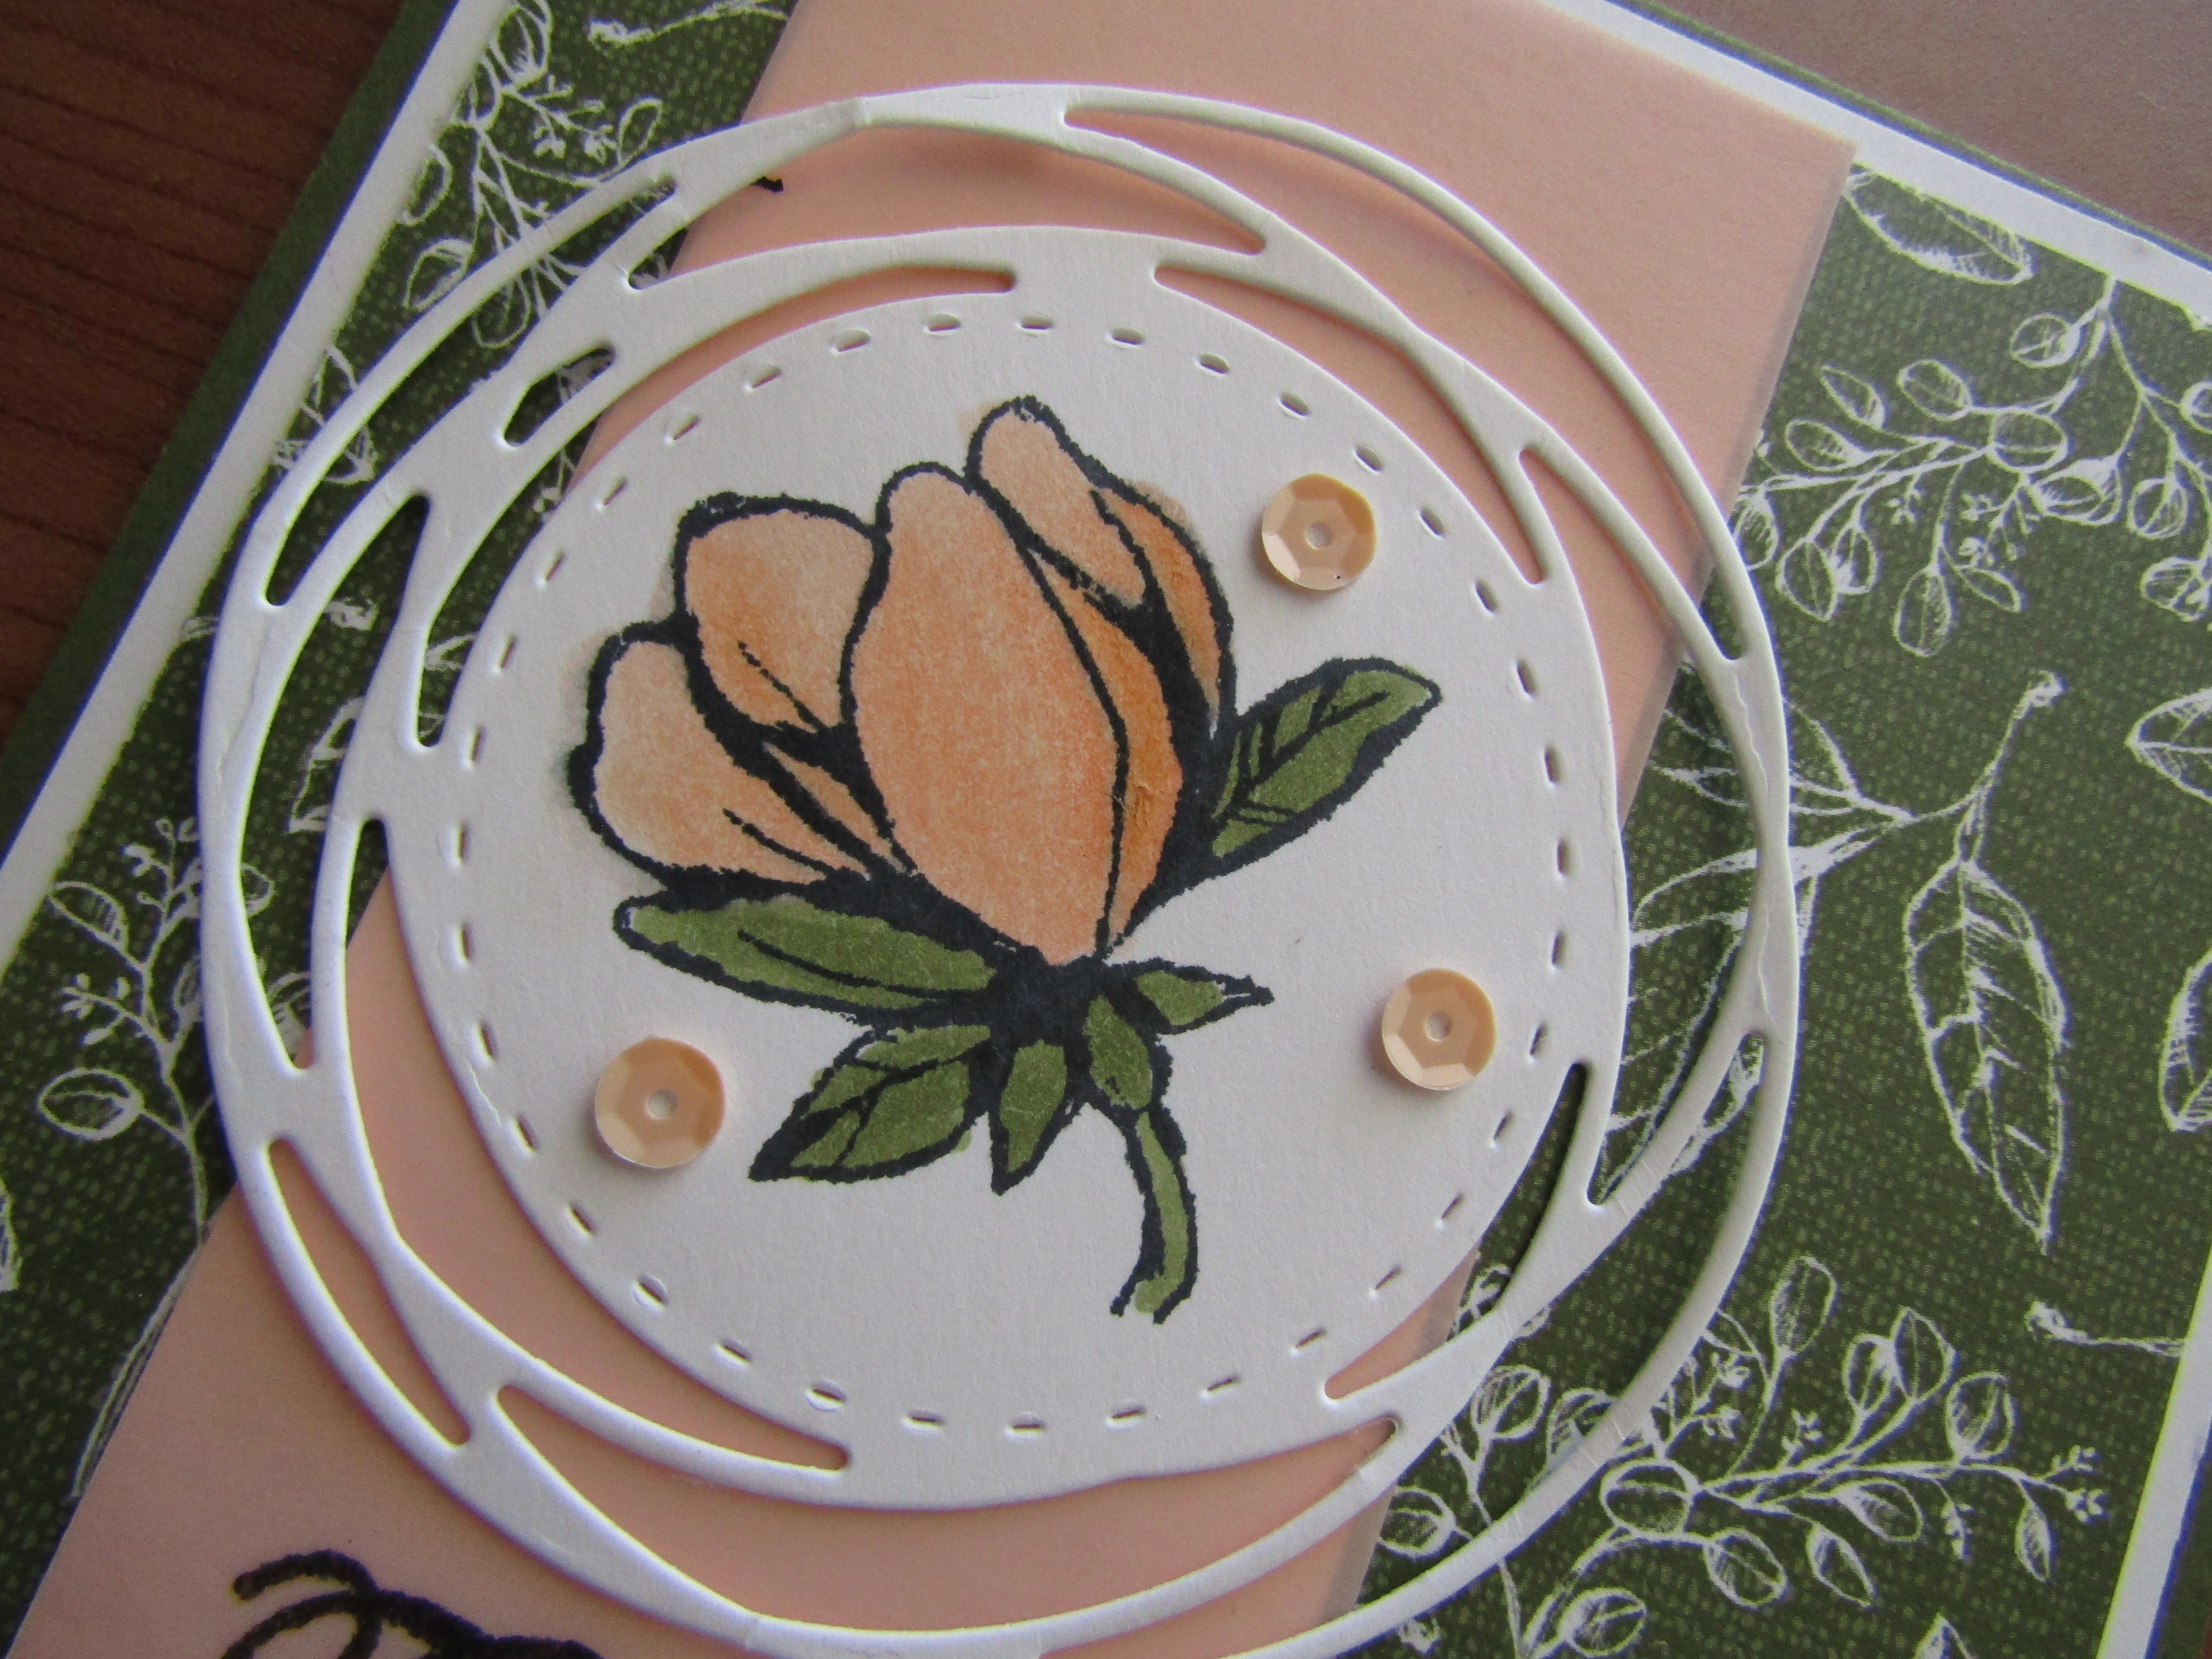
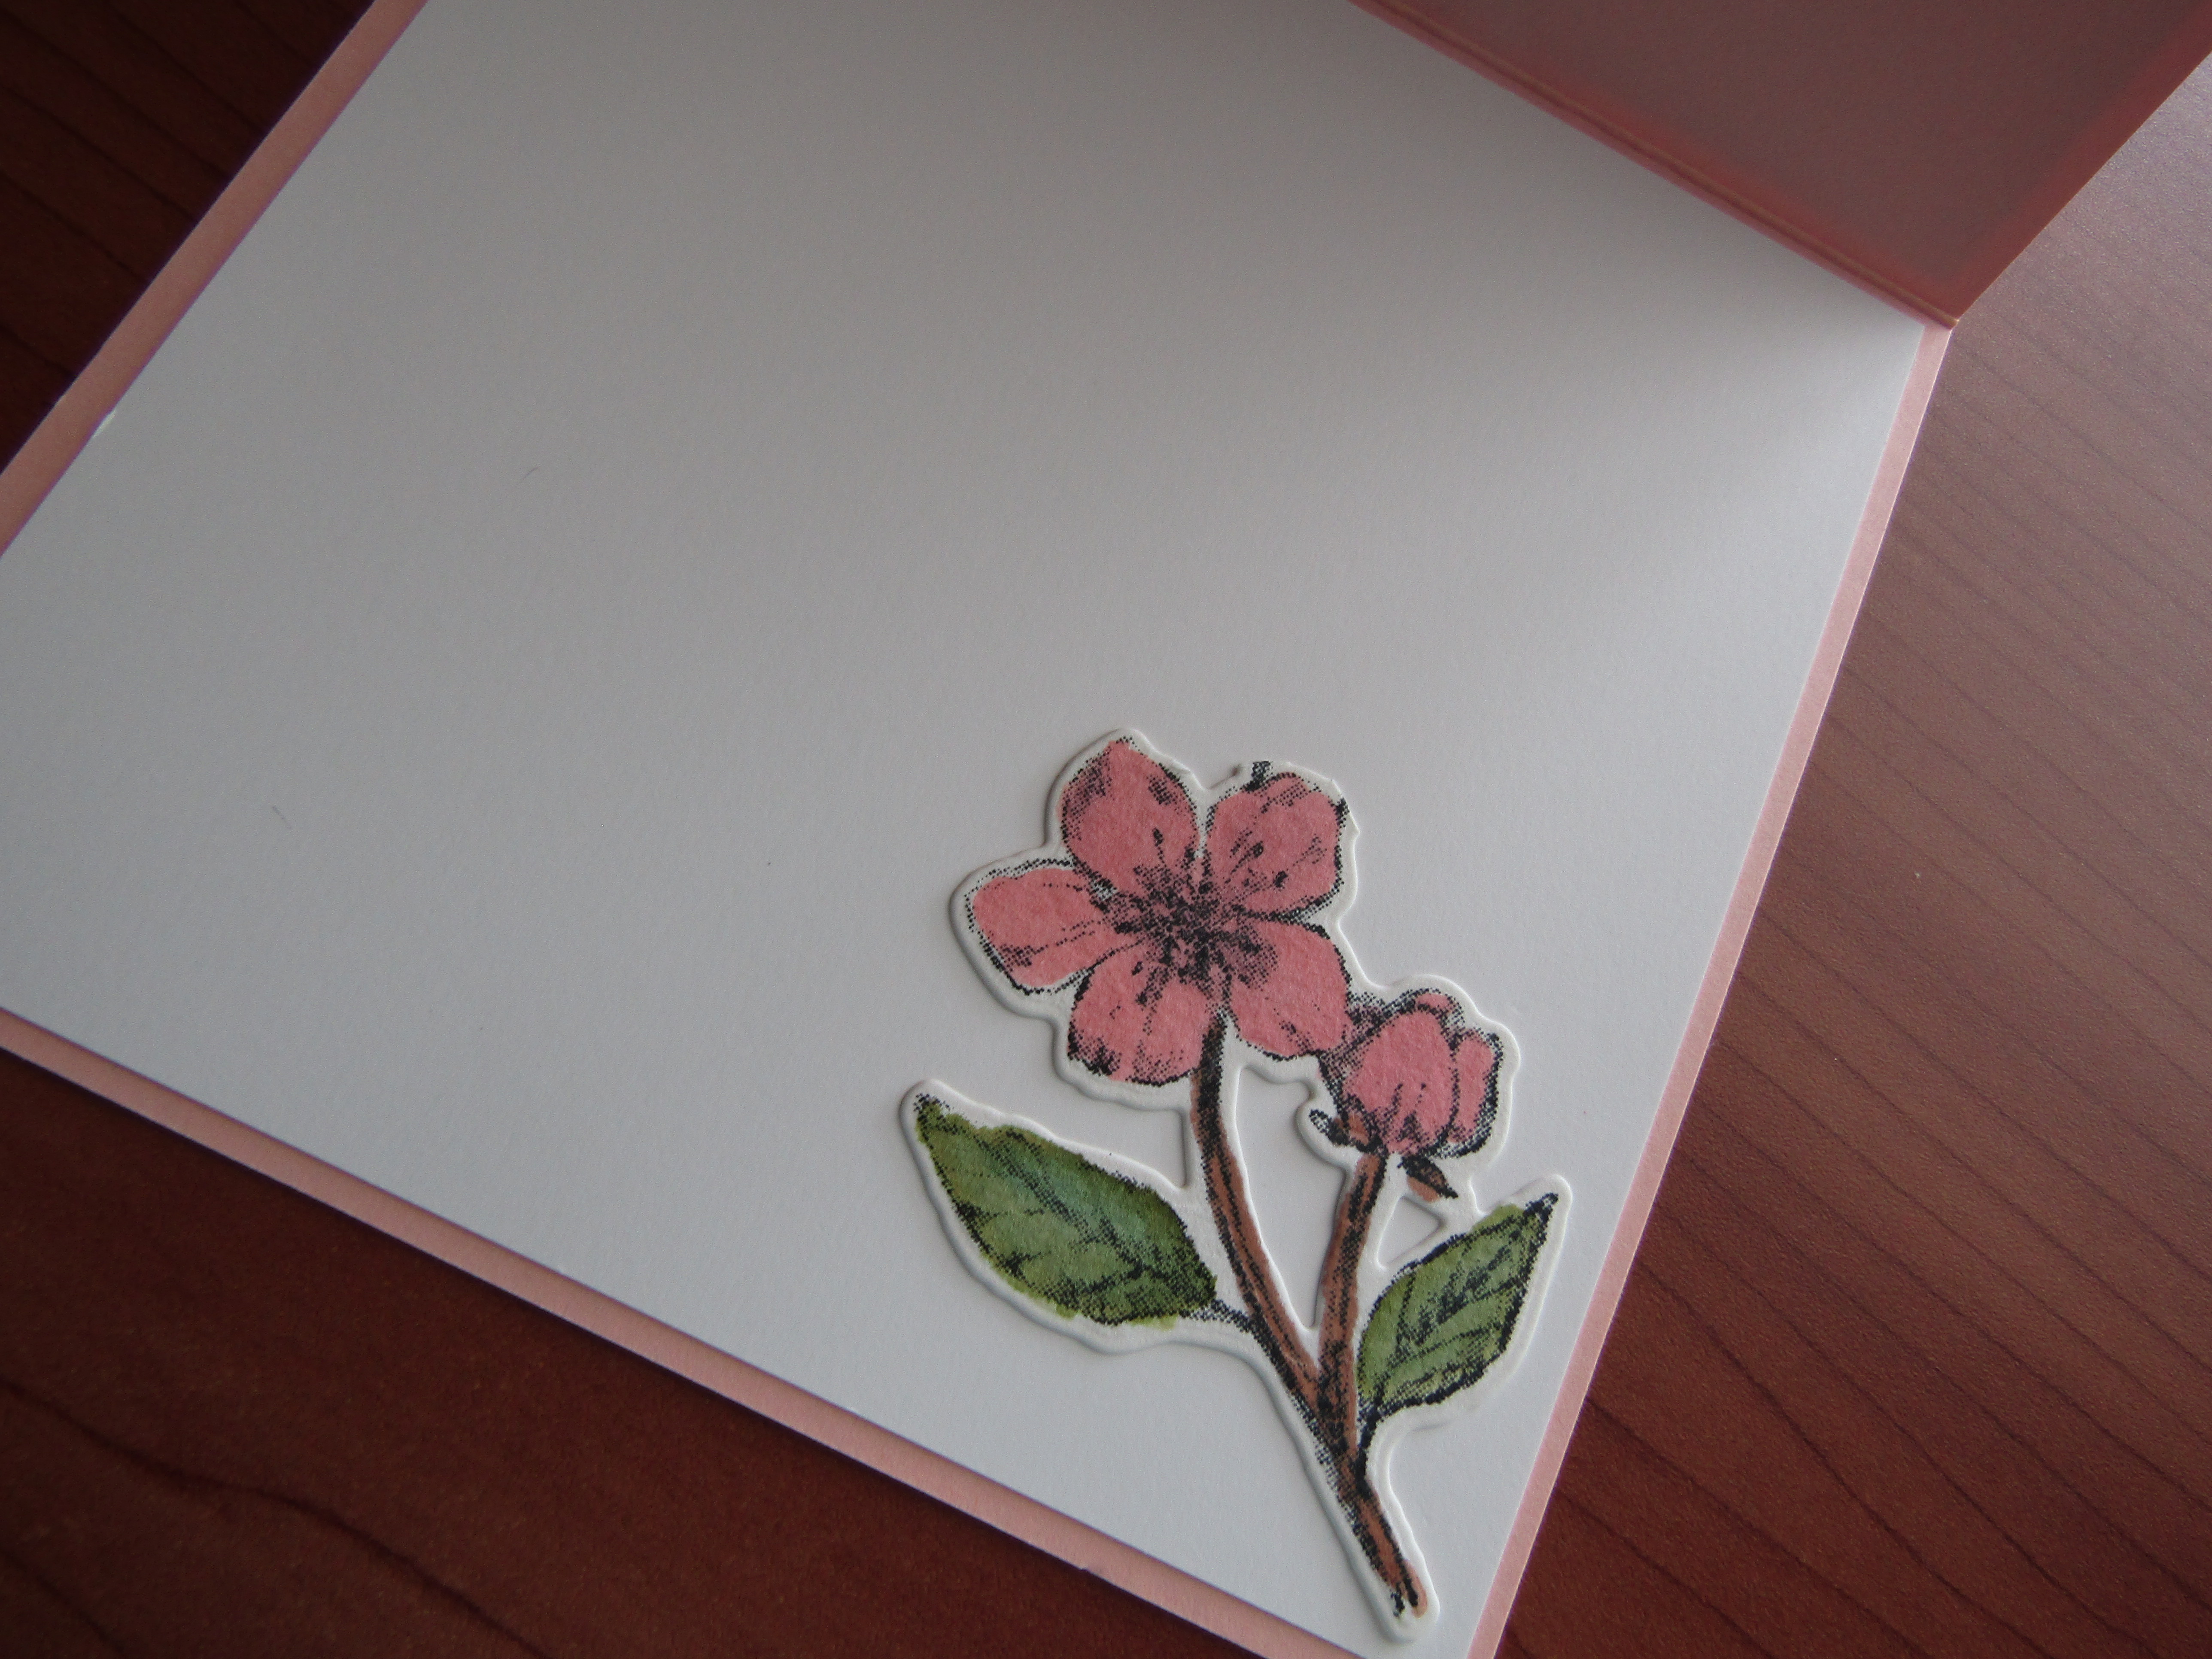
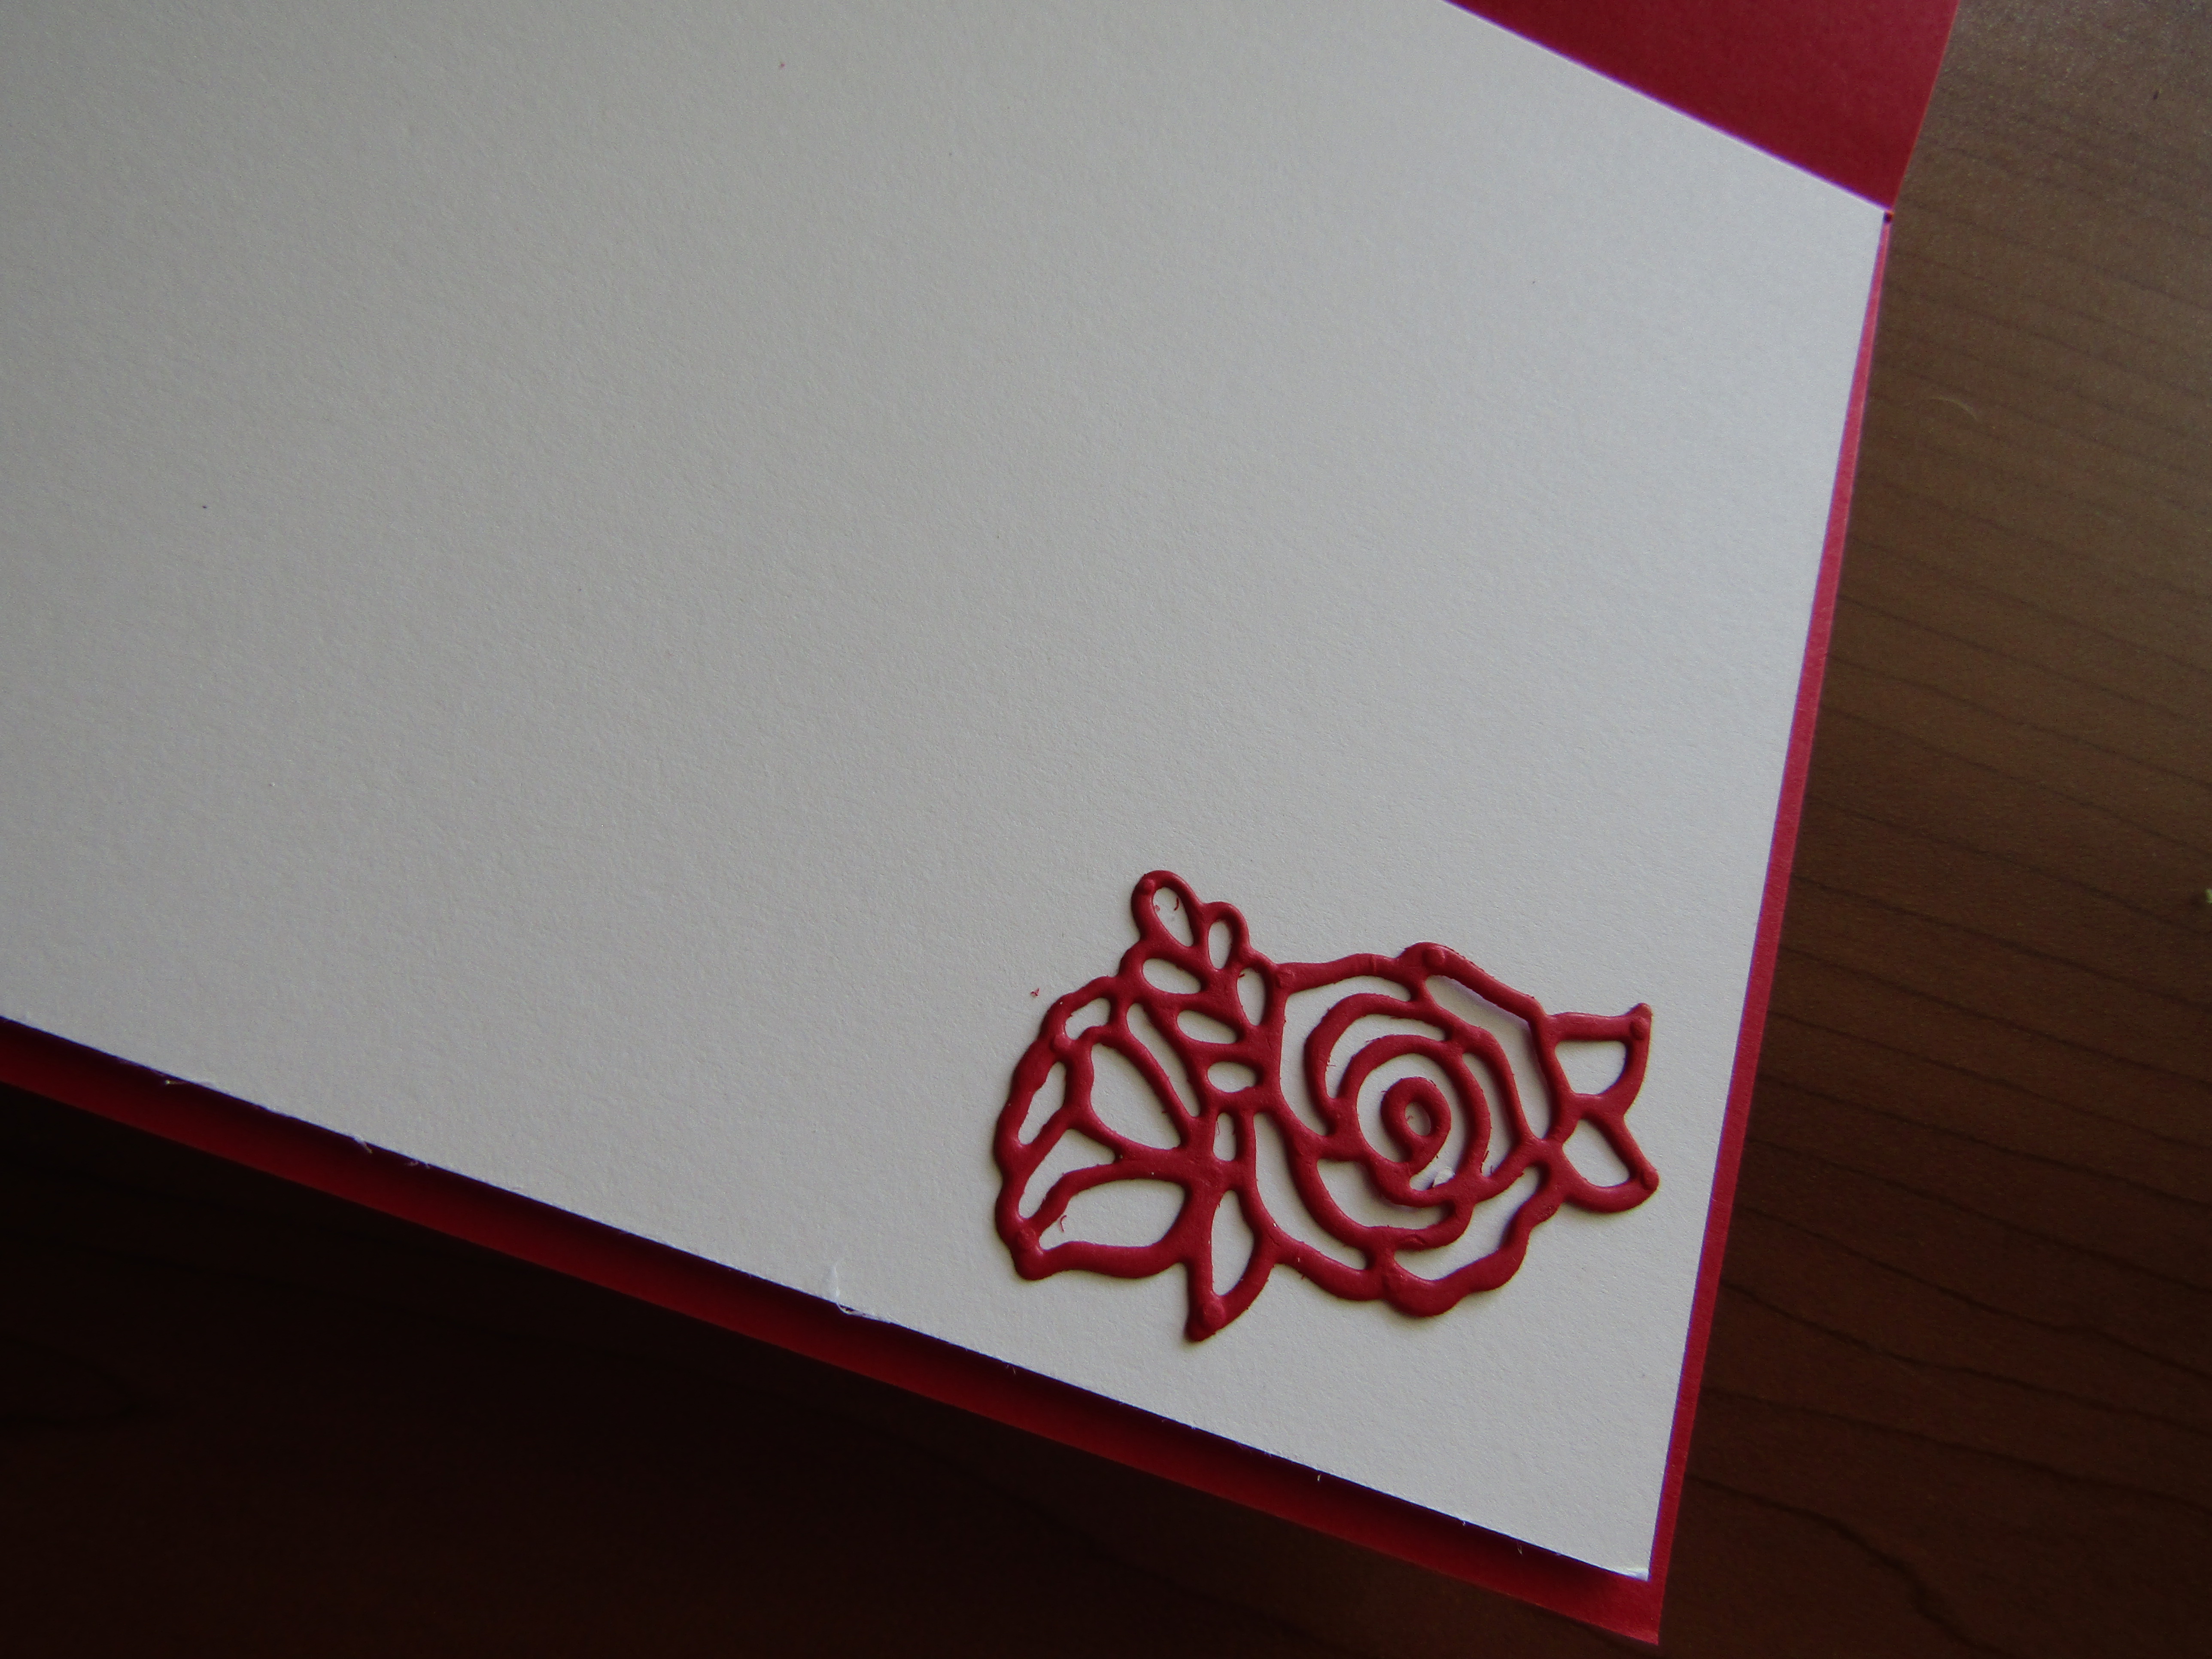
I attach the large Heart onto the white embossed piece using glue, then attached the two small hearts on each side of the large heart using Stampin’ Dimensionals. For the insert I die cut the rose die image using Real Red cardstock. and attached to the bottom right of a Whisper White cardstock. I also added some Rhinestone to the white embossed piece.
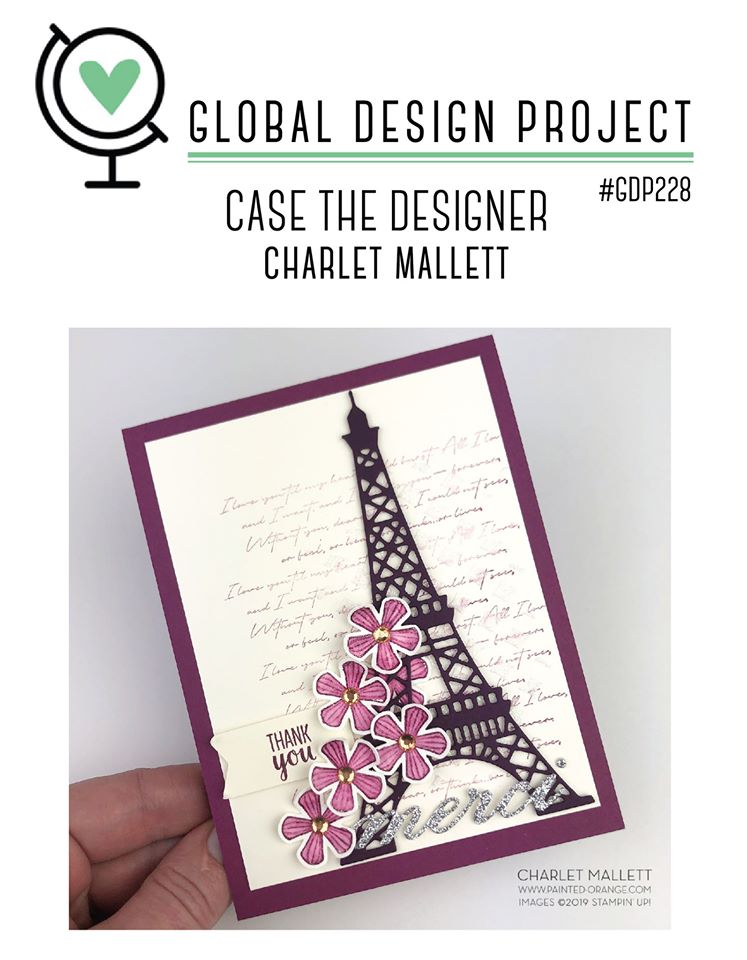
Thank you for dropping by and please make sure you head over to the Global Design Project to see the other creative and wonderful entries for this challenge.
Product List


 Designer Series Paper")


")

 Crinkled Seam Binding Ribbon")


")


")


 Vellum Cardstock")


")


 Cardstock")